Setup Instagram
You must download Instagram feed plugins in order to continue with Instagram posting. To access the download page for Instagram feed plugins, click the link below.
Instagram feed
The Instagram feed plugin is also easily installable from your dashboard. The steps are listed below.
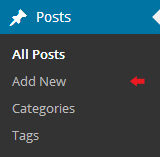
Go to Dashboard >> Plugins >> Add New
Look through Instagram's feed and select Install.
Click the "activate" button after installing the plugin. Instagram feed will appear in your dashboard as soon as your plugin is activated.
After this procedure, take the following actions.
Go to Dashboard >> Instagram Feed.
Then click on Connect an Instagram Account.

Once your account is linked, proceed with the below instructions.
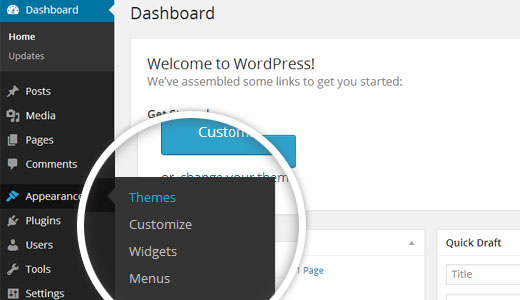
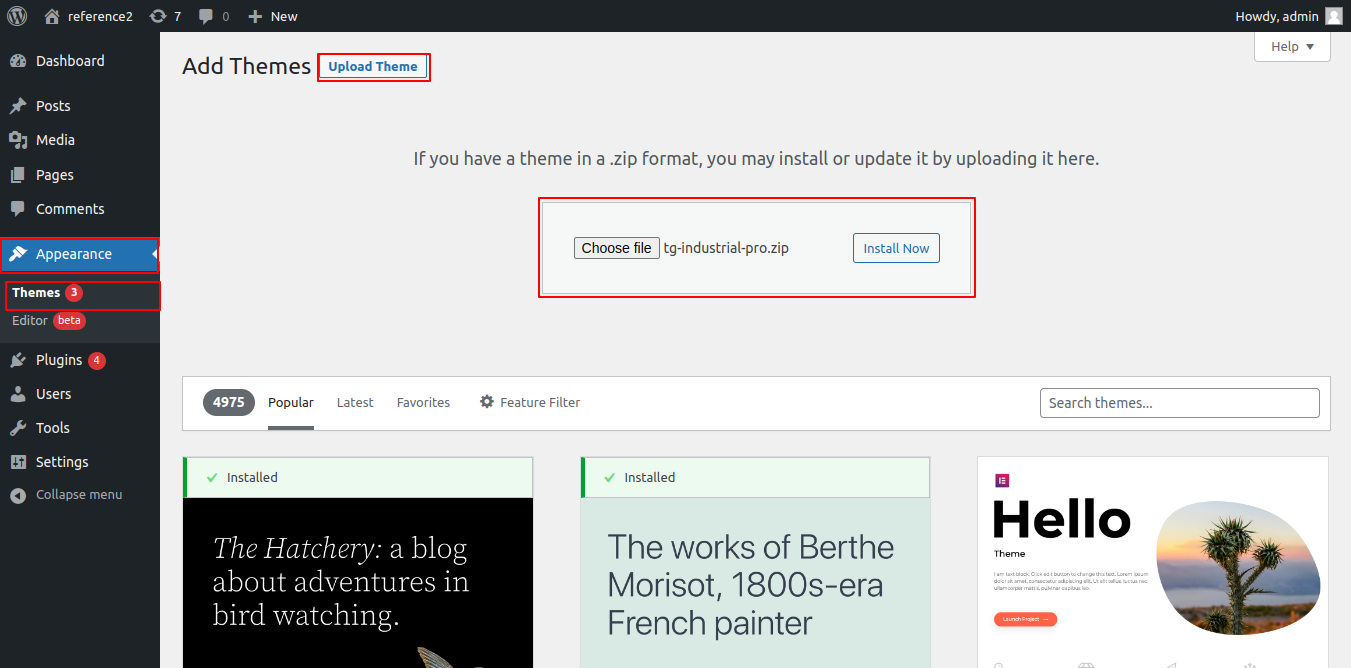
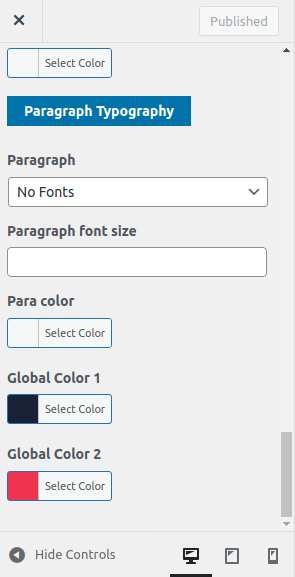
Go to Appearance >> Customize >> Theme Setting >> Instagram
As a result you can setup your Instagram Post Section.