Blogger Hub Wordpress Theme Documentation

Help and Support

Click here for support:
Support

File Structure

The template package you have downloaded consists of several folders. Let's see what each folder contains:

  • Screenshots -contains template screenshot. Not for production.
  • theme -contains wordpress theme files
  • " blogger-hub.zip " -this folder contains all the necessary files for the theme.
  • "license.txt" -contains license details
  • "readme.txt" -contain information about theme images path, font use and usage script

Template Installation

Template installation is very easy process. The installation process can be done in two ways

1-Install a theme using wordpress admin

First thing you need to do is to login to your WordPress admin area. Next, click on

1.Go to the menu Appearance >> Themes


2. Once you are on the themes page, click on the Add New button at the top.


3. Click on upload theme button.


4. Click on Browse Button then select your blogger-hub.zip theme and click on install now button.


Congratulations your theme have been successfully installed.

Setup Homepage Template

Follow the below steps to setup the Home page demo content.

1. Create a new page and name it as "Home" then select the template "Custom home page".


2. Go to Settings >> Reading

Select the option of Static Page, now select the page you created to be the homepage, while another page as per your wish.

Theme Setup

Setup Header Image

In order to setup the Header Image, follow the below steps.

Go to Appearance >> Customize >> Header Image

Here you can add image.


Your header image will look like this.


In order to setup the Header , follow the below steps.

Go to Appearance >> customize >> TG Settings >> Header

Here you can select the size of menu and case of menu of the theme.


For Show / Hide Search bar click on checkbox for the theme and you can Give the text for search placeholder of the theme.


Here you can select the sticky header for the theme.


Here you can select the Top-Bottom padding for sticky header of the theme.


Setup Global Color

In order to setup the Global Color, follow the below steps.

Go to Appearance >> Customize >>TG Settings >> Global Color Settings

Here you can select the color for theme.


It will appear like this on the front end.


Setup Typography

In order to setup the Typography, follow the below steps.

Go to Appearance >> Customize >> TG Setting >> Typography

Their customizer settings are like below screenshot.


1. Color: Here you can change the colors of all Paragraph, 'a' tag, 'li' tag, H1, H2, H3, H4, H5 and H6 respectively.

2. Fonts: Here you can change the Font Family of all Paragraph, 'a' tag, 'li' tag, H1, H2, H3, H4, H5 and H6 respectively.

3. Font Size: Here you can change the Font size of all Paragraph, 'a' tag, 'li' tag, H1, H2, H3, H4, H5 and H6 respectively.

Setup Social Links

In order to set up top-bar section,

Go to Appearance >> Customize >> TG Settings >> Social Links

Here you can add to Font Size of Social Icon for the themes.


In this way you can setup social icon Section.

Our Blog Category Section

In order to setup Our Blog Category Section, follow the below steps.

First you need to create category.

Go to Dashboard >> Post >> Categories


Create Post: Go to Dashboard >> Post >> Add New


Go to Appearance >> Customize >> TG settings >> Our Blog Category Section

Here you can add category which you have created.


Setup Footer Section

In order to setup the Footer Section, follow the below steps.

Go to Appearance >> Widgets

Once you add widgets to the footer, your footer will look like this.

In order to setup the Footer Section, follow the below steps.

Go to Appearance >> Customize >> TG Setting >> Footer Section

For show or hide Back to Top Icon, click twice on the checkbox.

Here You can select the Back to Top Icon alignment for the themes.

You can select the Footer Background Color & Footer Background Image from here for the themes.

Here You can select the the number of footer columns and add your widgets in the footer for themes.

In this way you can setup footer section.

Setup Footer Text Section

In order to setup the Footer Text Section, follow the below steps.

Go to Appearance >> Customize >> TG Settings >> Footer Text Section

Here you can add some Copyright text.

In order to setup the Copyright Section, follow the below steps.

Go to Appearance >> Customize >> TG Setting >> Footer Section

1. Copyright Alignment: Here You have an option for Copyright Aligntment like Center , Left , Right.

2. Copyright Font Size: Here You have an option for Font Size of Copyright.

3. Copyright Top Bottom Padding: Here You have an option to Top Bottom Padding of Content for Copyright.


Your footer text will look like this.

In this way you can setup footer text section.

Setup Advance Options

In order to setup the Advance Options, follow the below steps.

Go to Appearance >> Customize >> TG Setting >> Advance Options

Here You can click the checkebox if you want to disable preloader.


Here You can select the color for preloader of the themes.


Here You can select the preloader type square and circle for the themes.


For Theme Layout:

Here You can select the Default layout for the themes.


After Default layout themes will look like screenshot


Here You can select the Container layout for the themes.


After Selecting Container layout themes will look like screenshot


Here You can select the Box-Container layout for the themes.


After Selecting Box-Container layout themes will look like screenshot


Setup Blog Settings

In order to set up Blog Settings,

Go to Appearance >> Customize >> TG Settings >> Blog Settings

In Blog Settings, you can select the Blog Layout Sidebar.


In Blog Settings, you can show or hide post date, comments, author, share links and also you can change blog excerpt Number for content.


To show or hide post tags, click on the checkbox.


Here you can select the length of content for blog post of the themes.


Here you can select the Featured Image Border Radius for post of themes.


Here you can select the Blog Pagination Style post of themes.


Here you can select the Position of Blog Post Navigation for themes.


In order to set up Button Options,

Go to Appearance >> Customize >> TG Settings >> Button Options

Here you can select the Blog Post Button Label for themes.


Here you can Give the Top-Bottom, Left-Right , Padding to the Blog Post Button Label for themes.


Here you can select the Blog Post Button Radius for themes.


Setup 404 Page & Search Result Setting

In order to setup the 404 Page & Search Result Setting, follow the below steps.

Go to Appearance >> Customize >> TG Settings >> 404 Page & Search Result Setting


1. 404 Page Title: error 404 page has a page title not found.

2. 404 Page Button Label: error 404 page Label of Button not found

3. No Search Result Title: error site title not found

4. No Search Result Text: error site contain not found

In this way you can setup 404 Page & Search Result Setting section.

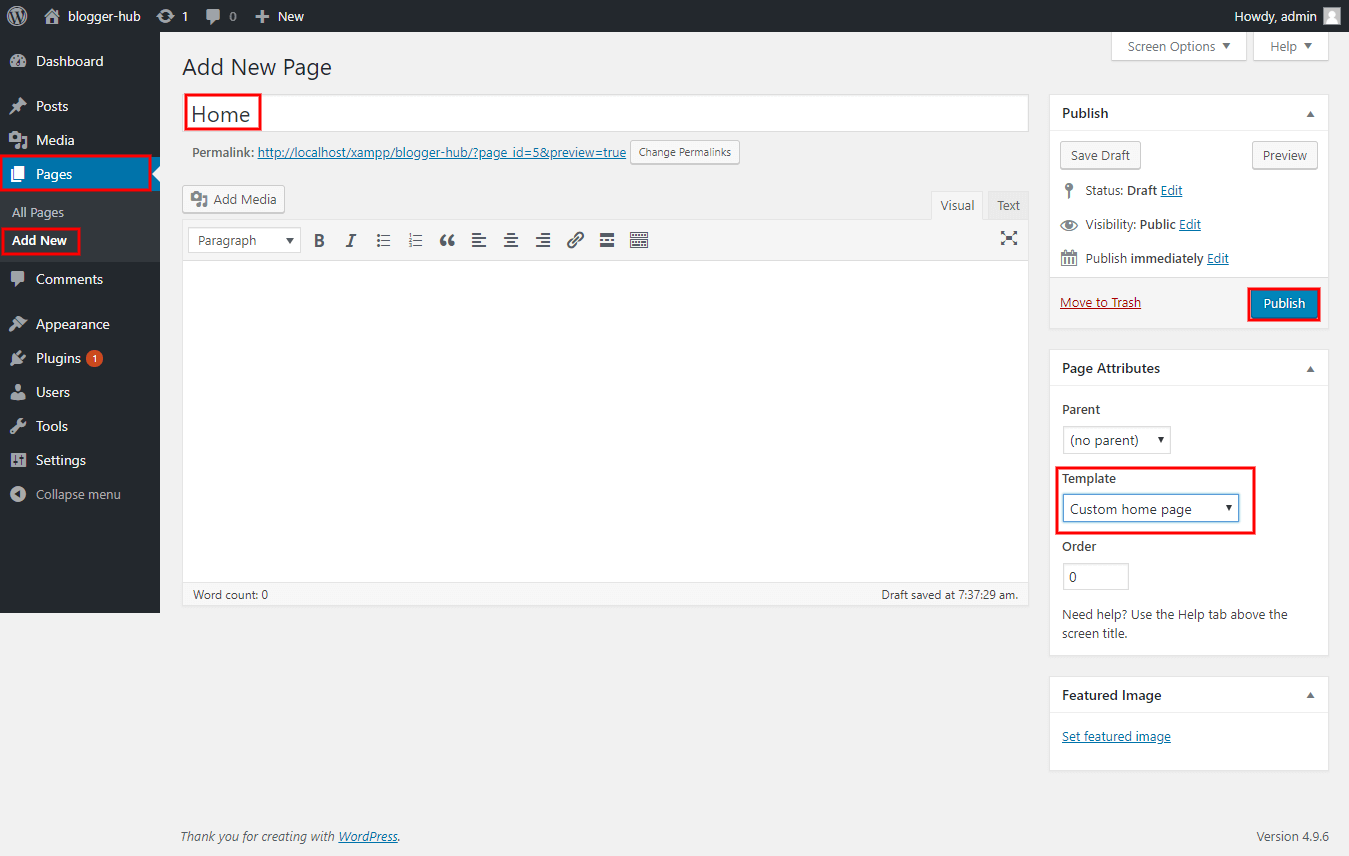
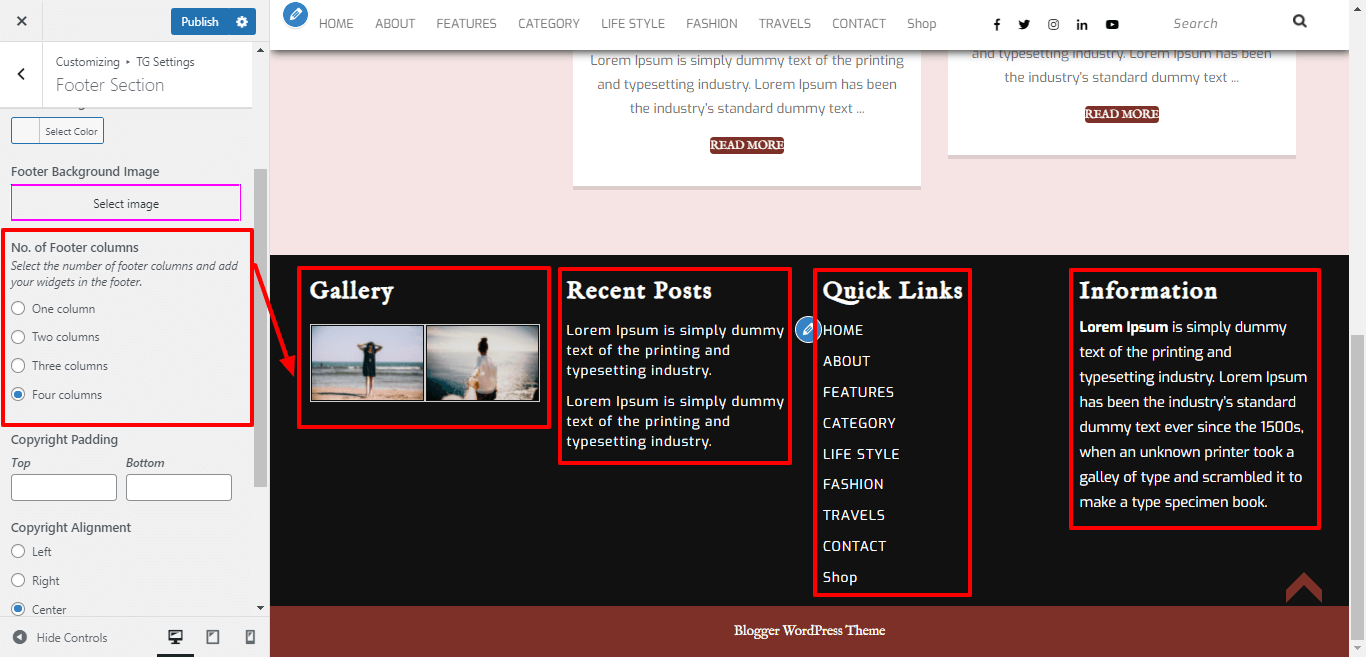
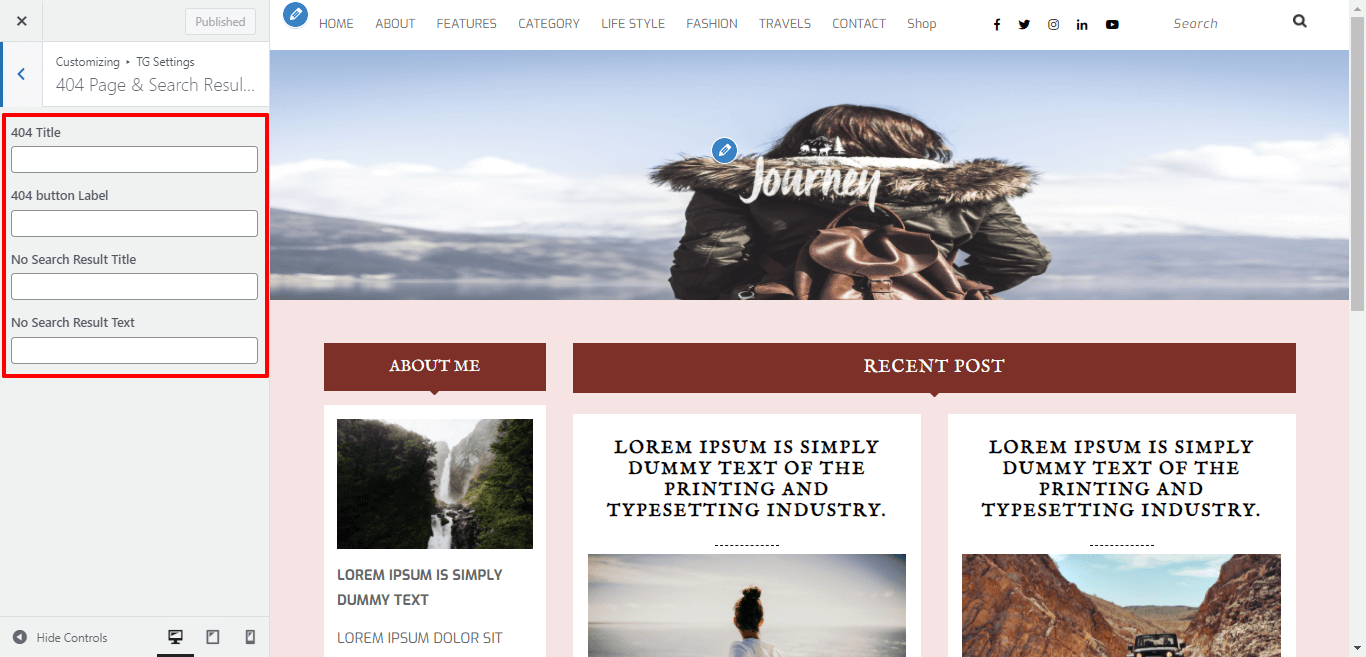
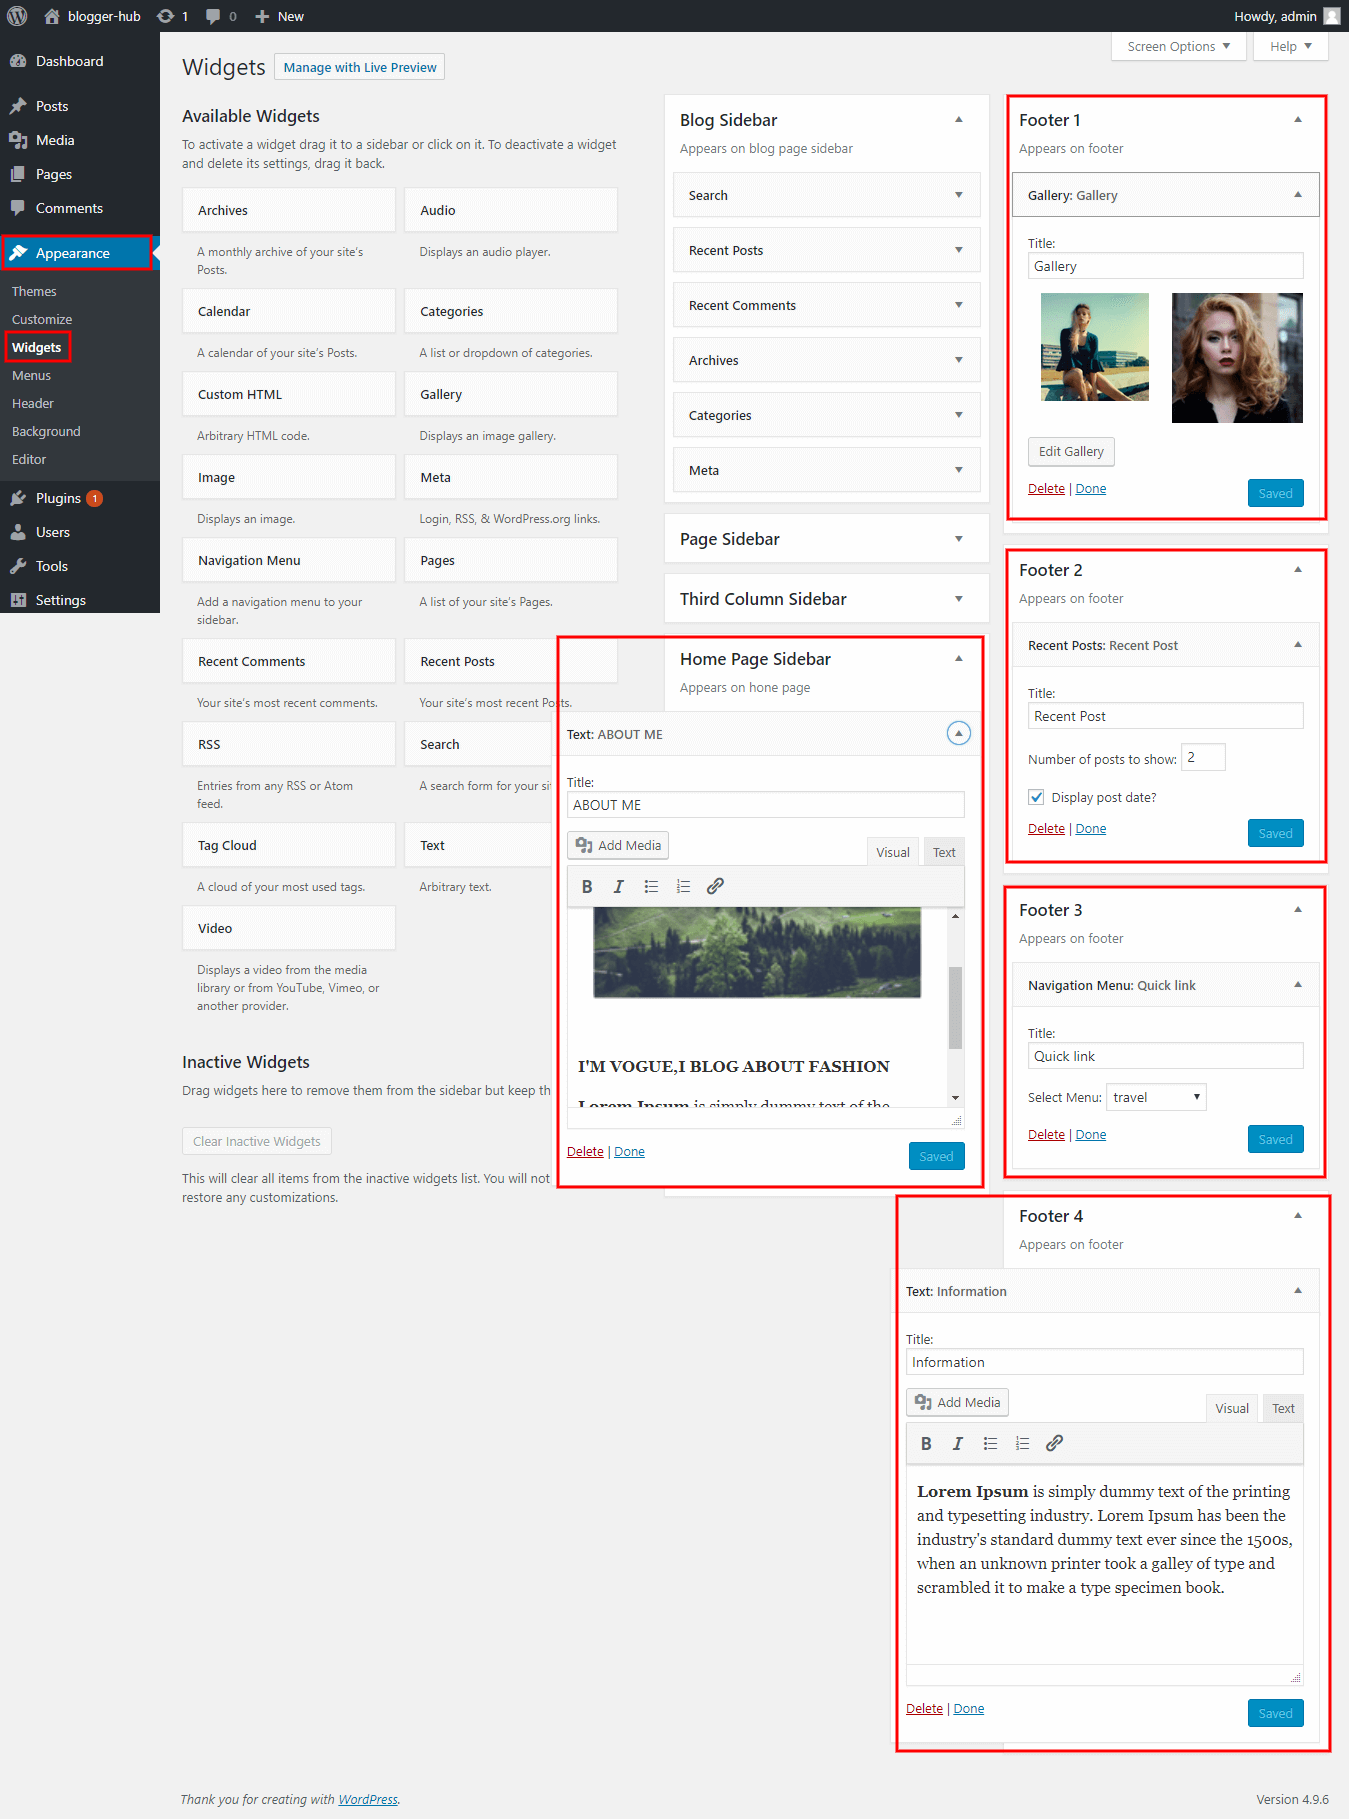
Setup WooCommerce Options

In order to setup the WooCommerce Options, follow the below steps.

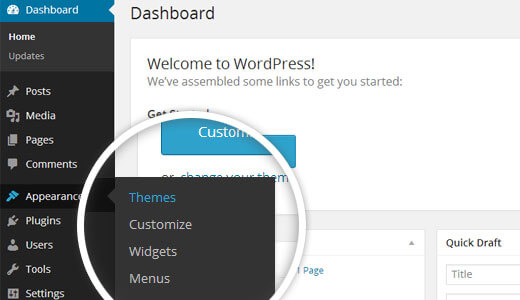
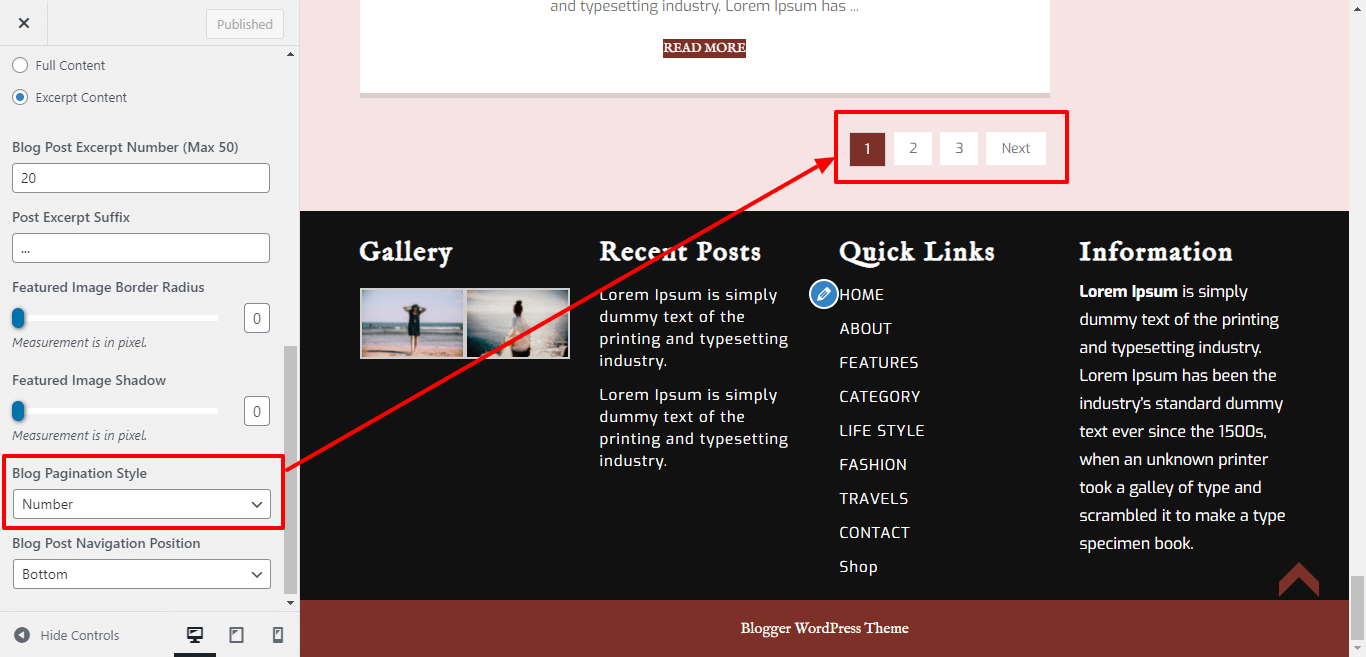
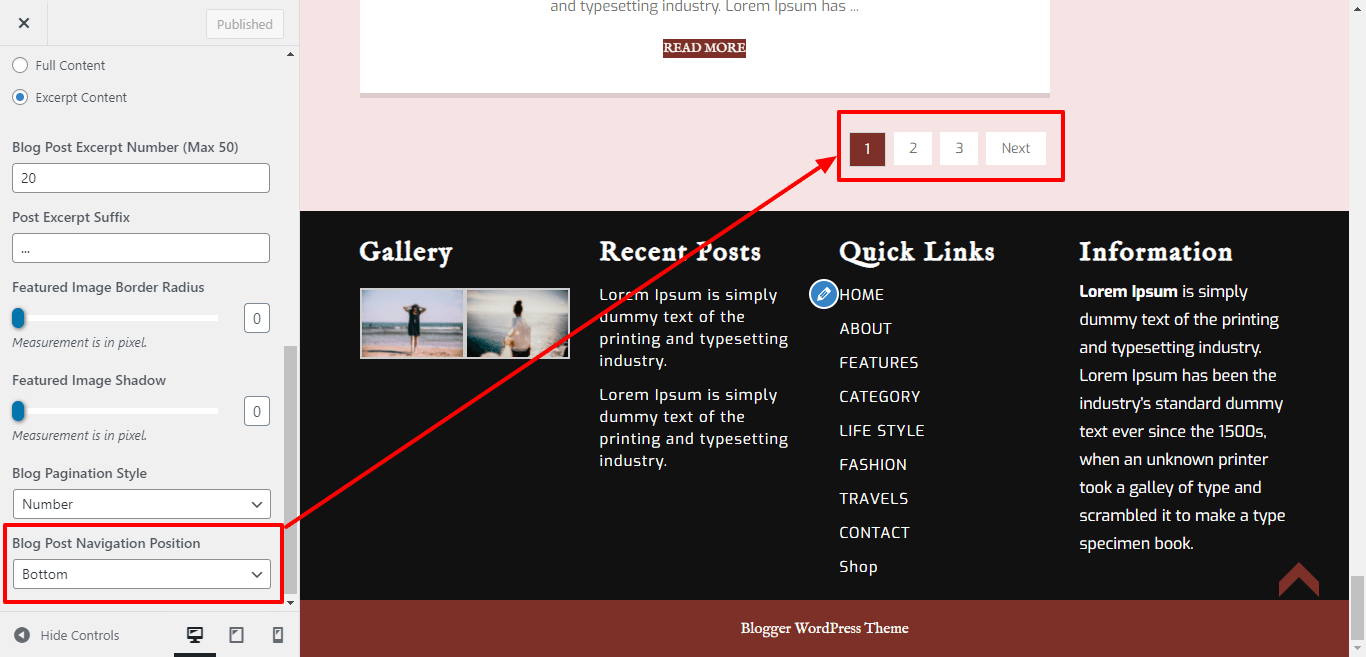
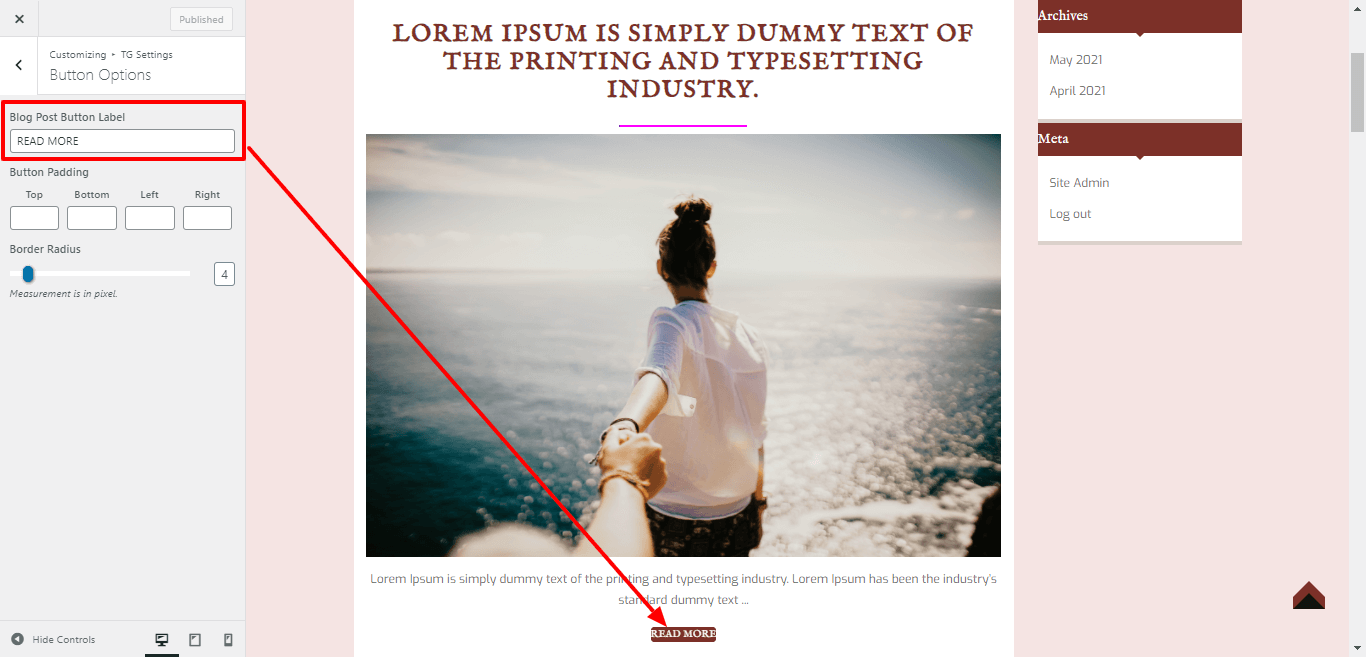
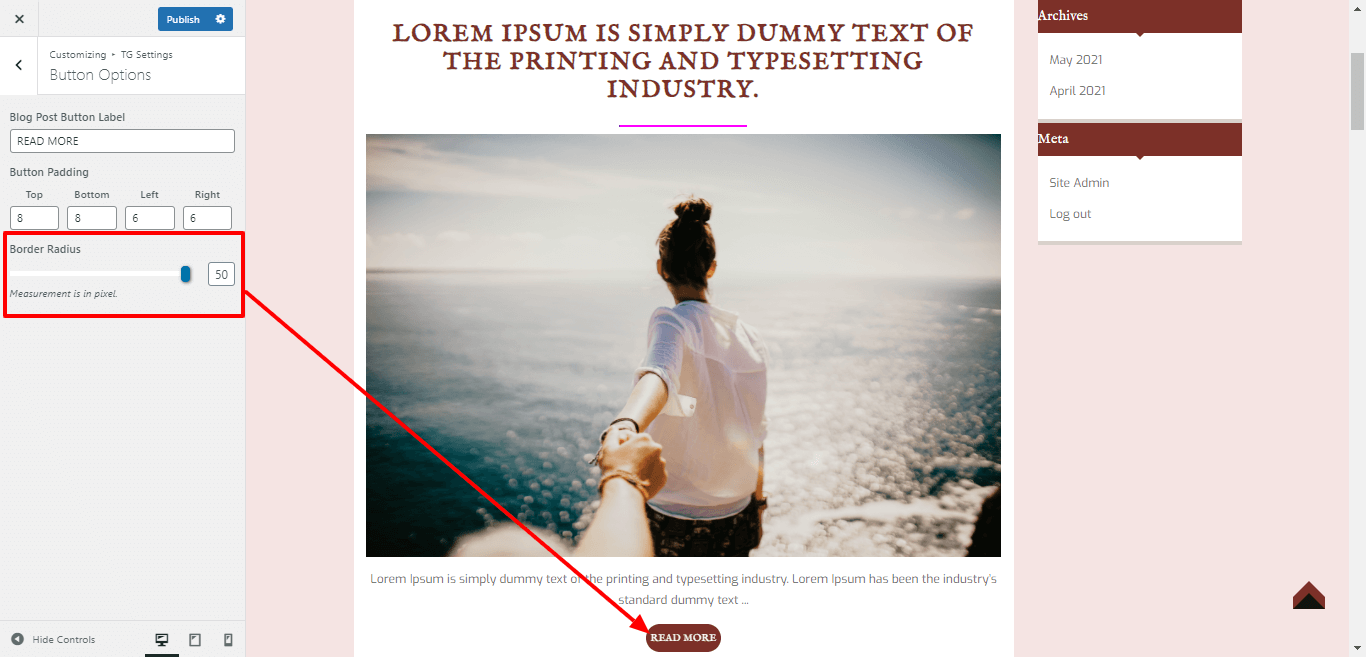
Go to Appearance >> Customize >> TG Settings >> WooCommerce Options


1. Product per row: Here You have an option to add Number Of Product in one Row.

2. Product per page: Here You have an option to add Number Of Product in one single page.

3. Enable / Disable Shop page sidebar: Here You have an option to Enable / Disable sidebar of shop page.

4. Enable / Disable Product page sidebar: Here You have an option to Enable / Disable sidebar of product page.

5. Enable / Disable Related product: Here You have an option to Enable / Disable Feature Related product.

6. Button Top Bottom Padding: Here You have an option to add top bottom padding of Product button.

7. Button Border Radius: Here You have an option to add border radius of Product button.


8. Enable / Disable product border: Here You have an option to Enable / Disable product Outer border.

9. Product Top Bottom Padding: Here You have an option to top bottom padding for product.

10. Product Right Left Padding: Here You have an option to right left padding for product.

11. Product Border Radius: Here You have an option to give border radius to product.

11. Product Box Shadow: Here You have an option to give box shadow to the product.

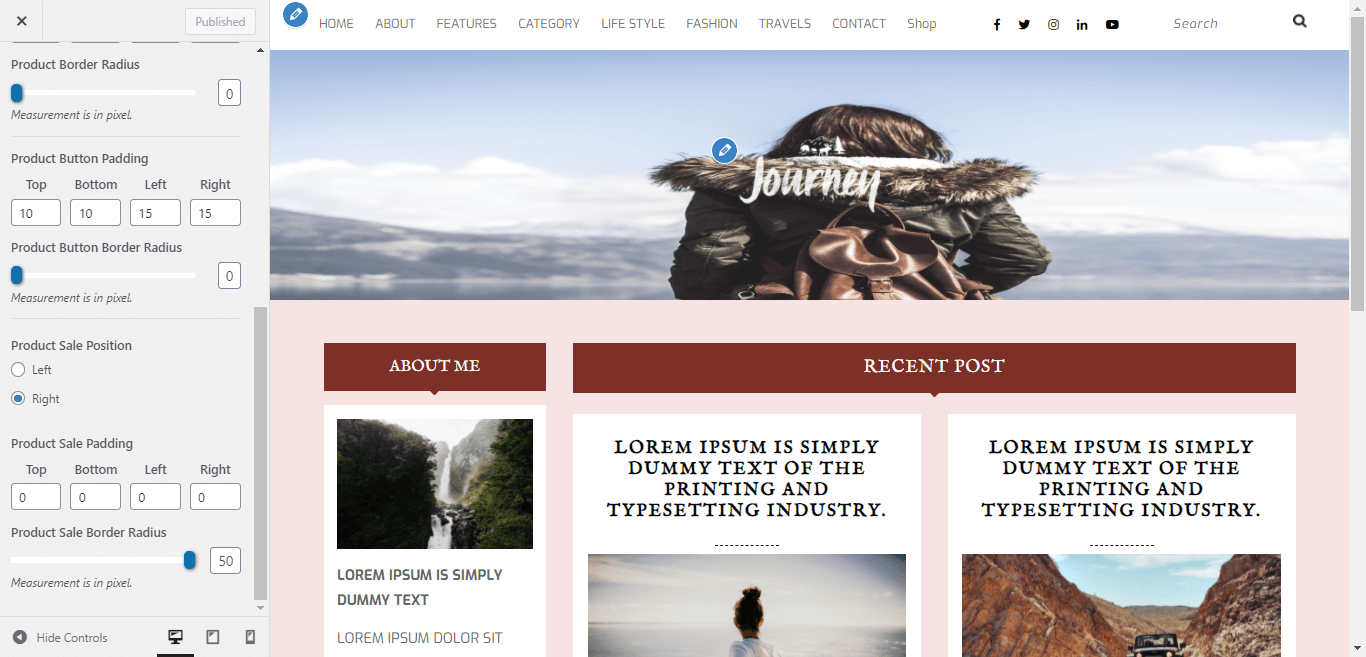
12. Sale badge Position: Here You have an option to add postion of sale badge like right portions or left position.

13. Sale Top Bottom Padding : Here You have an option to add top bottom padding for sale badge.

14. Sale Border Radius: Here You have an option to add border radius for sale.

In this way you can setup WooCommerce Options section.

Page Templates and sidebars

Page Templates

  • Default Template (the default page template with a right sidebar position)
  • Custom Home Page Template (the custom home page template with right sidebar position)
  • Page (Left Sidebar) (a page templates with left sidebar position)
  • Page (Right Sidebar) (a page template with right sidebar position)

Post, Categories and Post Formats


Adding category

Review the following article for more information on adding categories: http://codex.wordpress.org/Manage_Categories_SubPanel

  1. Log into your WordPress Administration Panel (Dashboard).
  2. Click the Posts tab.
  3. With that done, click Categories for blog posts.
  4. Type in the name of your new category.
  5. After that, click the Add New Category button.
Click the Publish button.

Creating a Blog post

  1. Log into your WordPress Administration Panel (Dashboard).
  2. Click the Posts tab.
  3. Click the Add New tab.
  4. Type in your post content. For more information on adding posts, please check the following link http://codex.wordpress.org/Posts_Add_New_SubPanel.

Custom Widgets