Setup Slider Section
In order to setup the slider, follow the below steps.
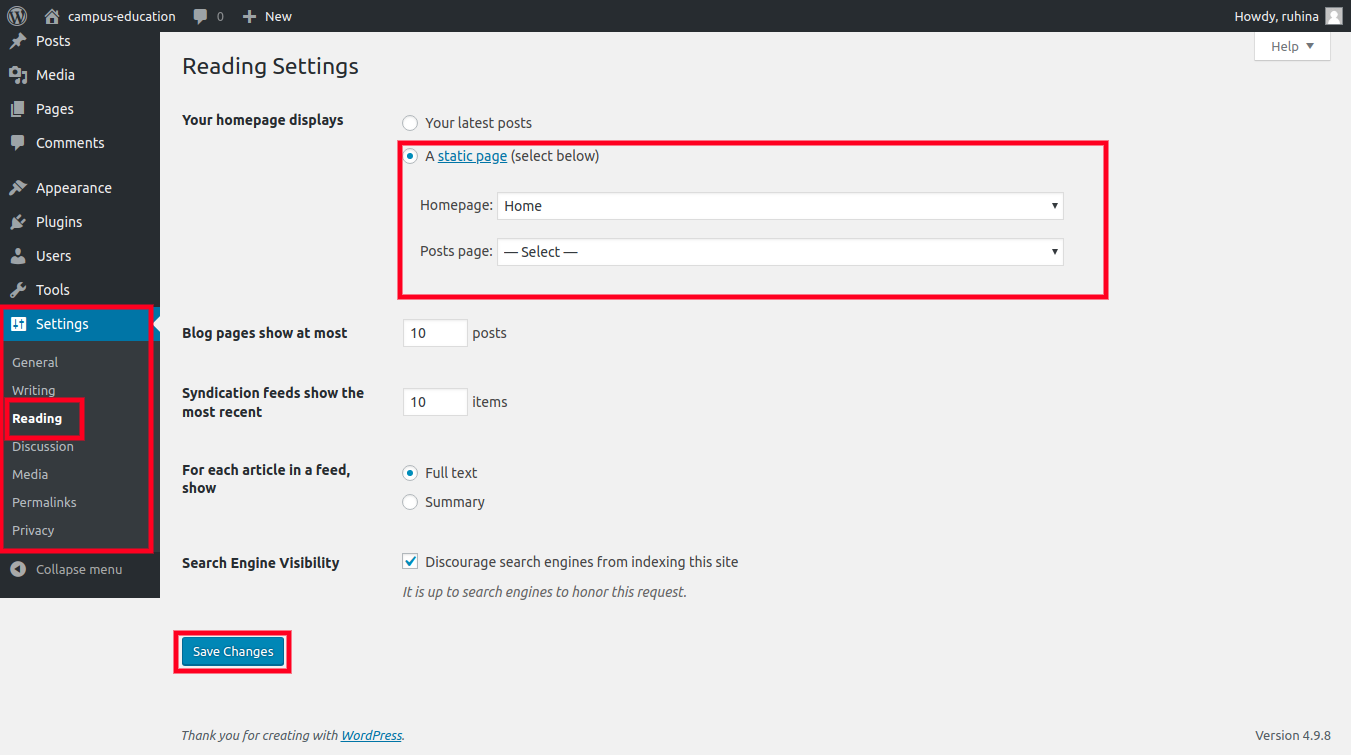
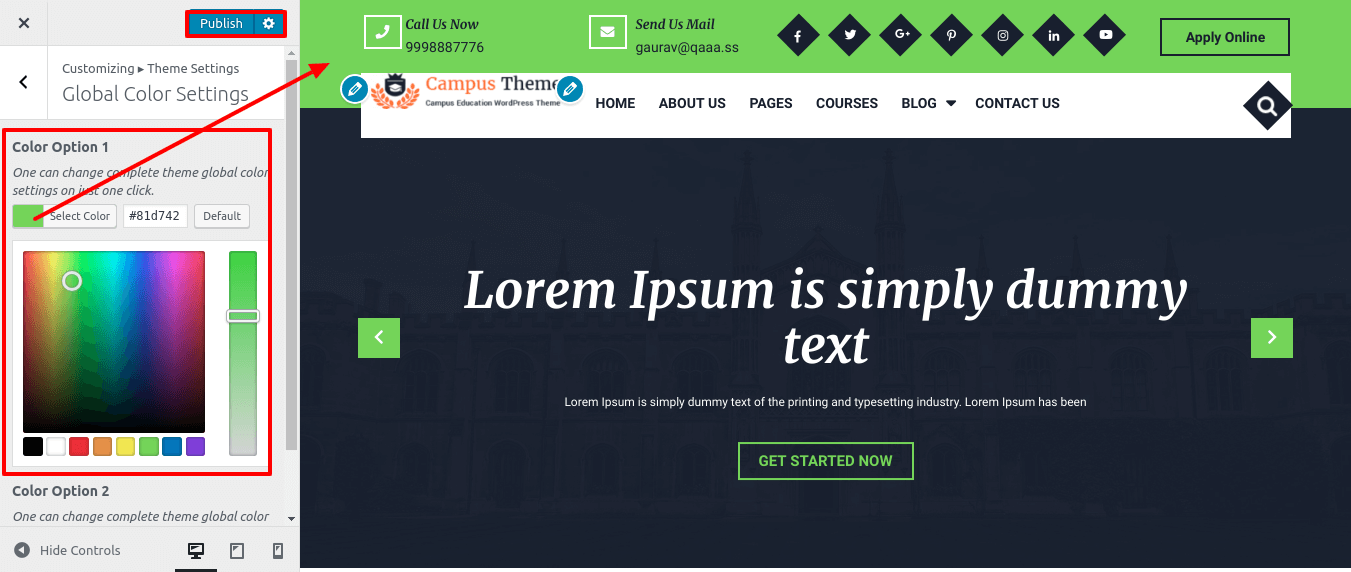
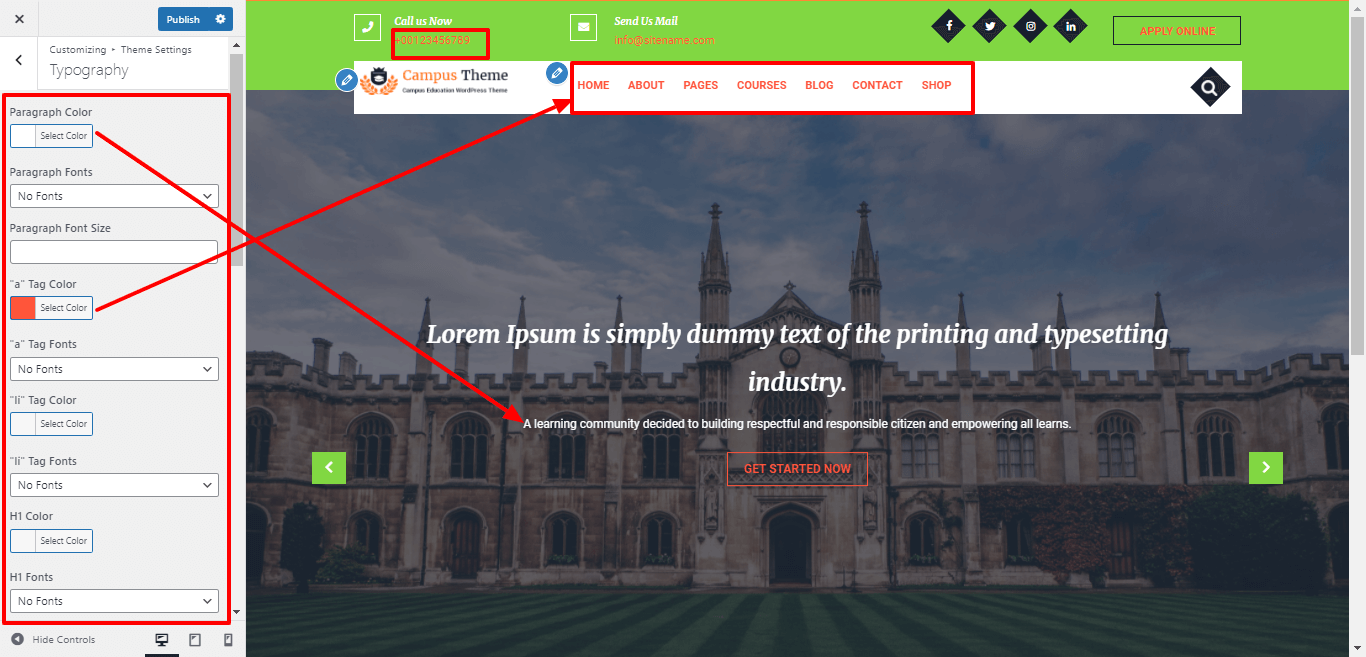
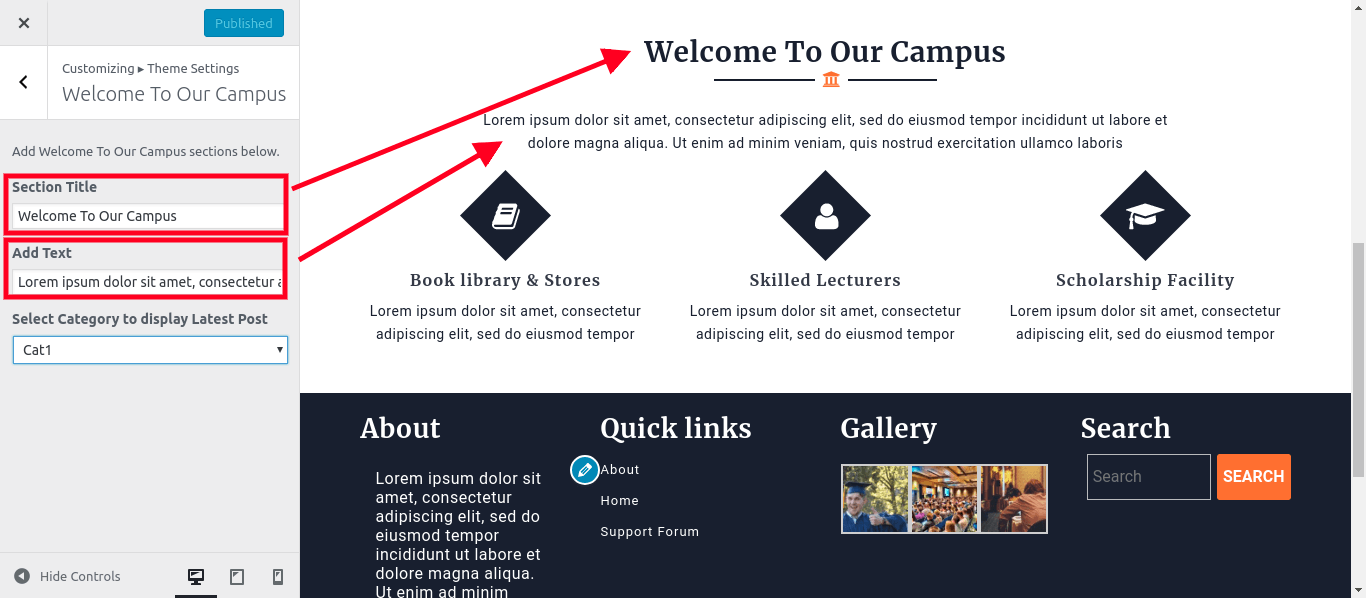
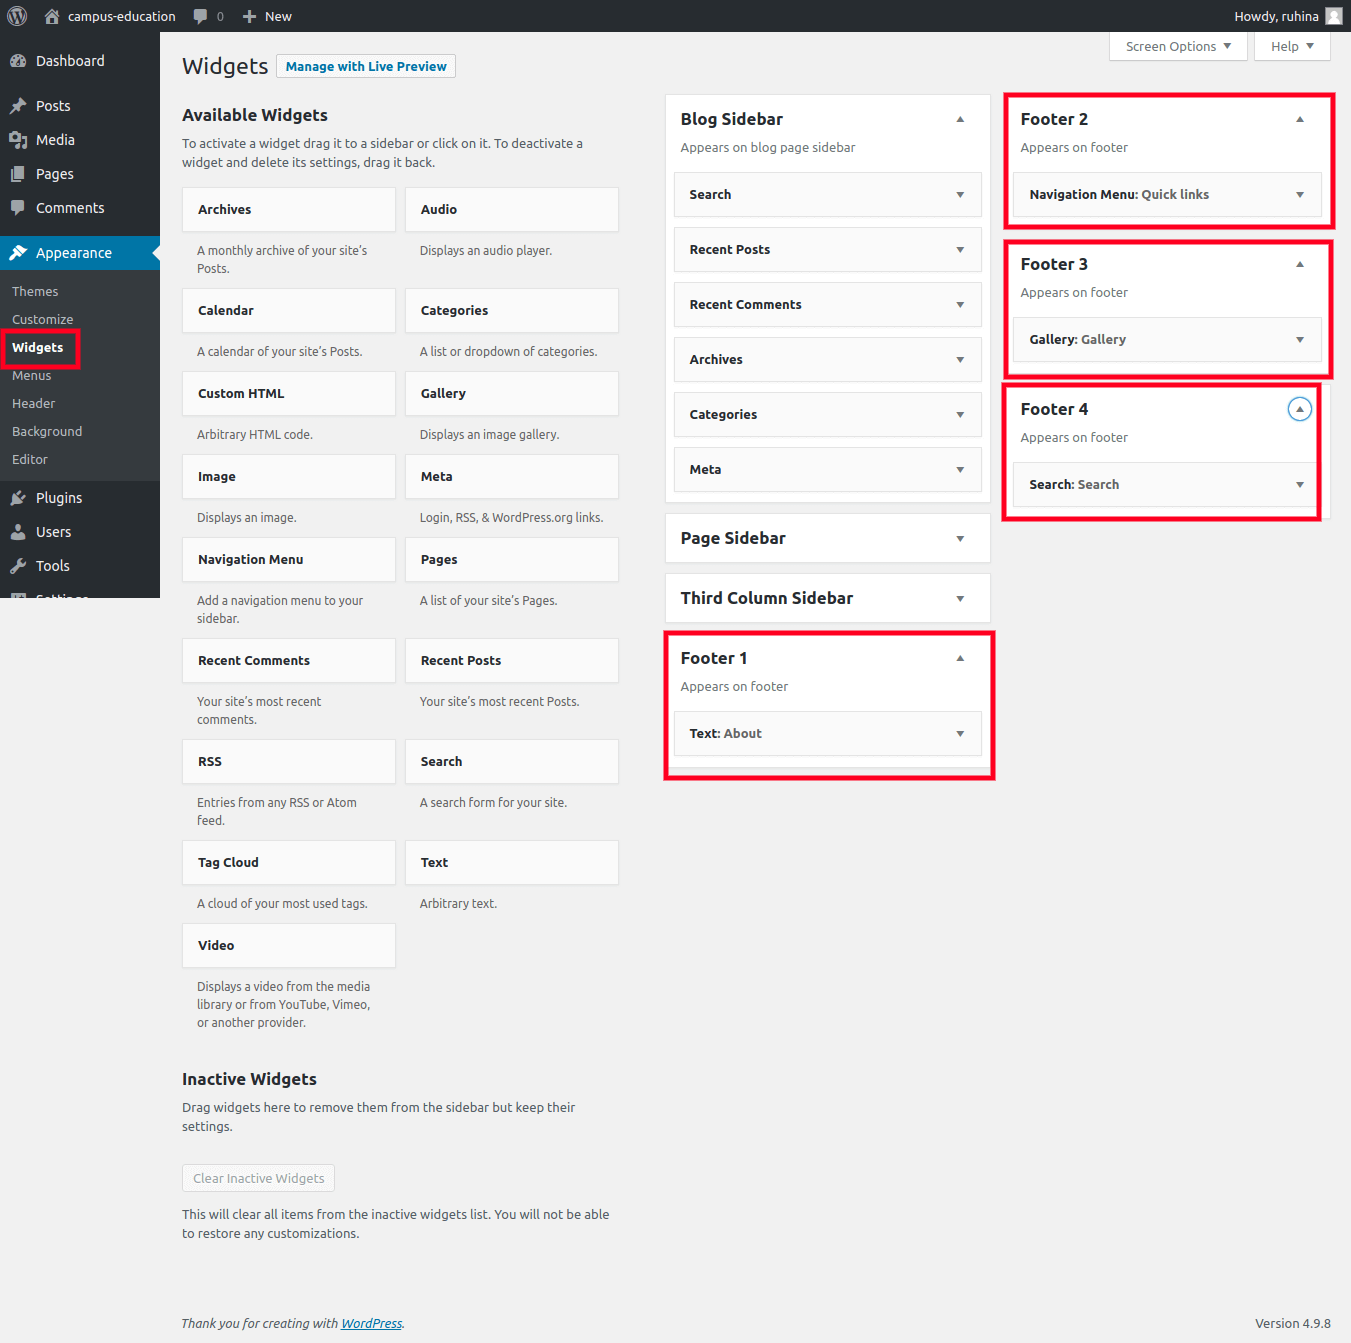
Go to Appearance >> Customize >> Theme Settings >> Slider Setting
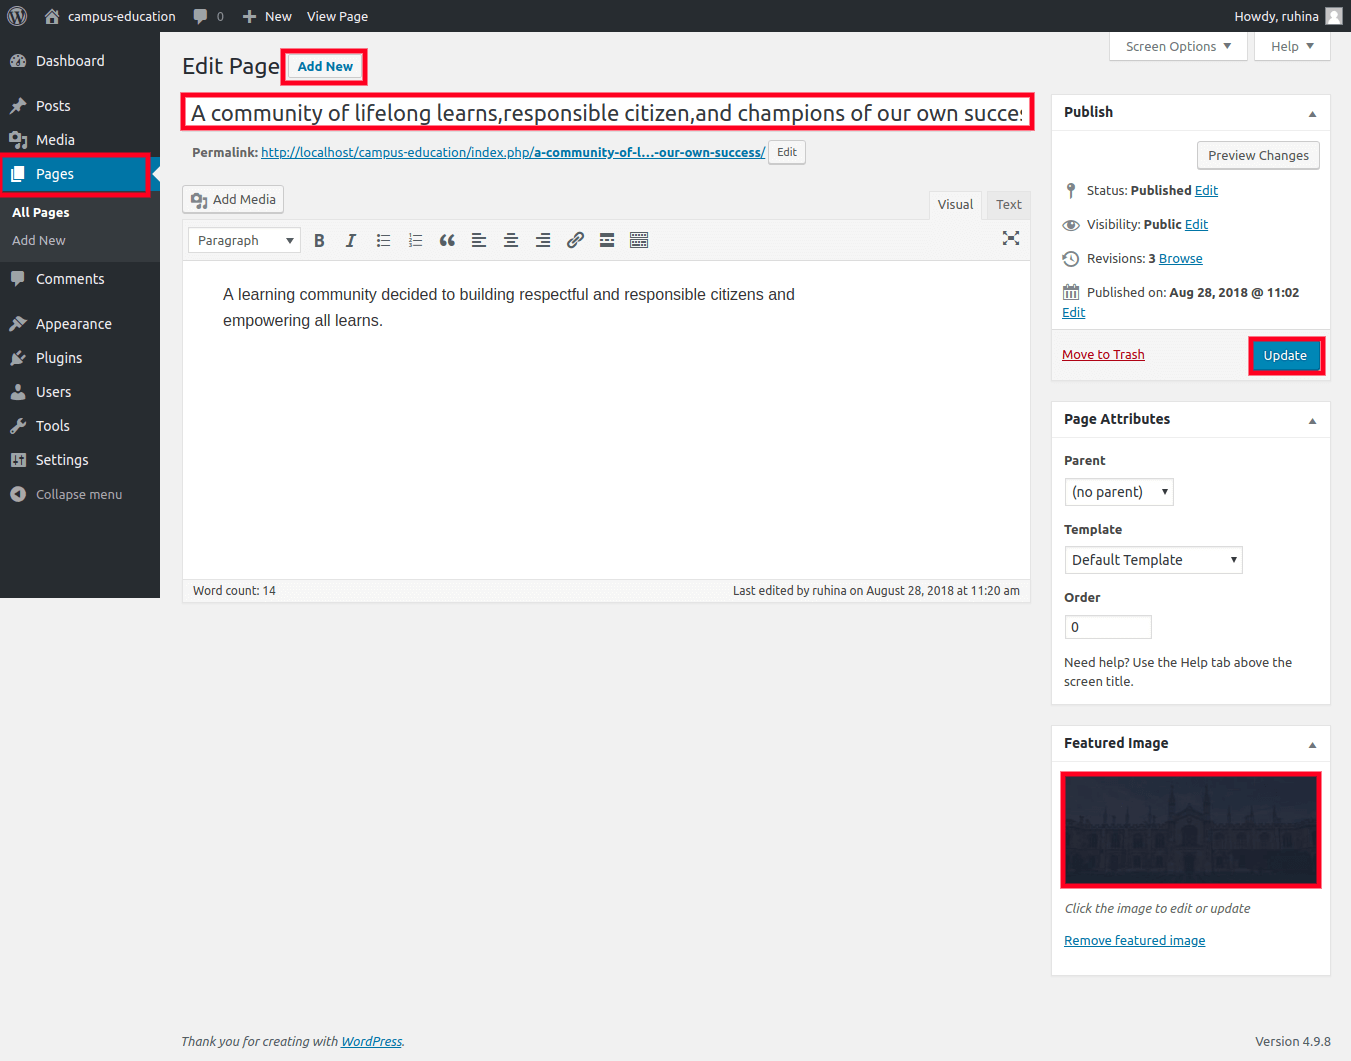
1. Create a new page and name it as "Slide1" , set it's featured image, title, and the content. Repeat this process for other slides.
2. Go to Appearance >> Customize >> Theme Settings >> Slider Settings
Select the page which you have created for slide1, slide2, slide3, slide4.
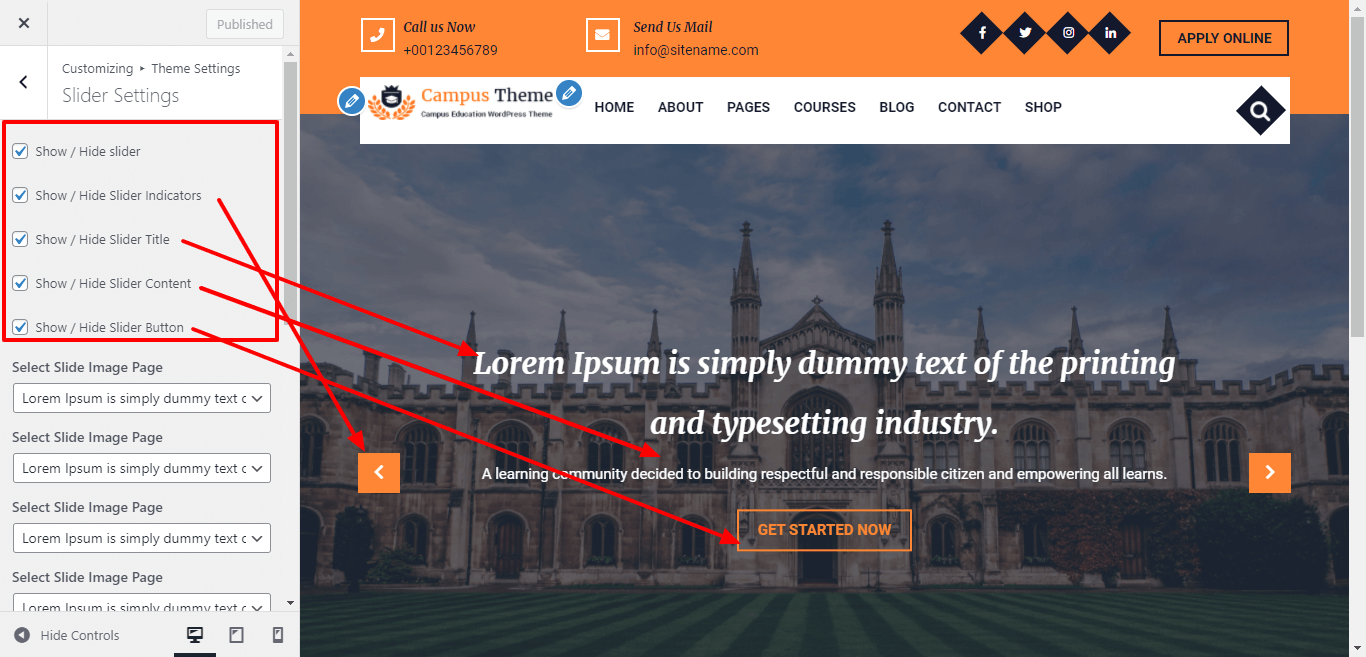
Checkbox is given,if you need to hide or show your slider.
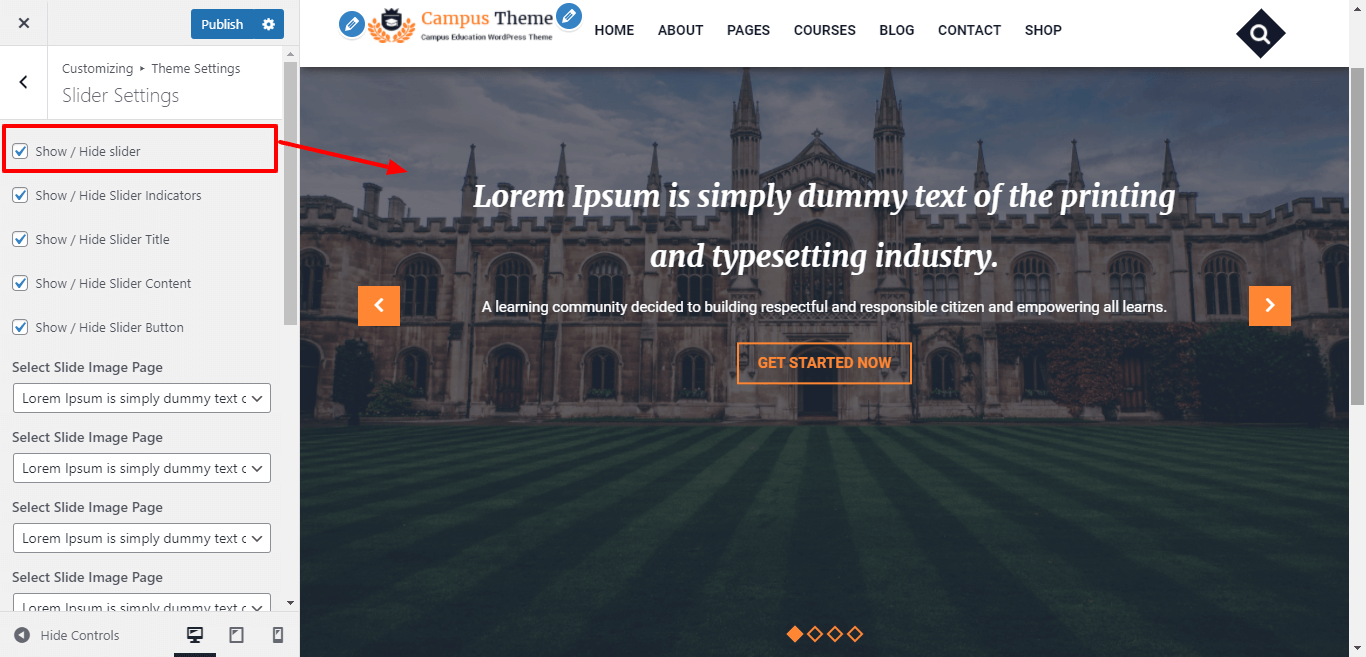
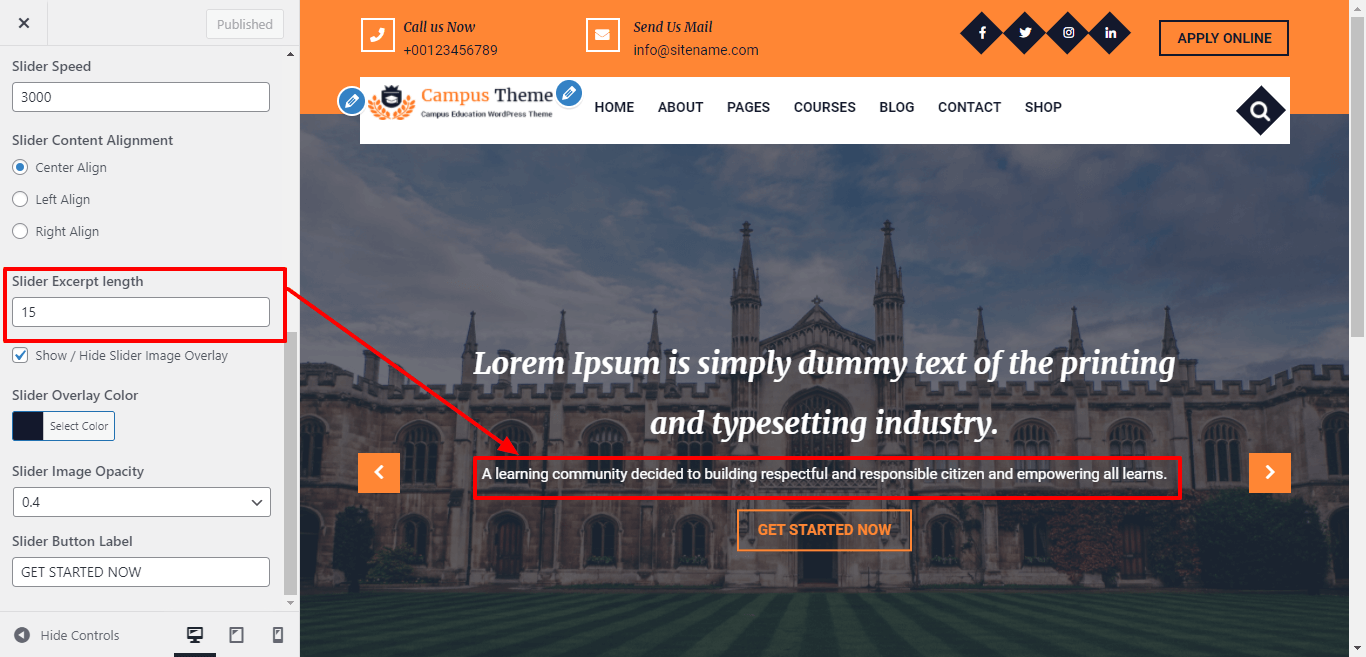
For show or hide slider Indicator , Slider Title , Slider Content , Slider Button , click twice on the checkbox.
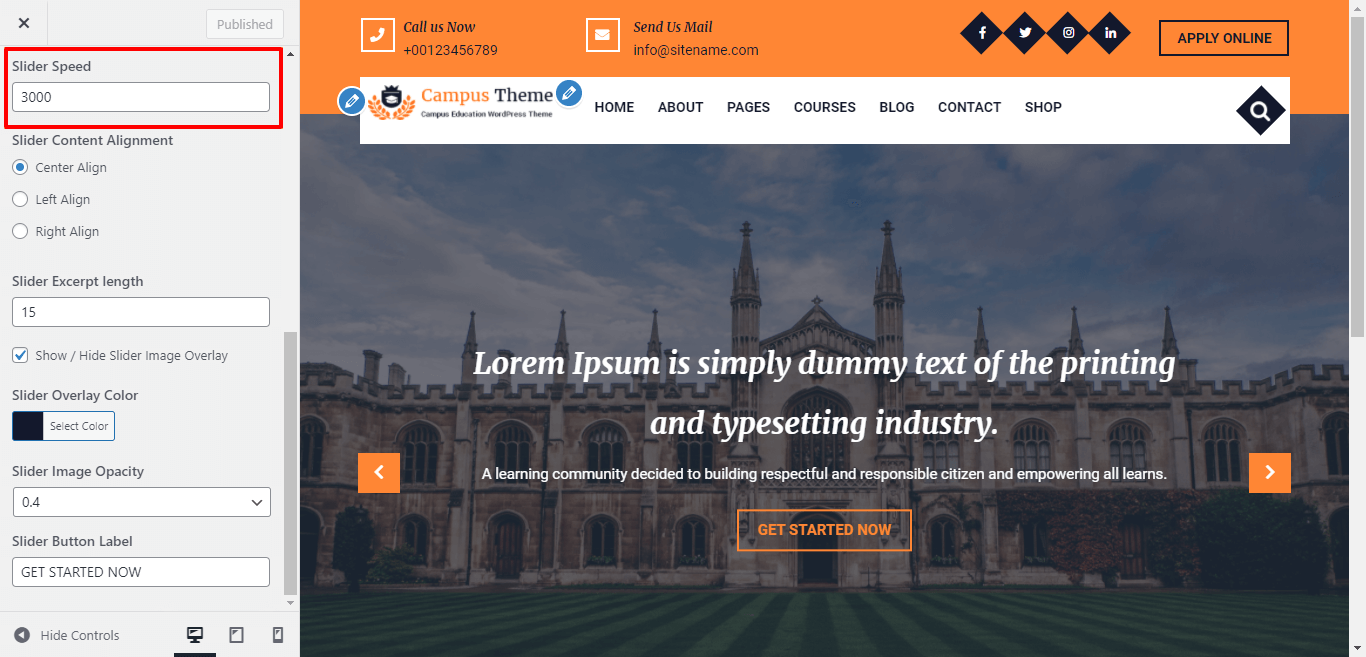
Here You have an option to the speed of slider to load slider fast for the theme.
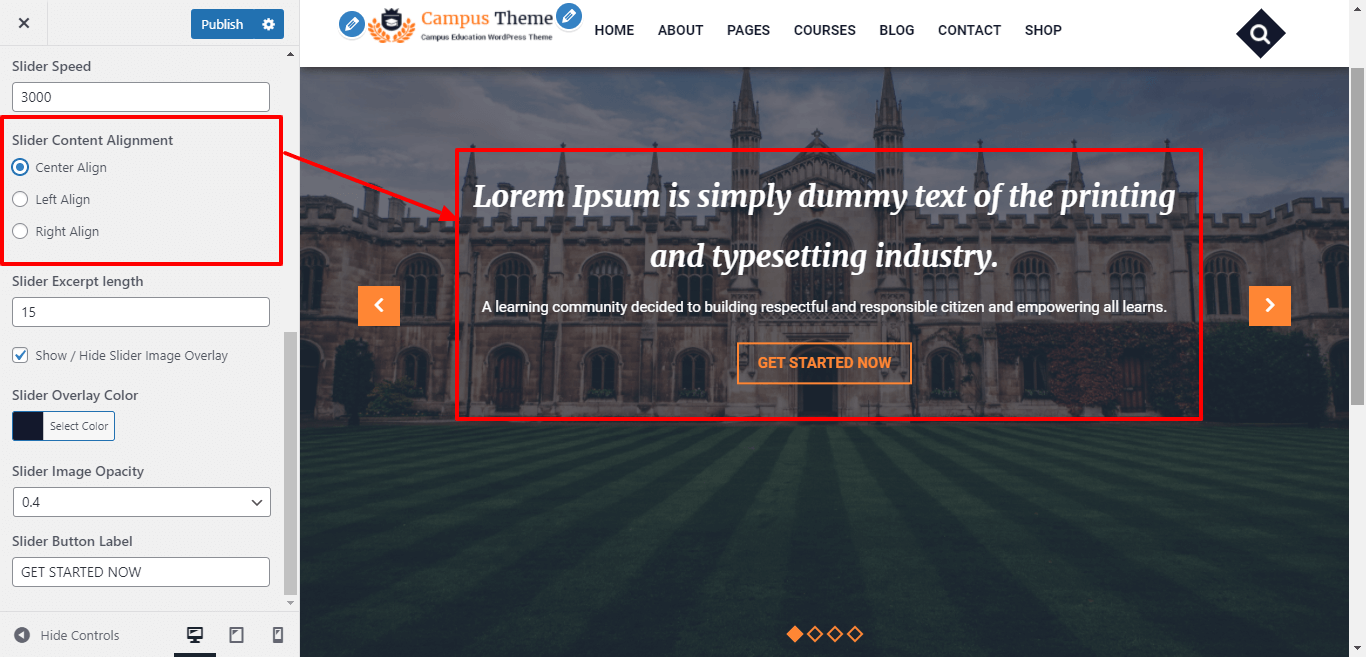
You can select the slider content alignment for the theme.
Here You have an option to add height and width text area of slider box for the theme.
For show or hide Slider Image Overlay, click twice on the checkbox.
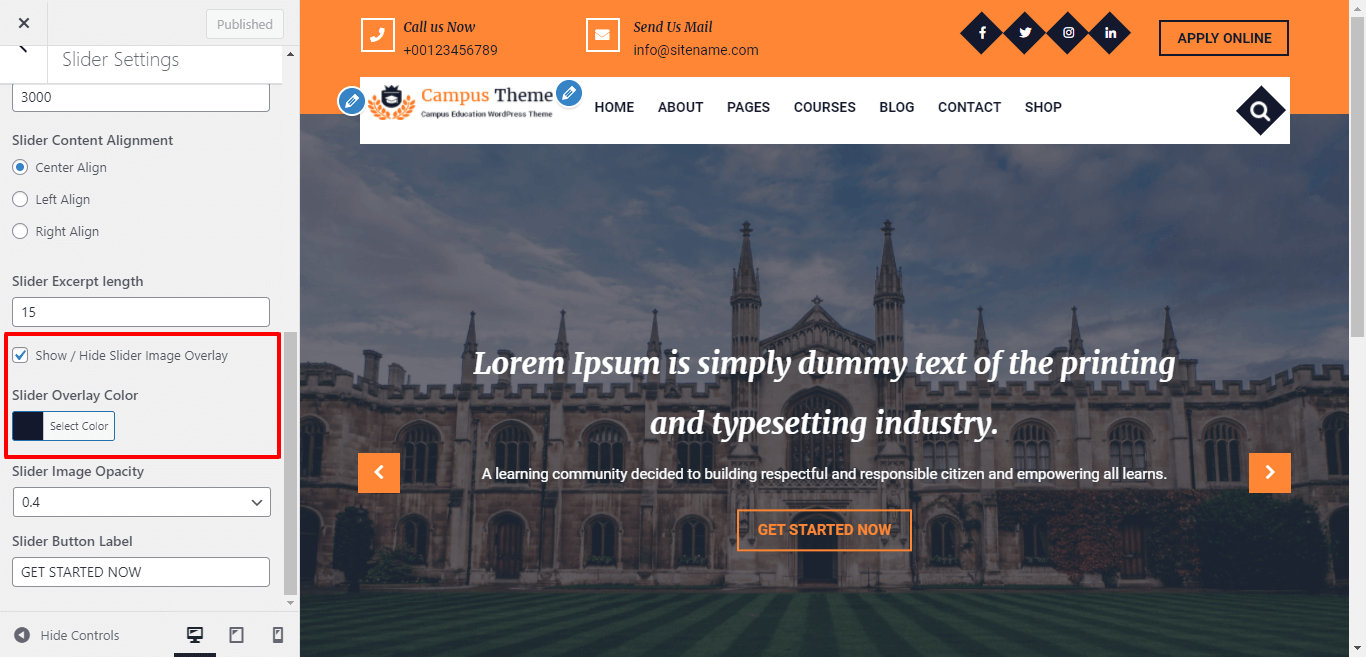
You can select opacity for slider image.
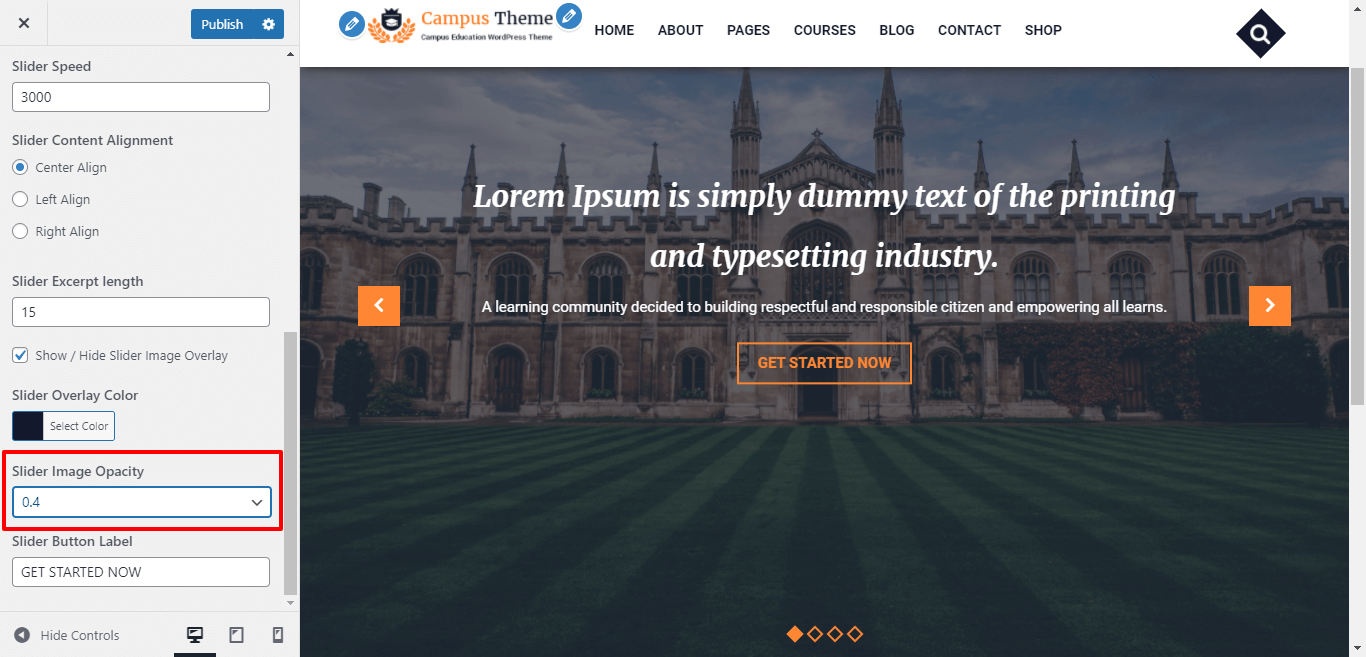
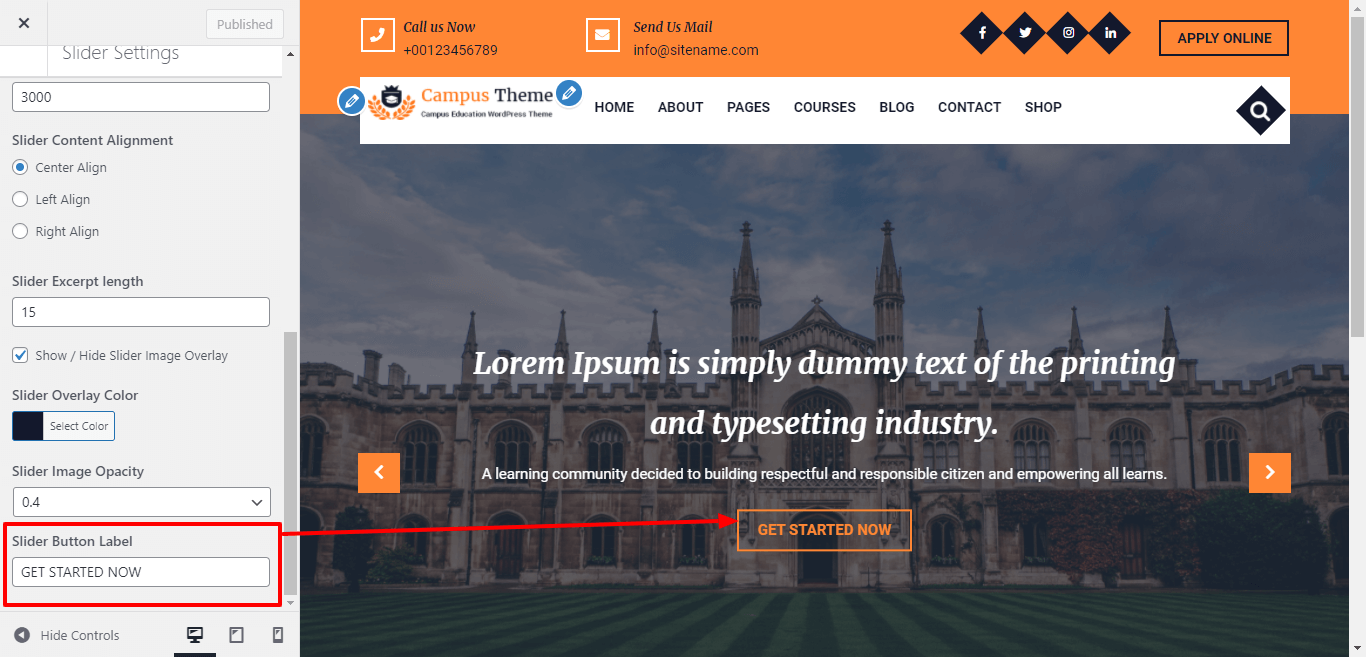
Here you can add Slider Button Lable for the theme.
Once you have done with this you will see the slider on your front page.

In this way you can setup slider.