Setup Global Color
In order to setup the Global Color, follow the below steps.
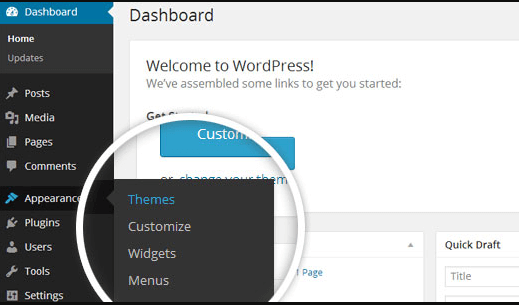
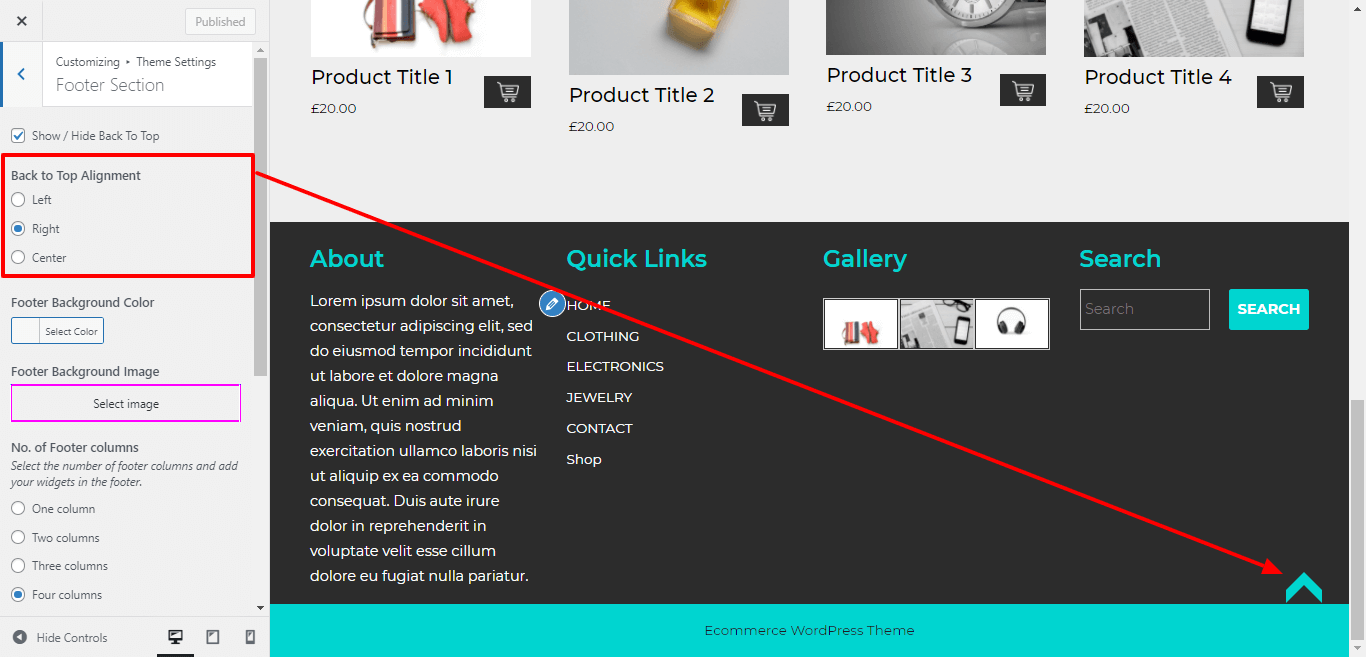
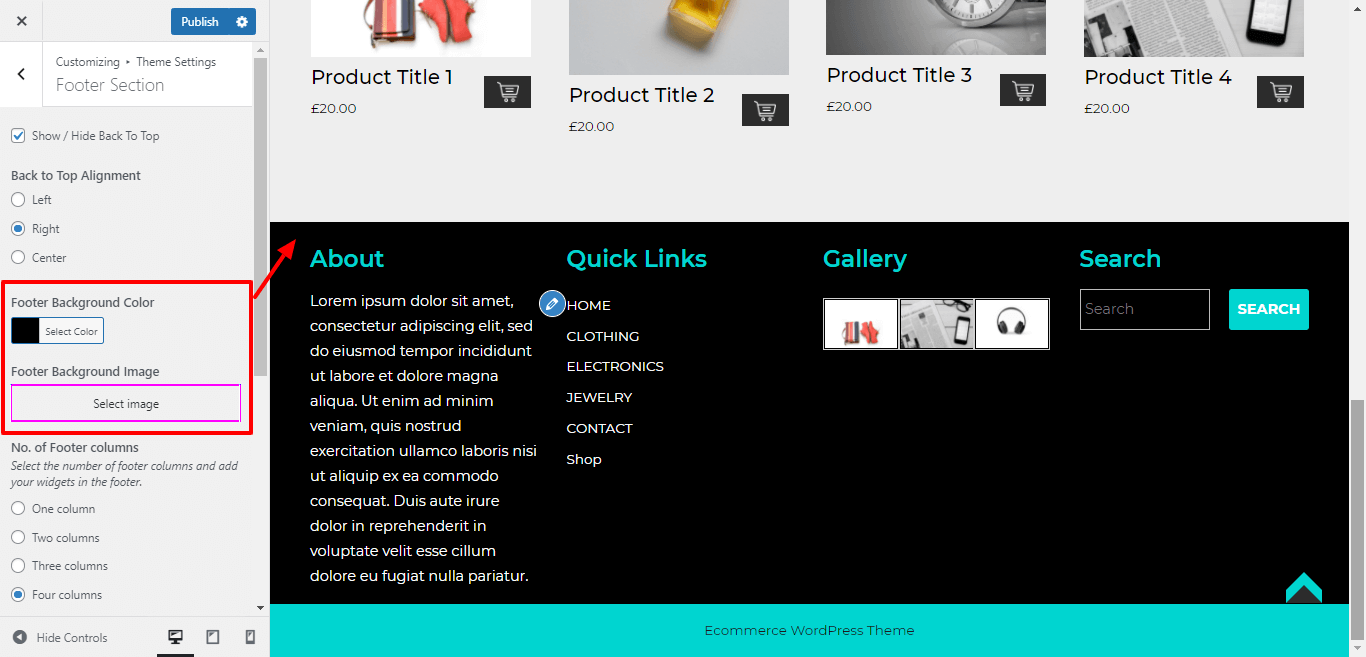
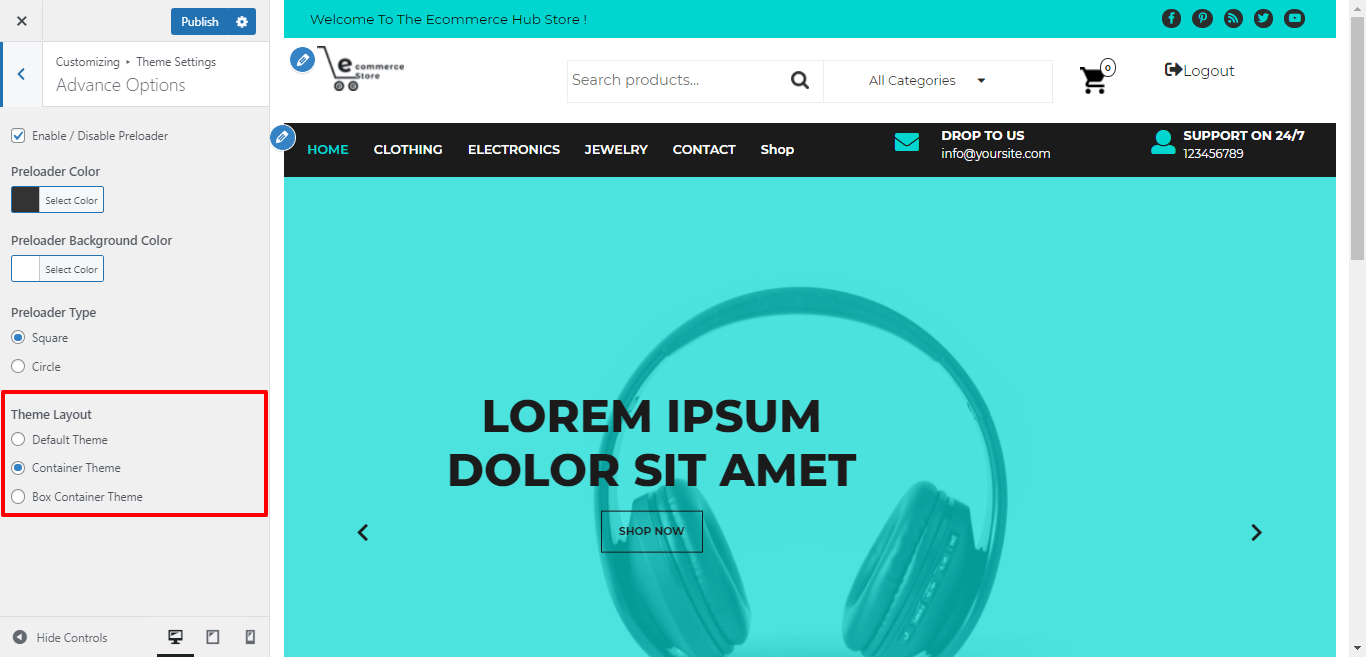
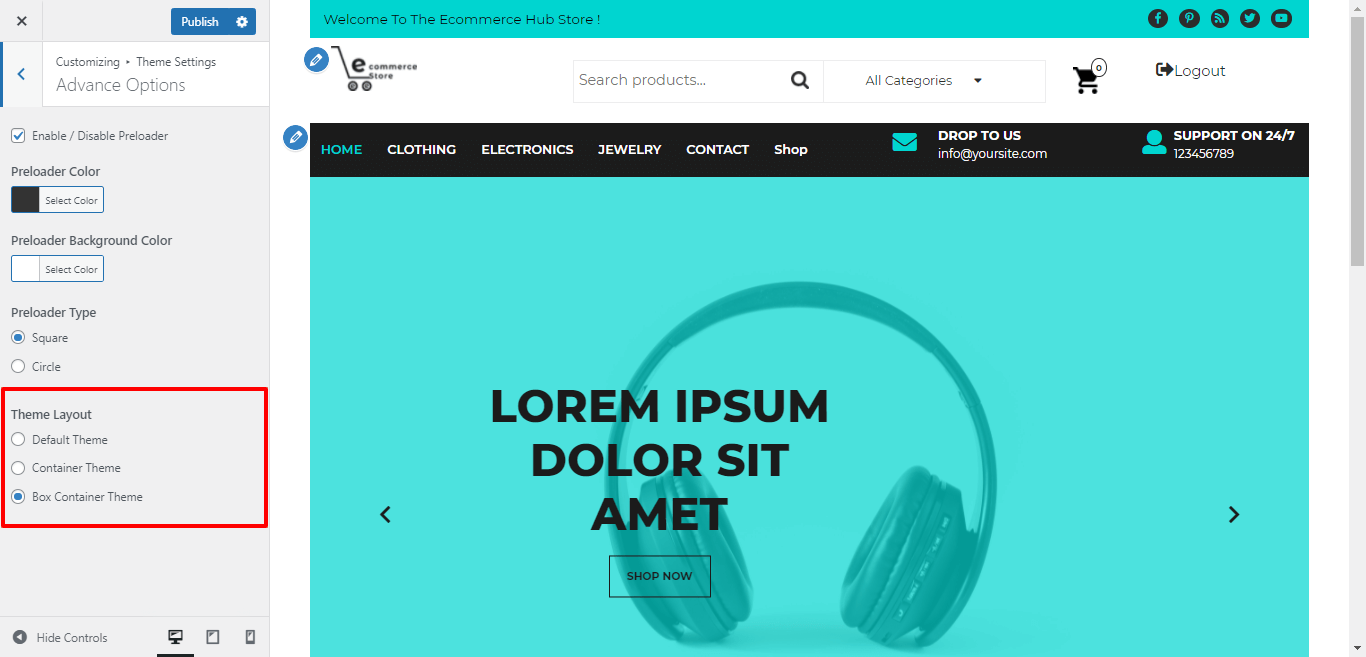
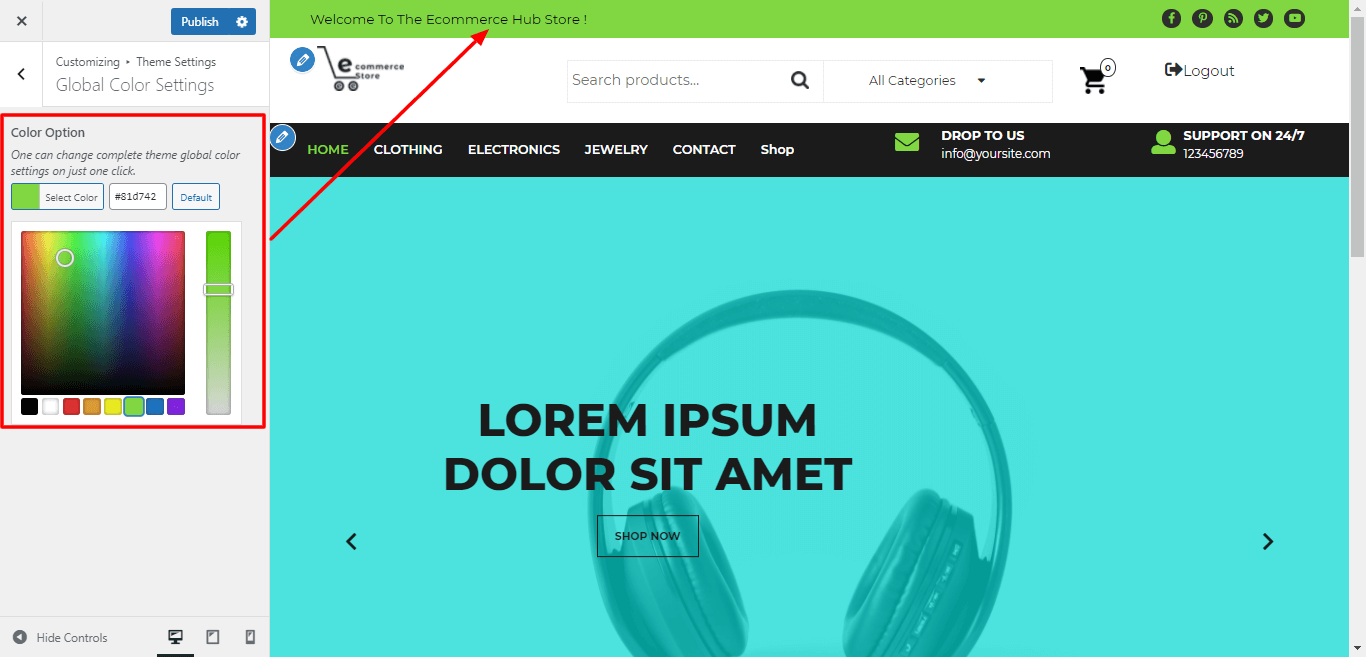
Go to Appearance >> Customize >> Theme Settings >> Global Color Settings
Here you can select the color for the theme.
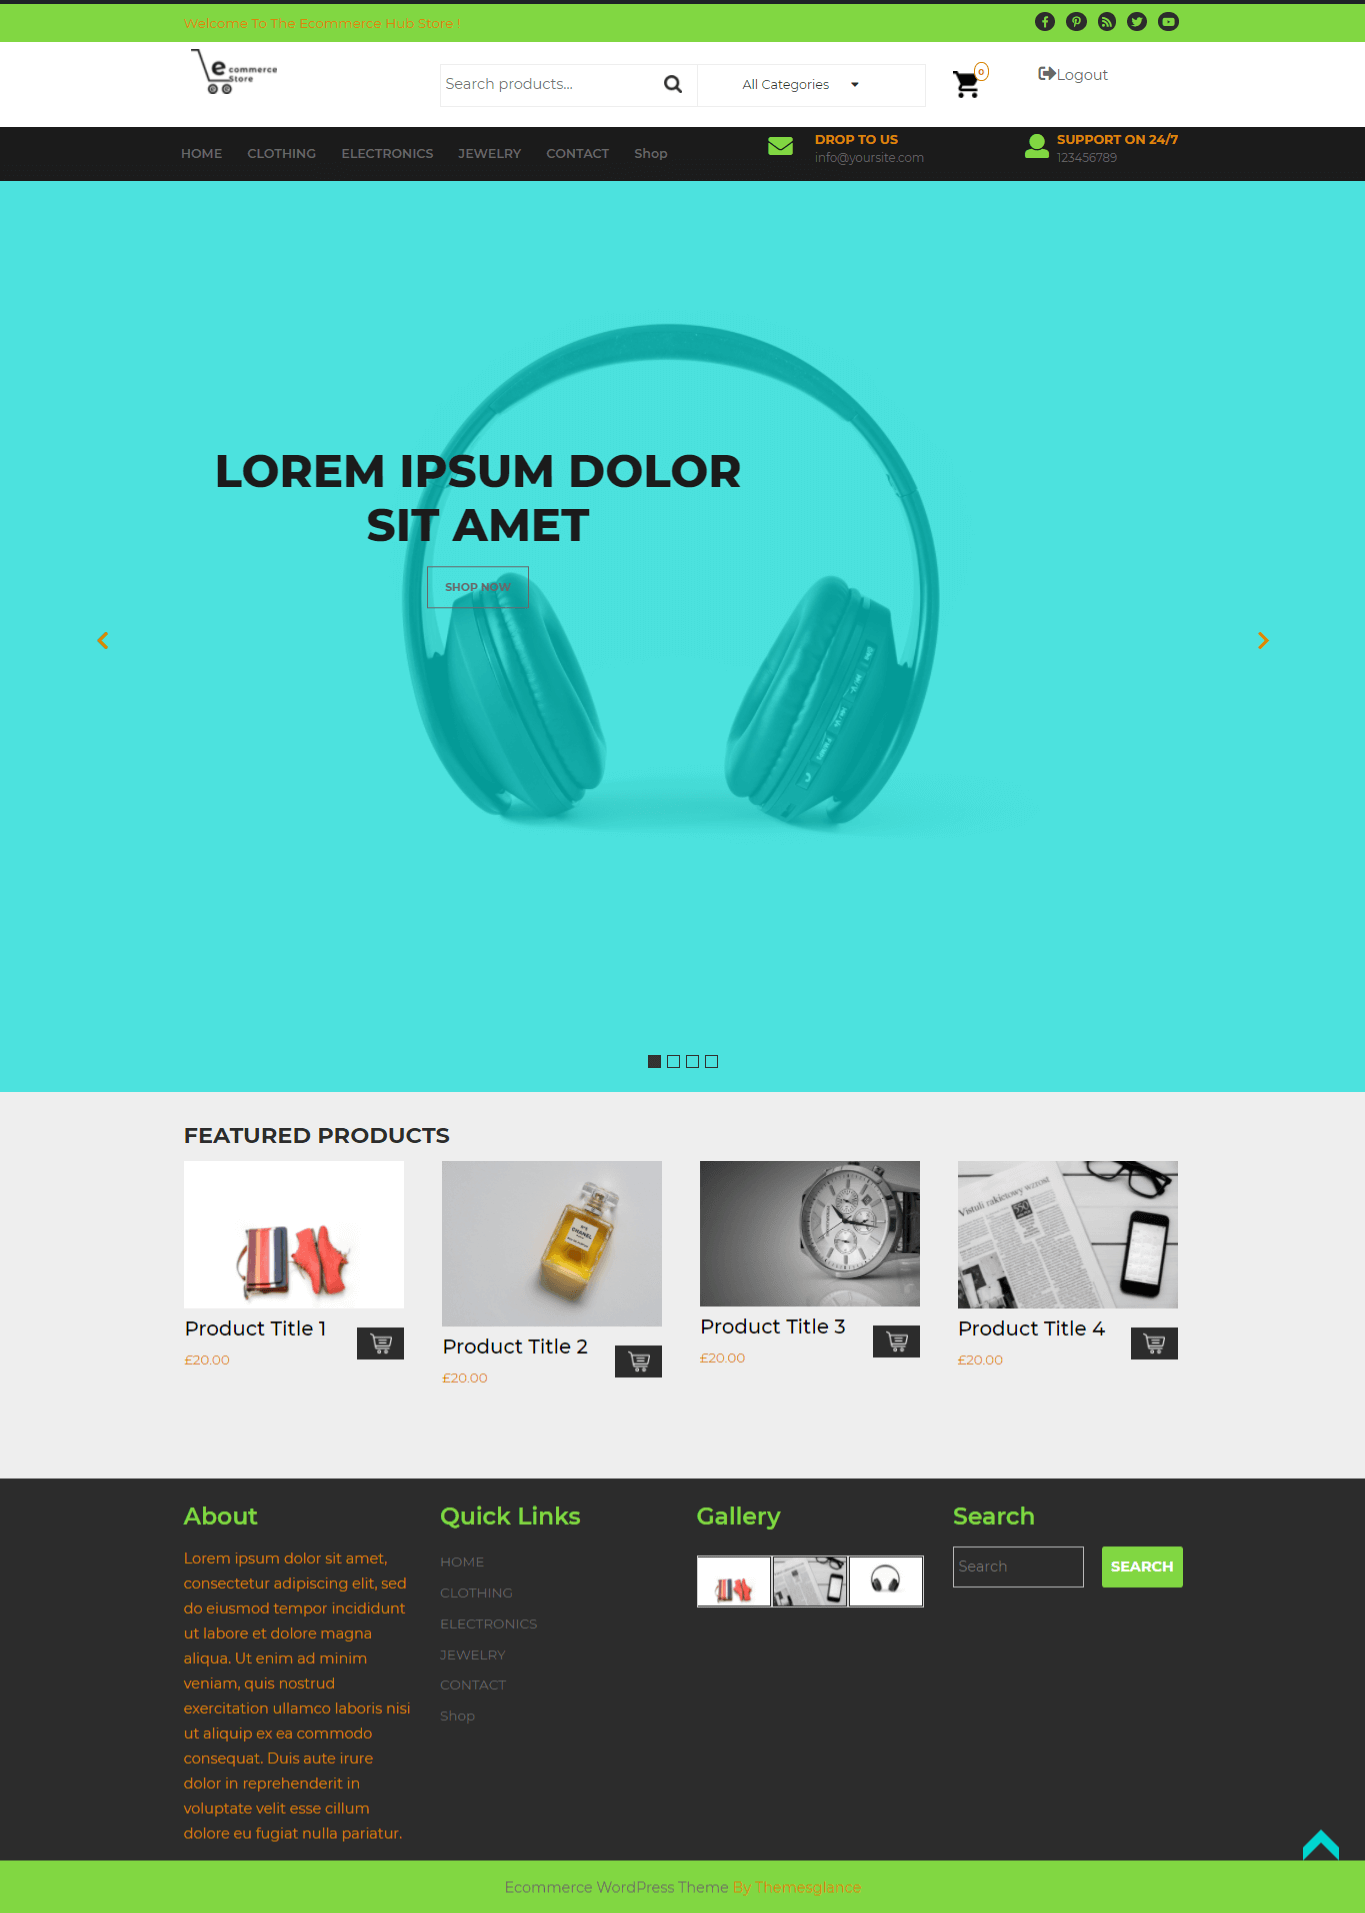
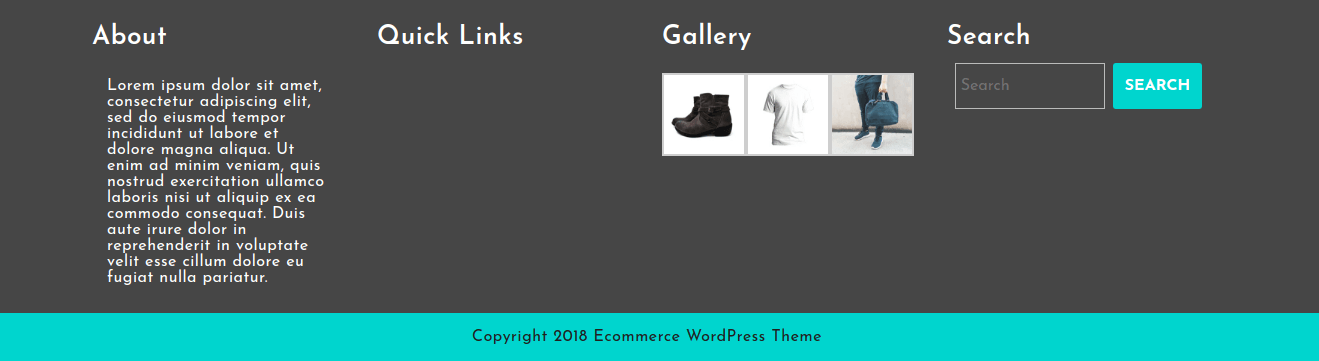
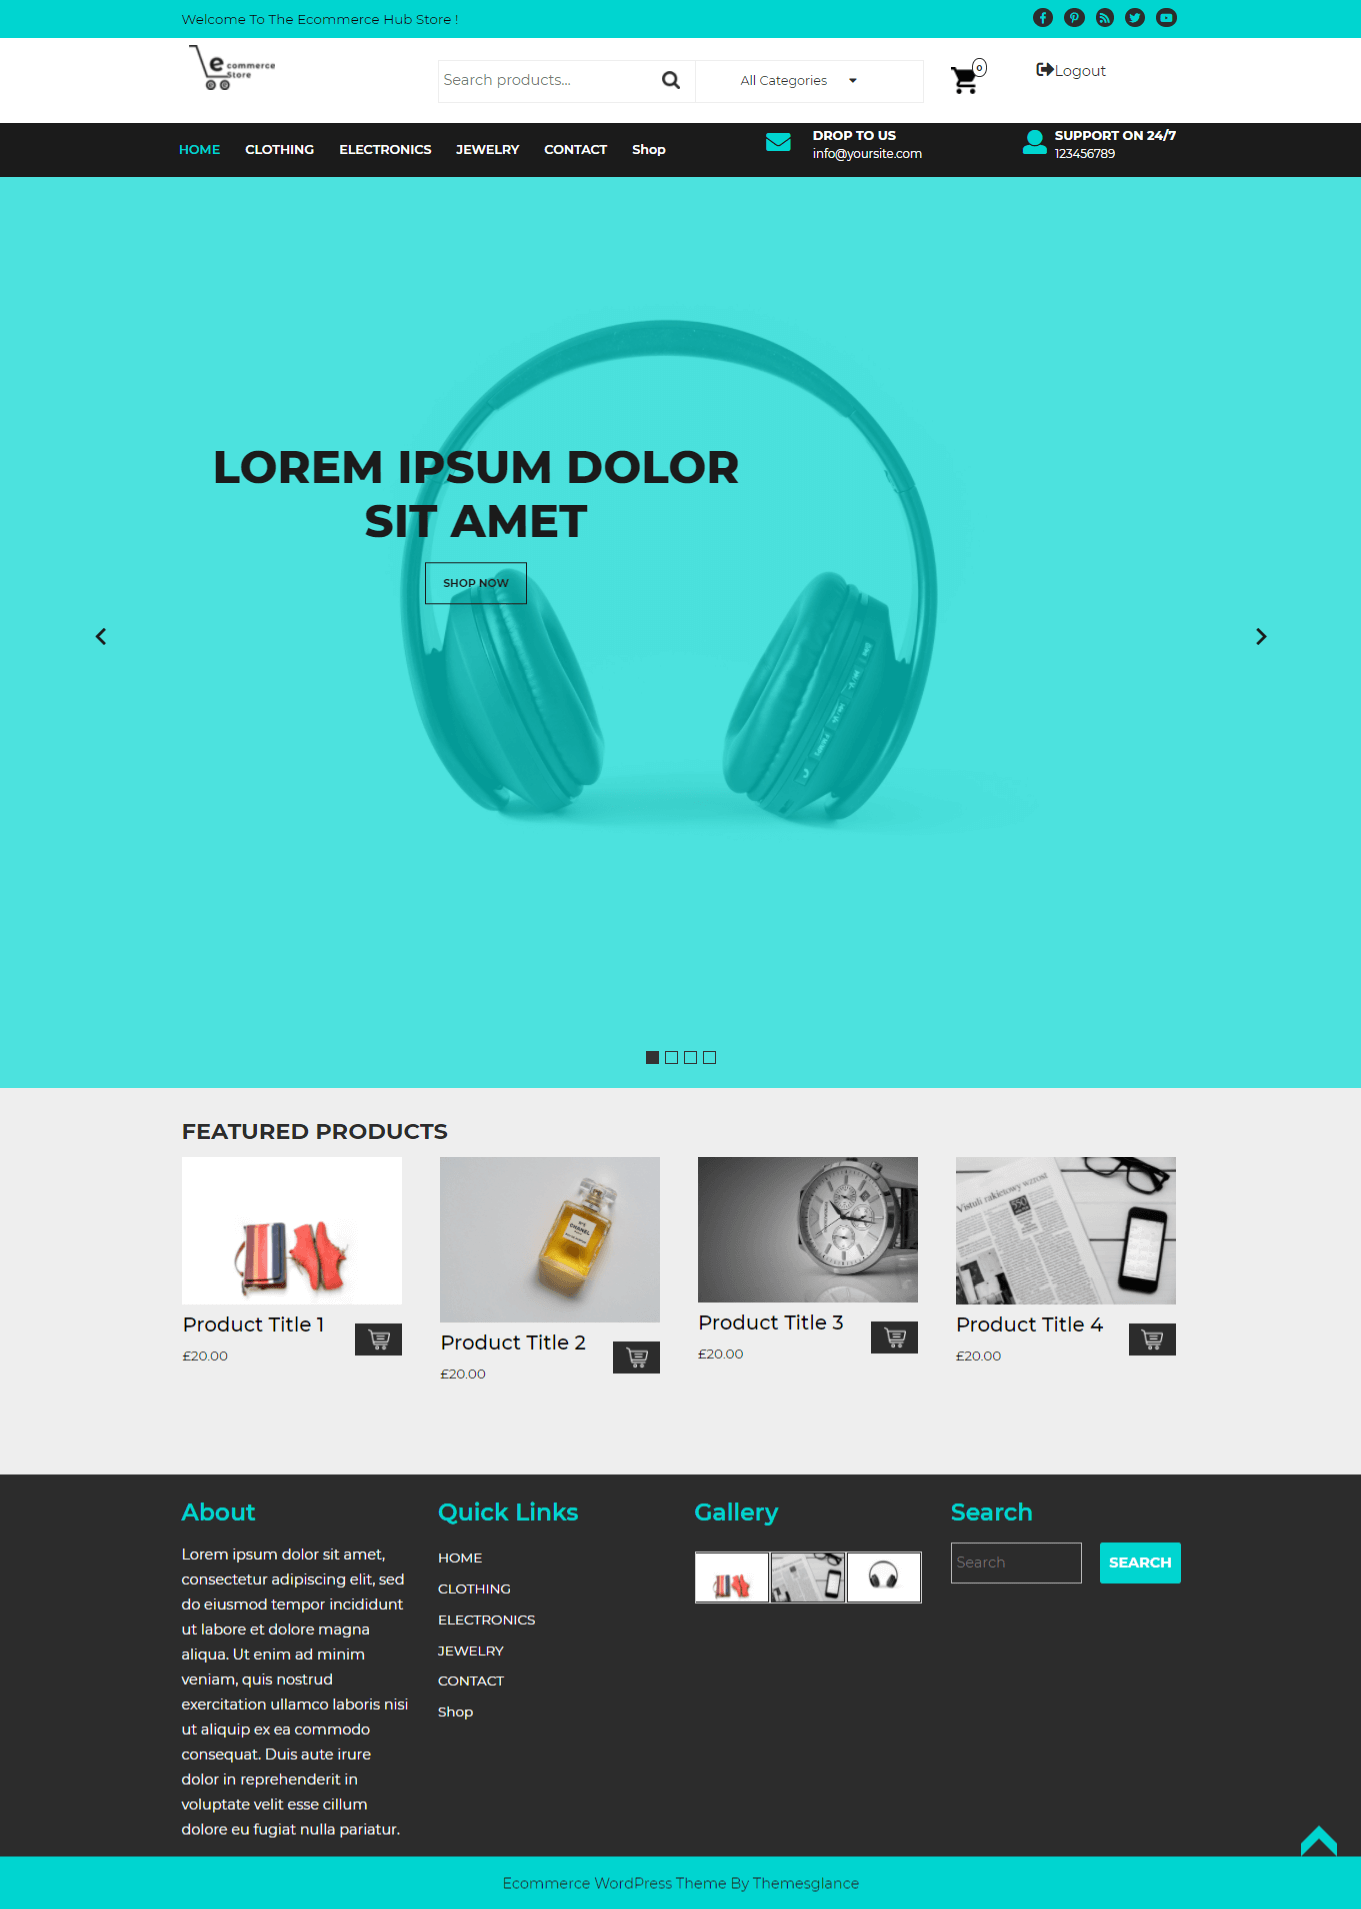
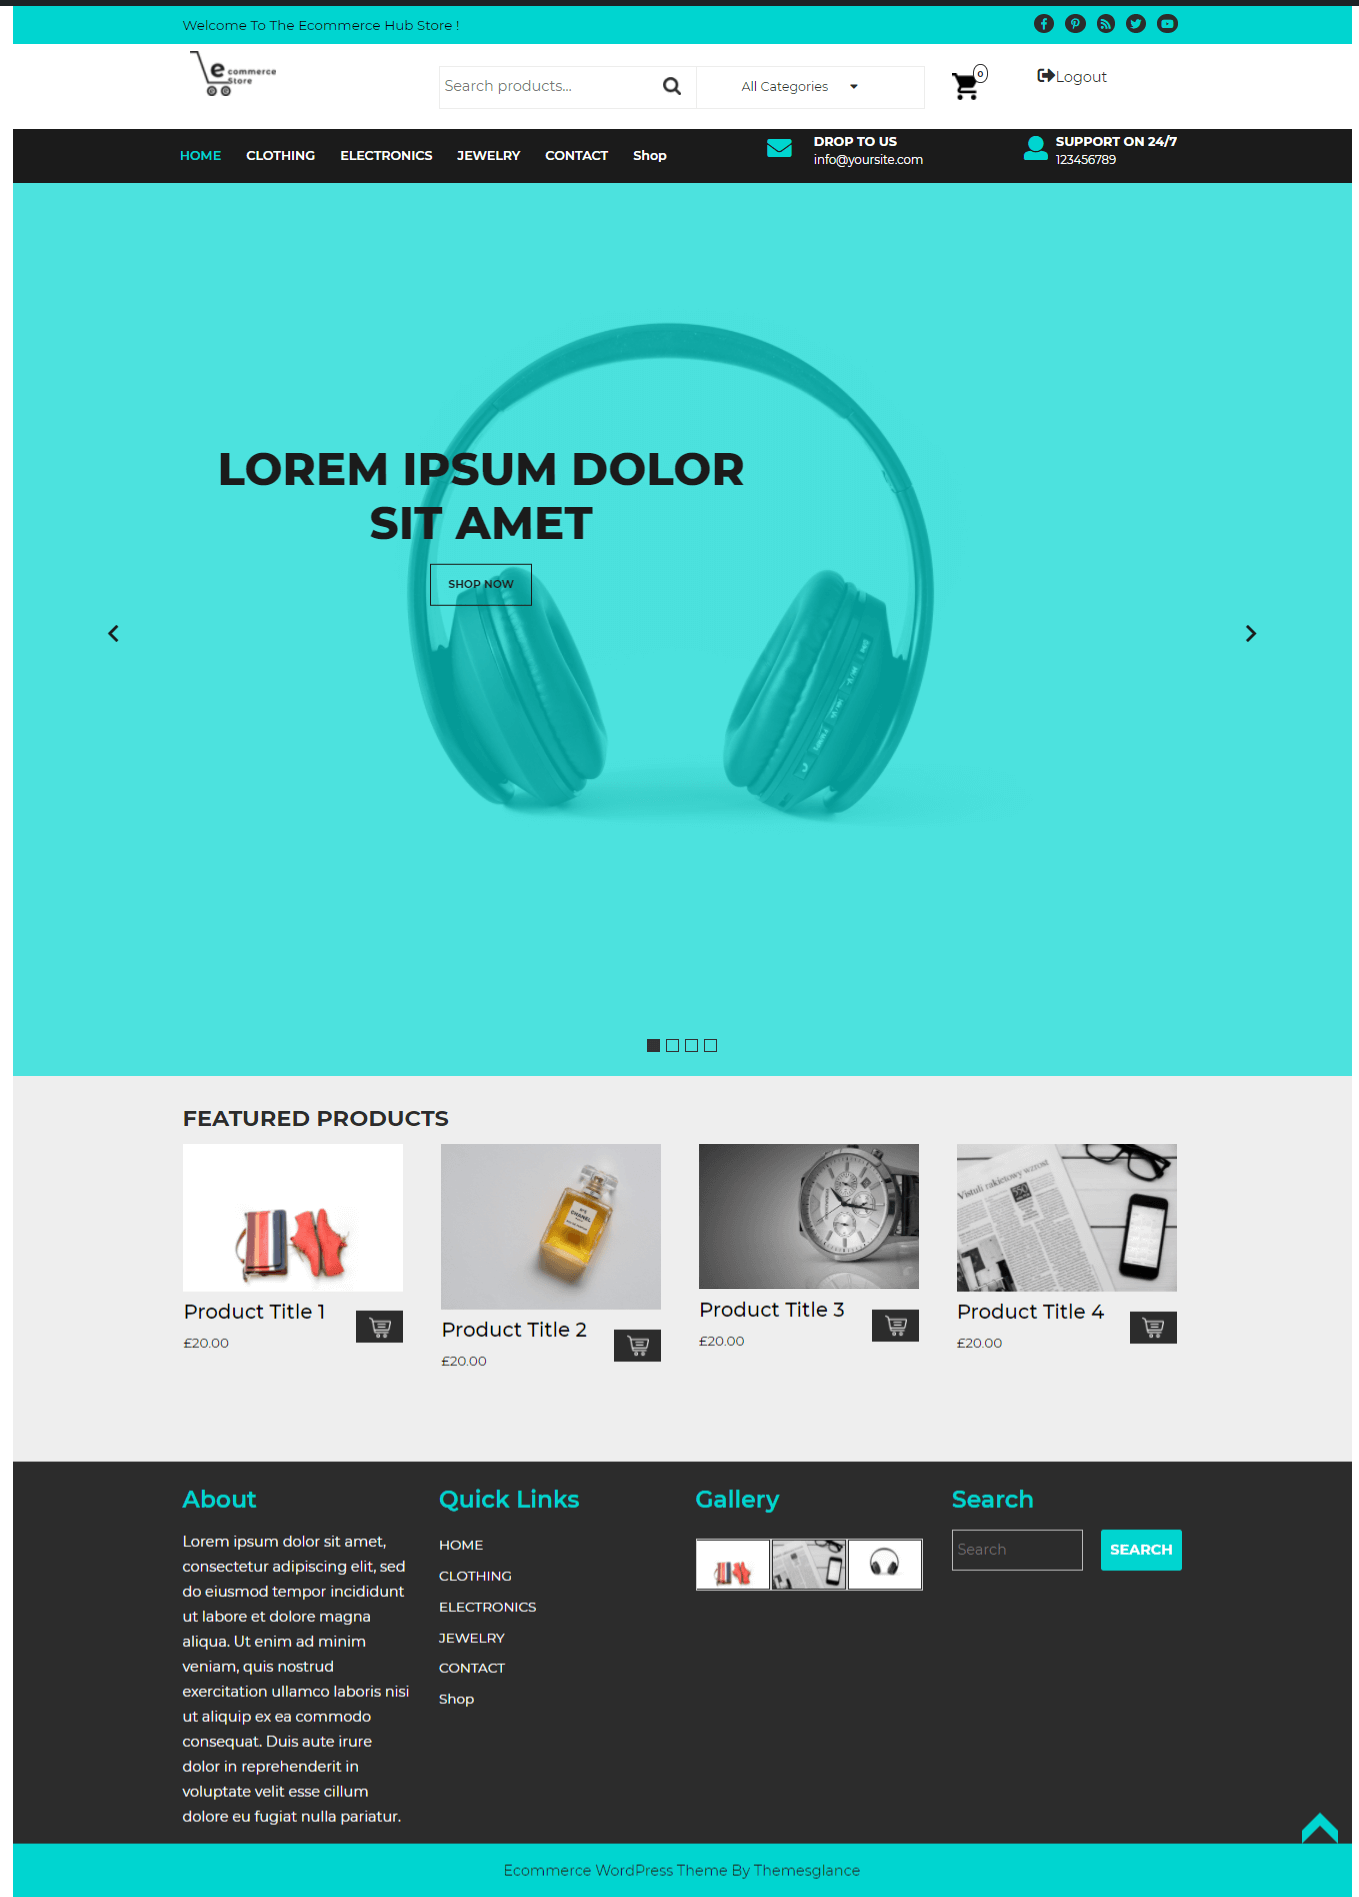
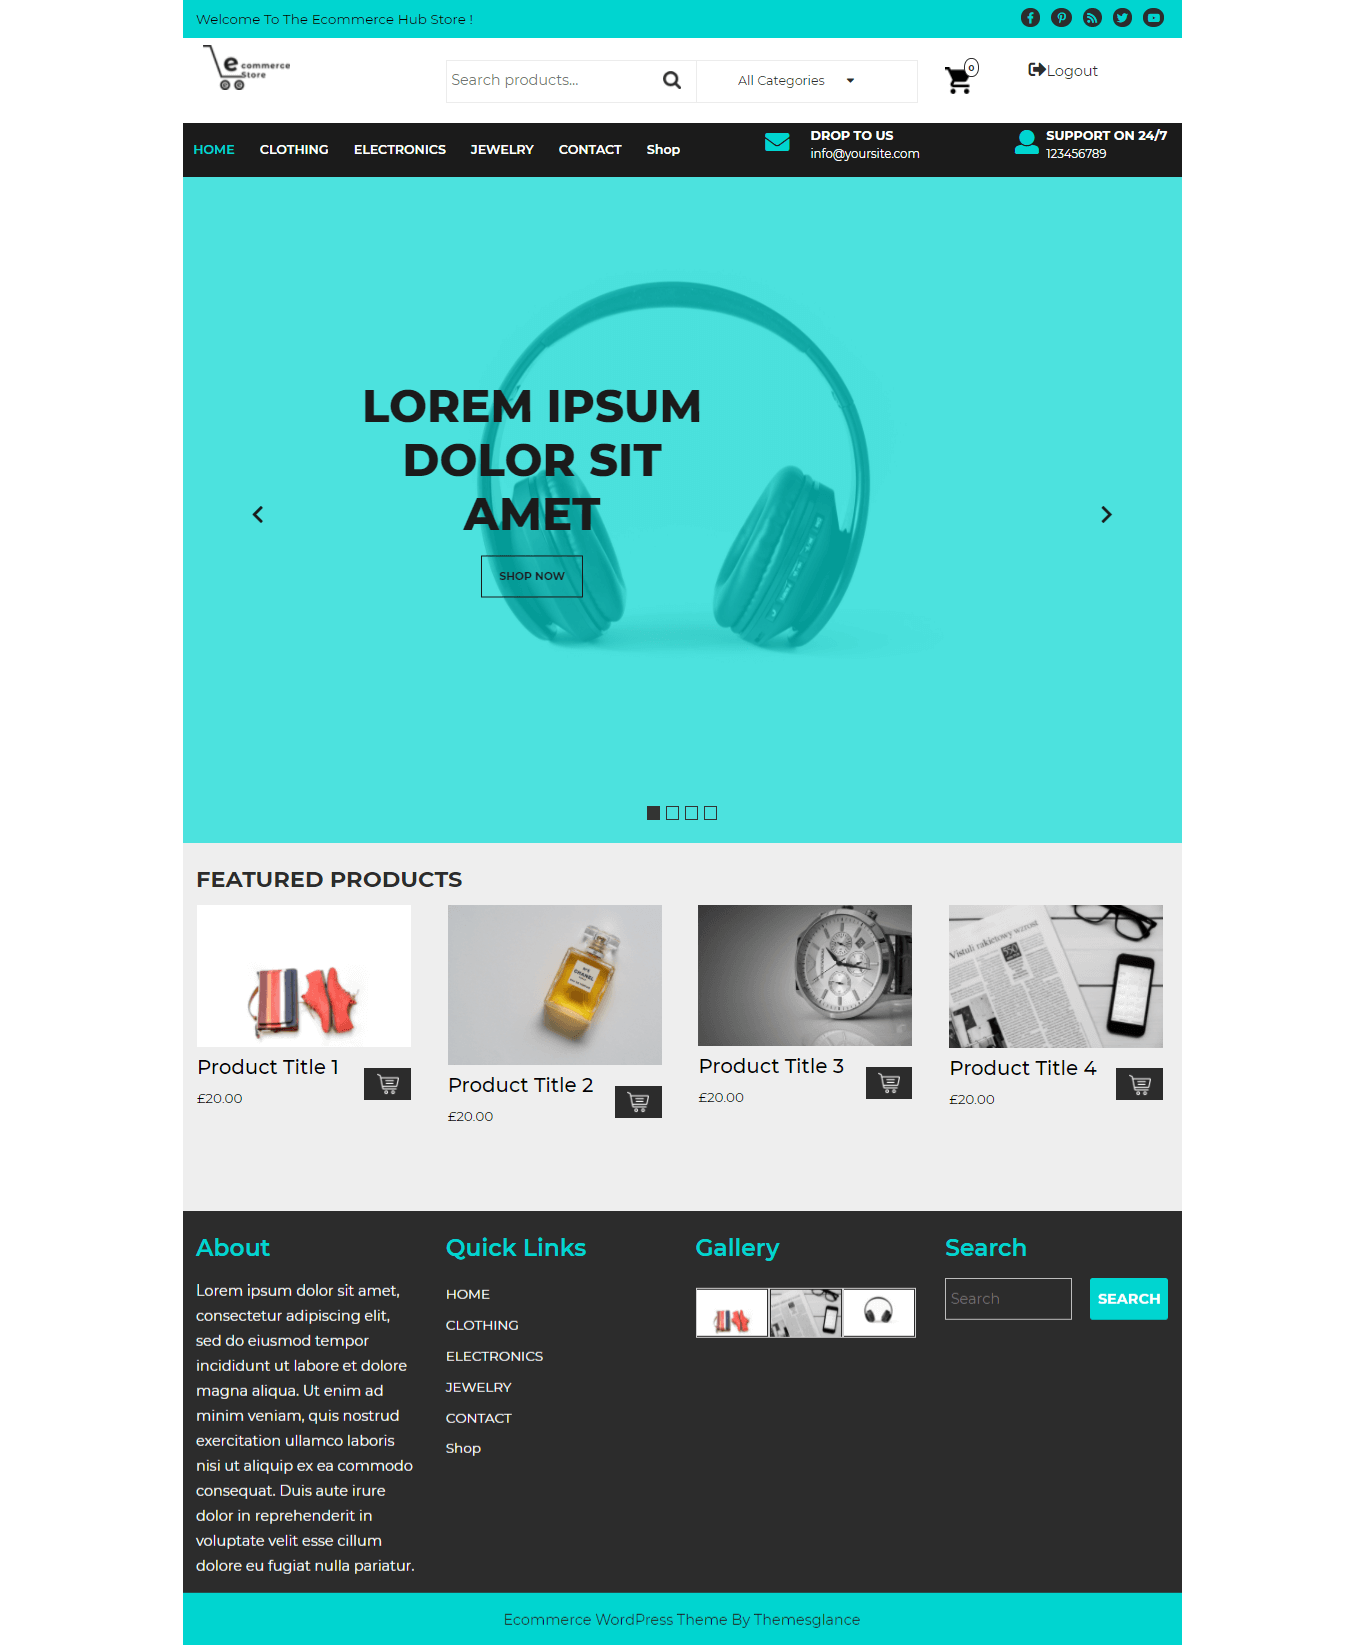
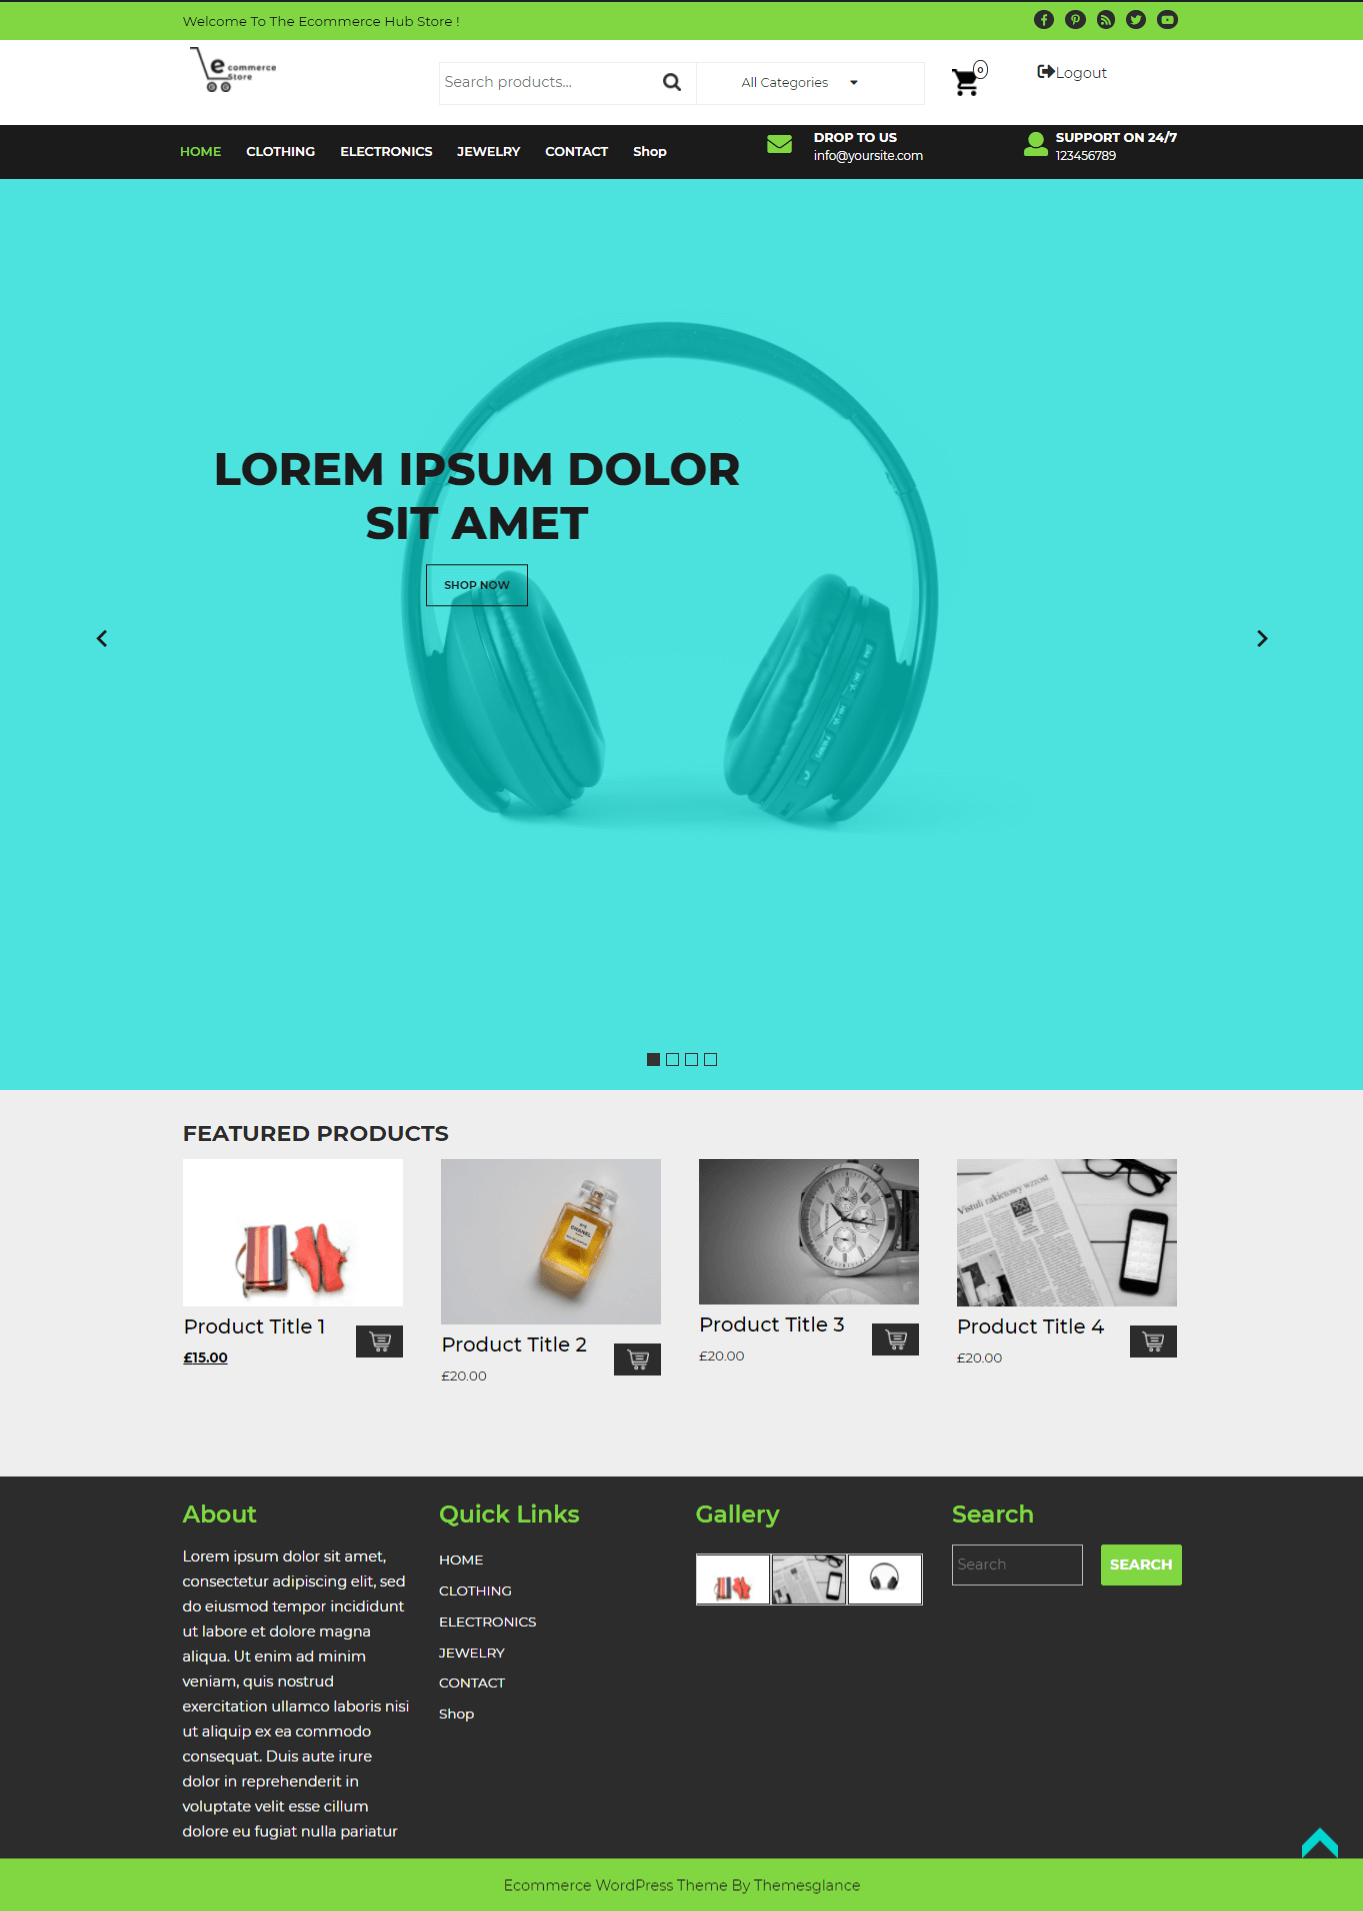
It will appear like this on the front end.
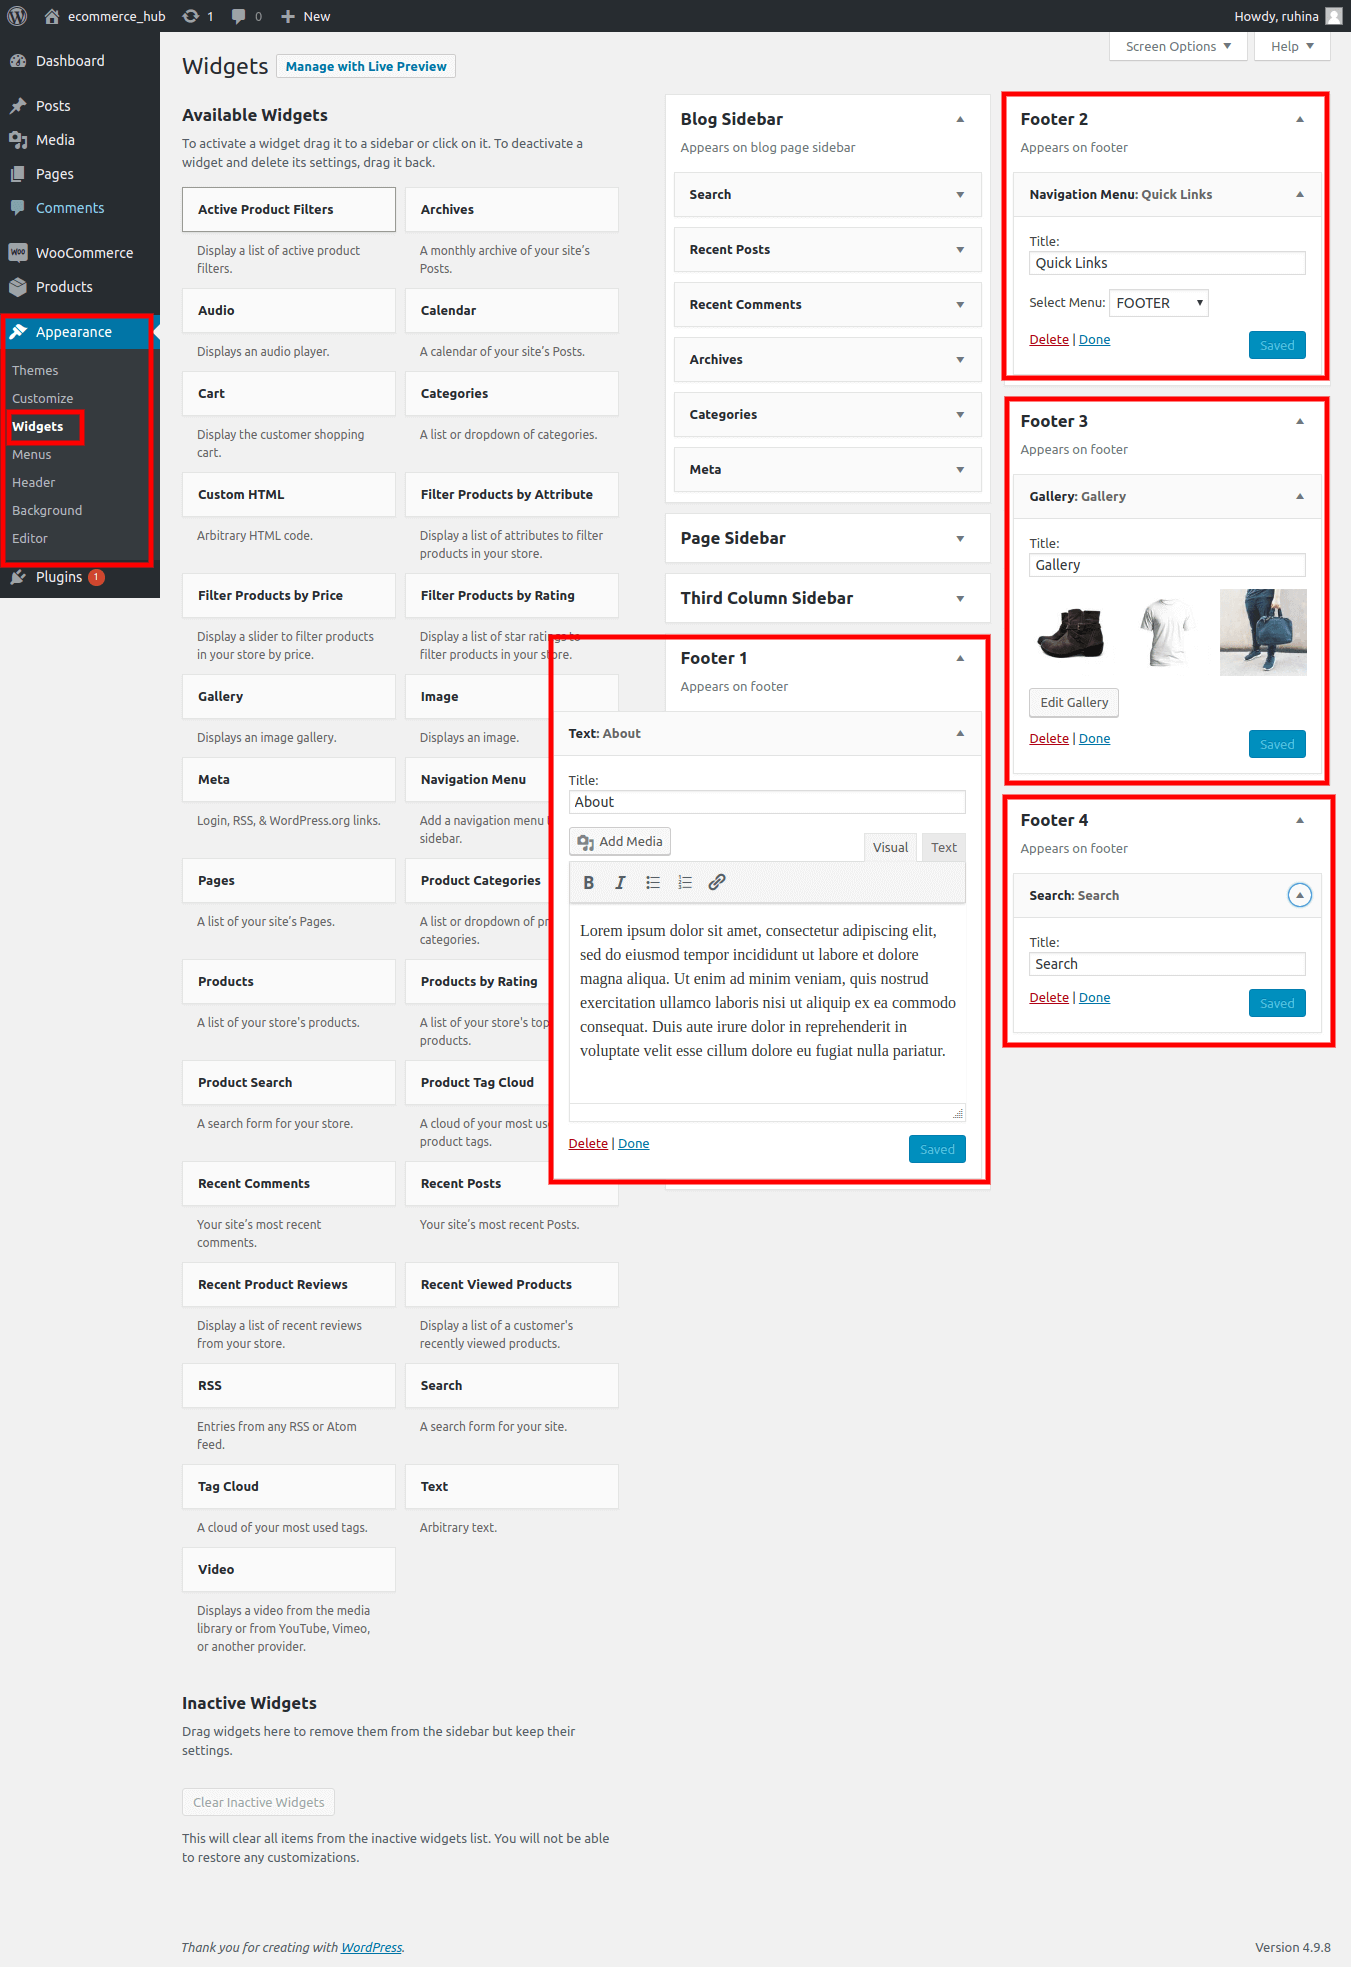
Setup Typography
In order to setup the Typography, follow the below steps.
Go to Appearance >> Customize >> Theme Settings >> Typography
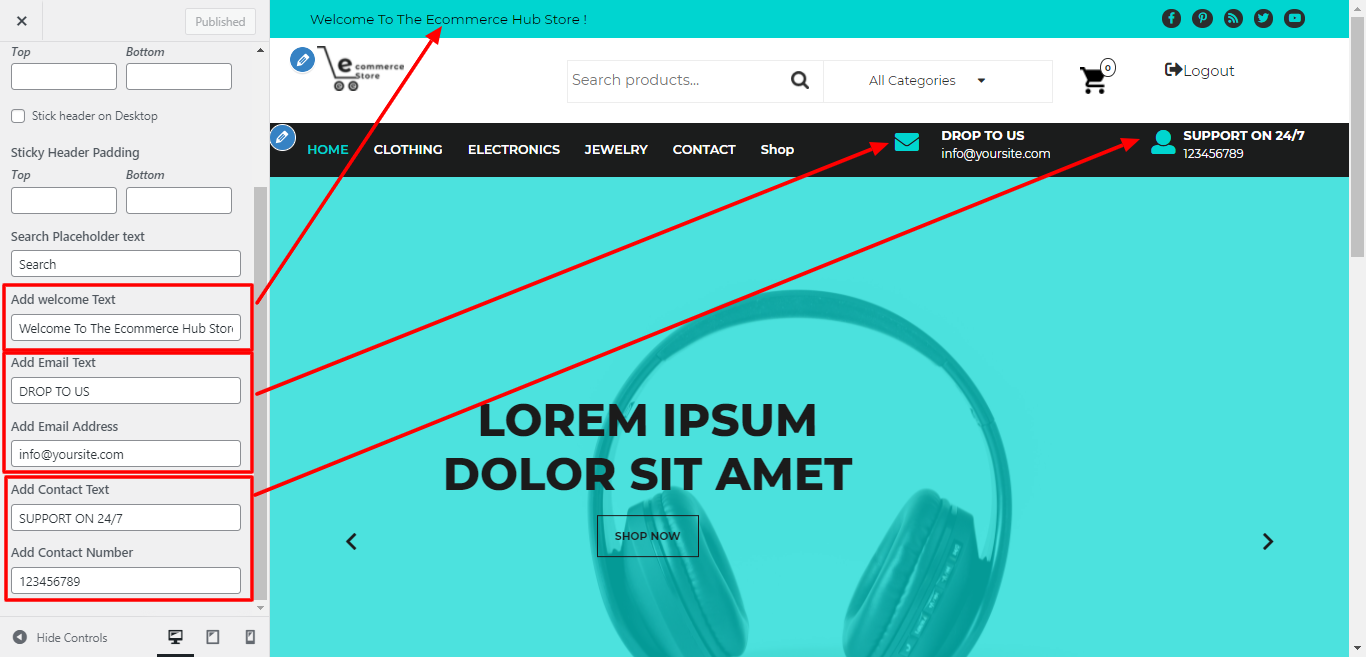
Their customizer settings are like below screenshot.
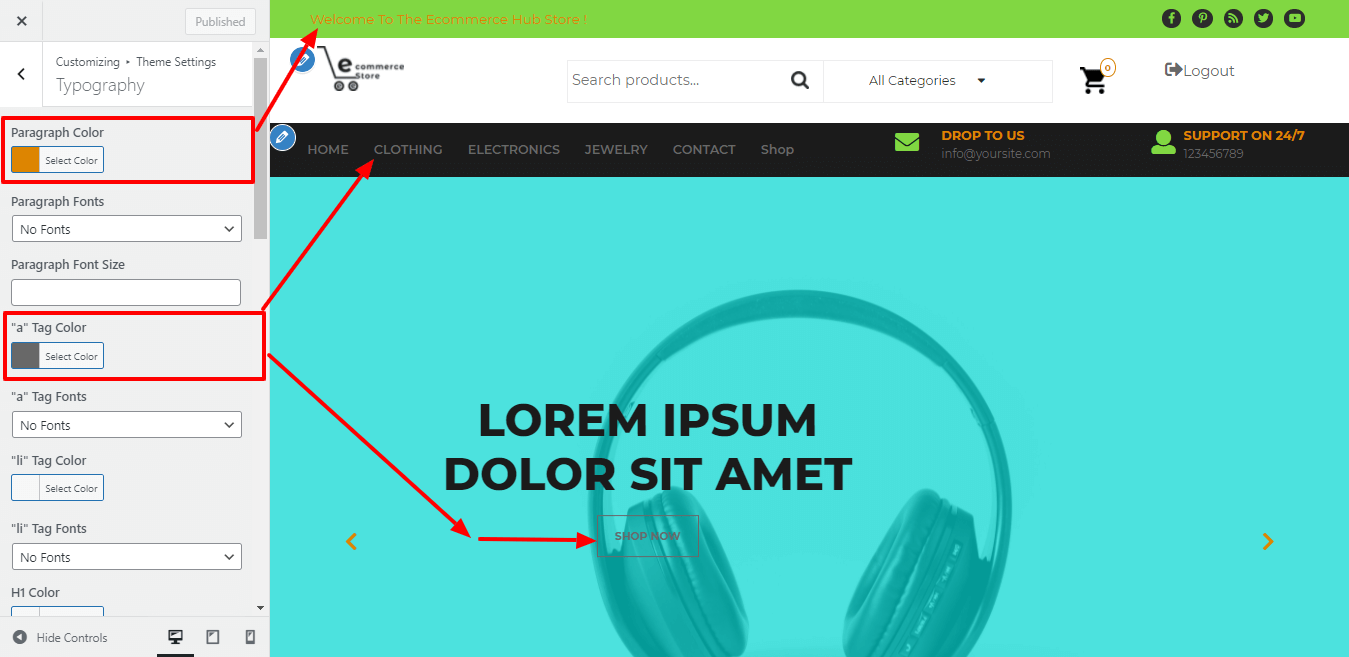
1. Color: Here you can change the colors of all Paragraph, 'a' tag, 'li' tag, H1, H2, H3, H4, H5 and H6 respectively.
2. Fonts: Here you can change the Font Family of all Paragraph, 'a' tag, 'li' tag, H1, H2, H3, H4, H5 and H6 respectively.
3. Font Size: Here you can change the Font size of all Paragraph, 'a' tag, 'li' tag, H1, H2, H3, H4, H5 and H6 respectively.
It will appear like this on the front end.