The template package you have downloaded consists of several folders. Let's see what each folder contains:
Screenshots
-contains template screenshot. Not for production.
theme
-contains wordpress theme files
"multipurpose-startup-pro.zip"
-this folder contains all the necessary files for the theme.
"license.txt"
-contains license details
"readme.txt"
-contain information about theme images path, font use and usage script
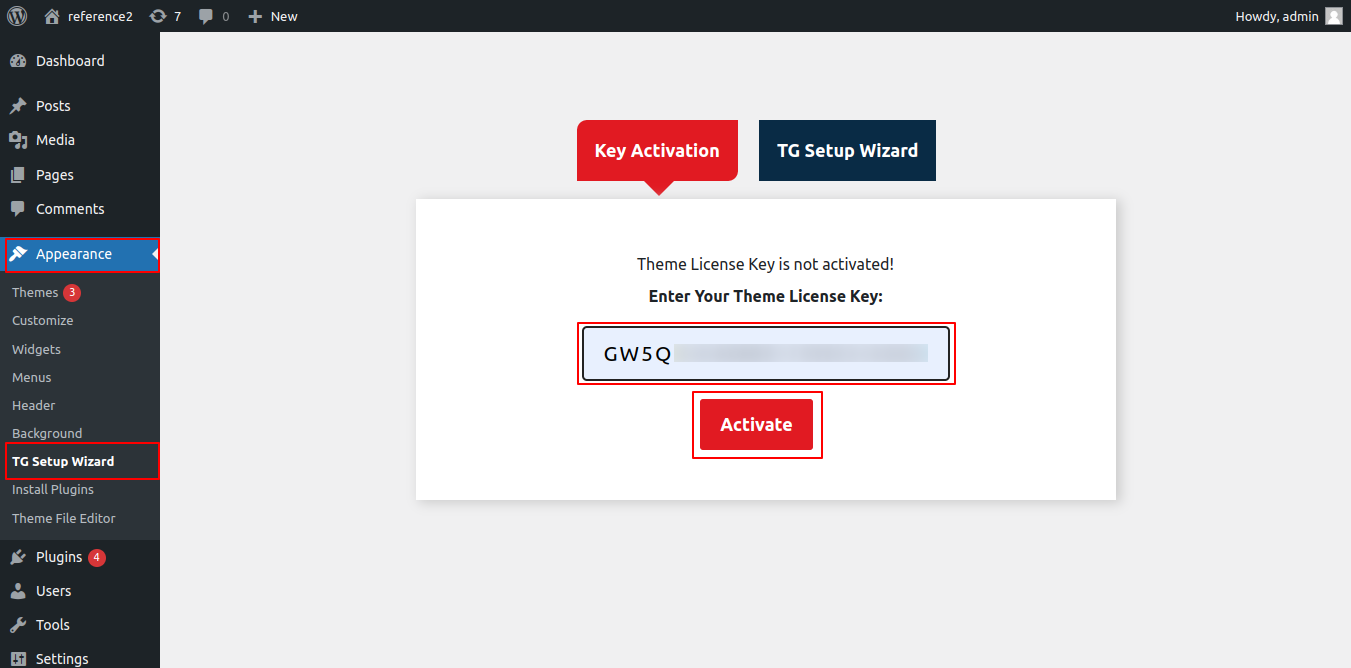
TG KEY ACTIVATION
The steps for activating a TG Key are as follows.
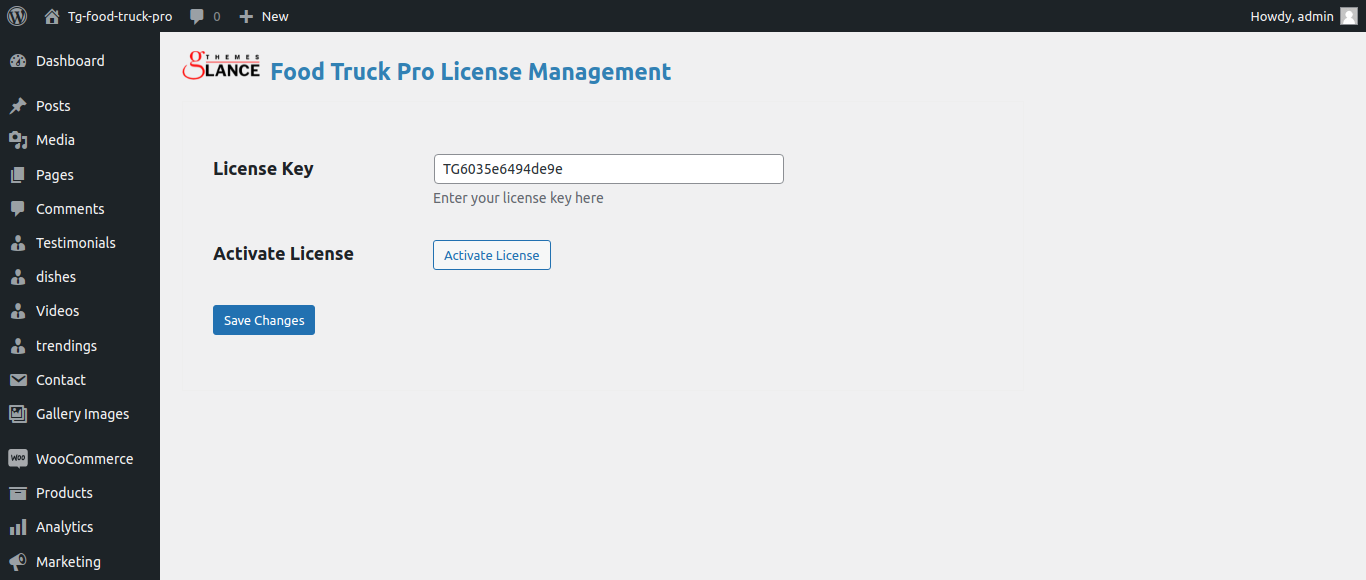
As you will get the License Key on your Email, use that key to Activate License.
Follow the following Process to Activate License.
Go to Dashboard >> Appearance >> TG Key Activation >> Enter Key>>Save Changes.
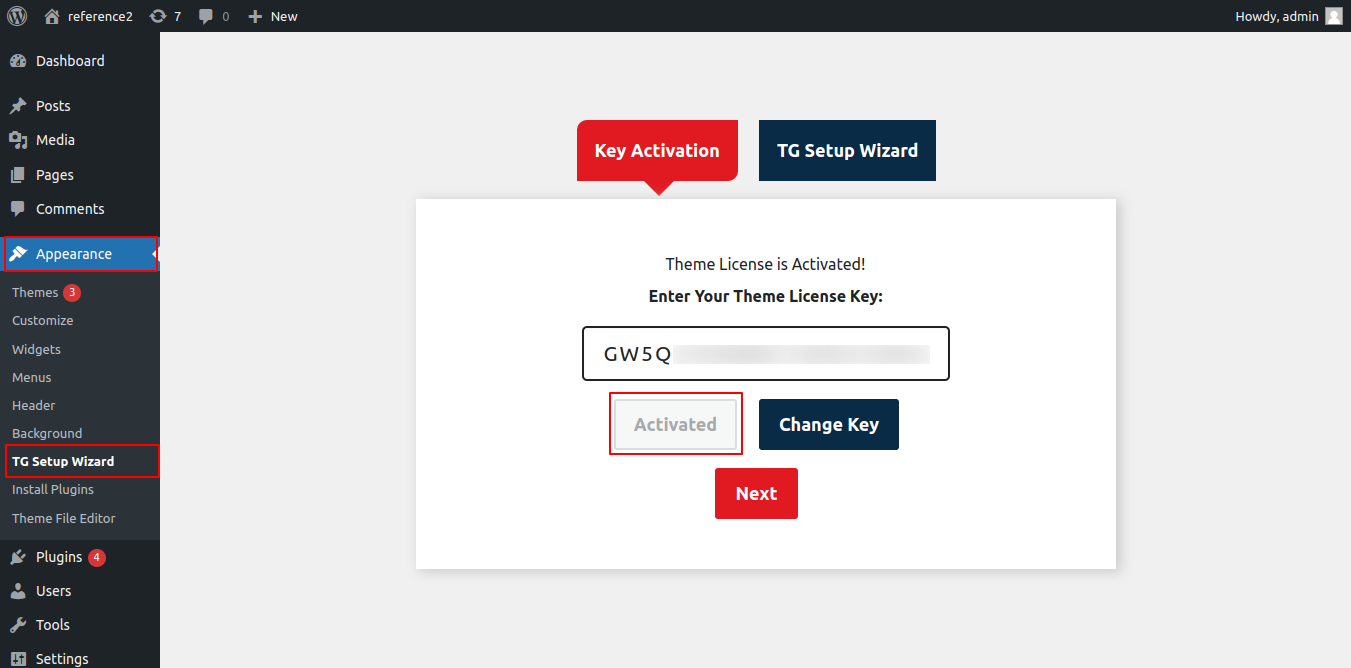
After Entering The Key >> Activate Licence.
After you Activate Licence,the key will be active and then you can Getstarted with the Theme.
This is how you can activate your Licence Key.
Template Installation
Installing a template is a simple process. There are two ways to complete the installation process.
1-Using WordPress admin, install a theme.
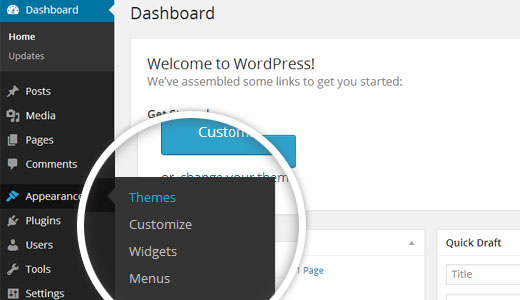
The first step is to log in to your WordPress admin dashboard. then click on
1.Go to the menu
Appearance >> Themes
2. Once you are on the themes page, click on the
Add New button at the top.
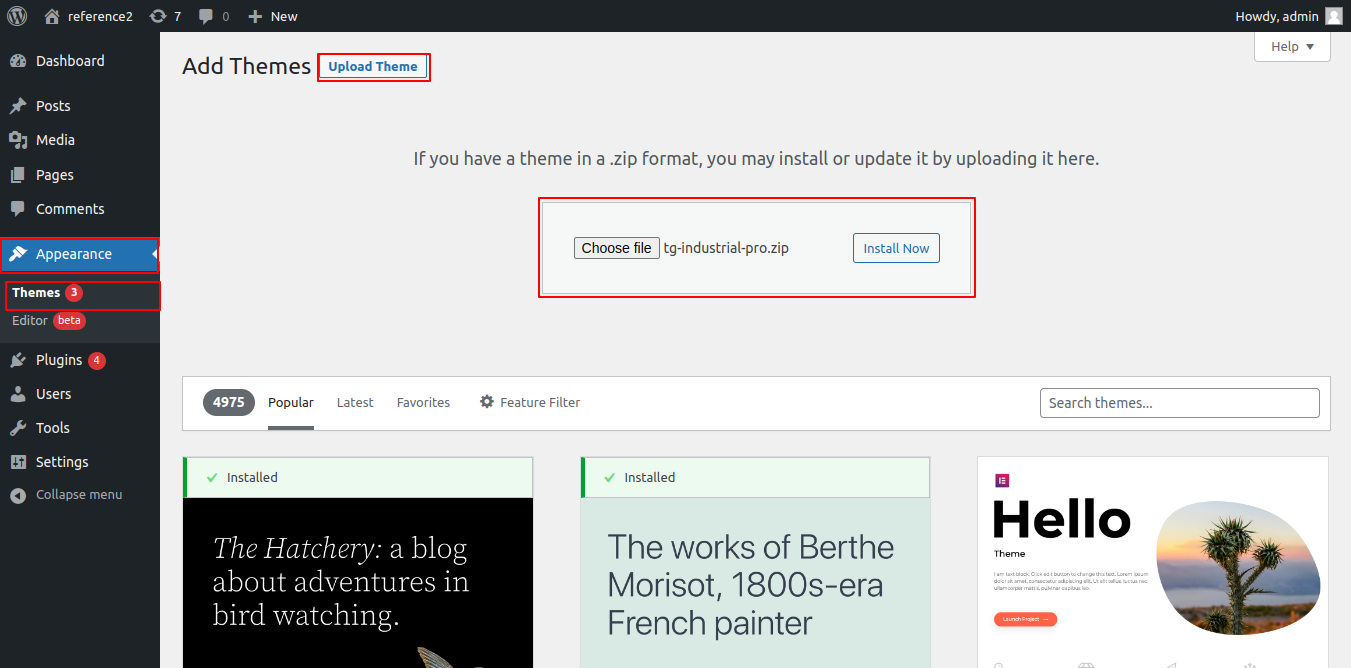
3. To upload a theme, click the button.
4. Choose the multipurpose-startup-pro.zip theme by clicking on Browse, then click Install Now.
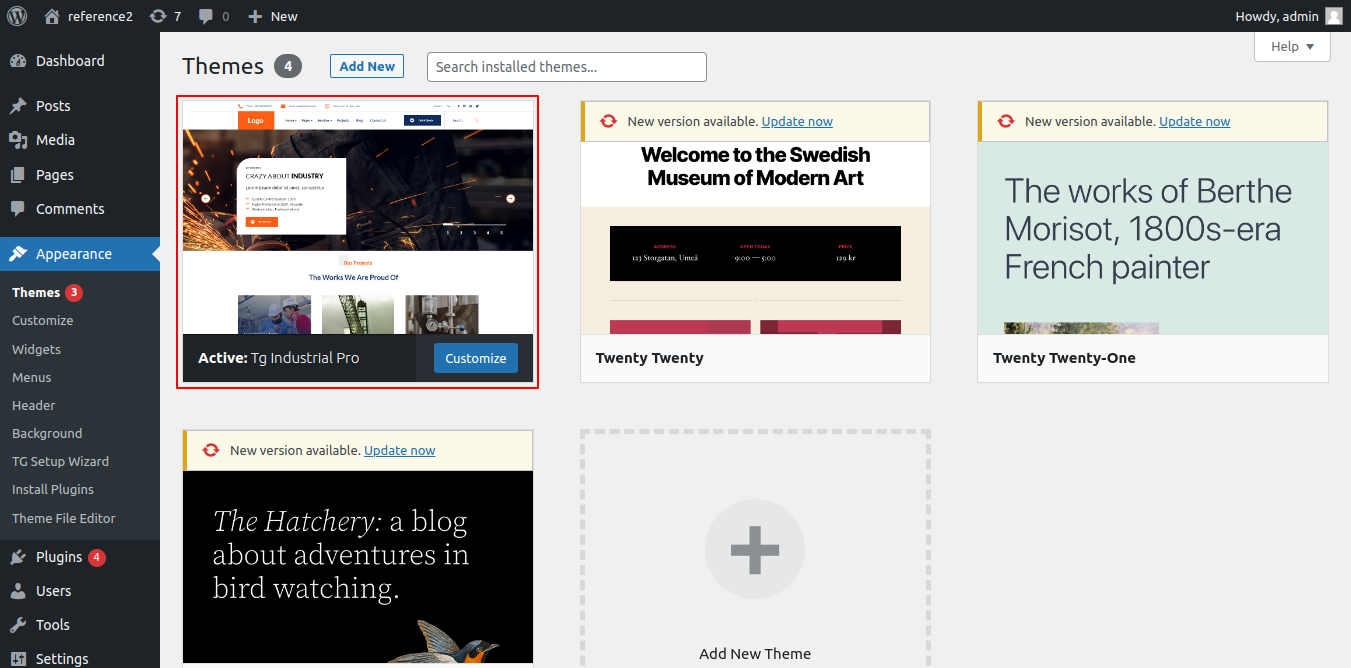
You've successfully installed your theme, congratulations!
Section Color/Font Pallette
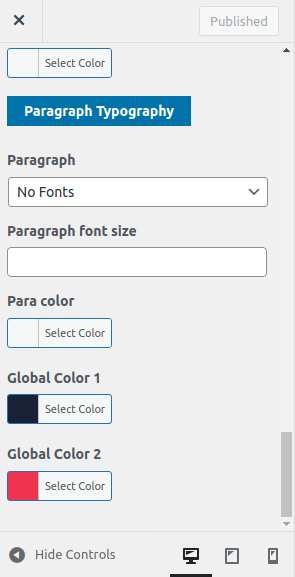
The method of changing the colour or font is quite simple. These choices are available in all customizer areas. It is a comprehensive graphic that demonstrates the typeface and colour palette. You can change the colour and font of the headings, paragraphs, and buttons with a single click.
Depending on how many options are accessible in a given area, each individual section has the opportunity to choose the colour scheme for the headings, title/text, paragraph, button text, and button background.
Default Color/Font settings
One-Click Demo Content Importer
To set up your theme, simply click to import sample content. You can follow the instructions in this article to develop your website for website creation.
Go toDashboard >> Appearance >> Get started
You must first install the "multipurpose-startup-pro-posttype" plugin before you can "Run Importer"
Click on"Run Importer".
Fetch Demo content
This theme supports the standard Site Identity area that WordPress provides, and we have added some options to this section.
Follow these instructions to setup Home page.
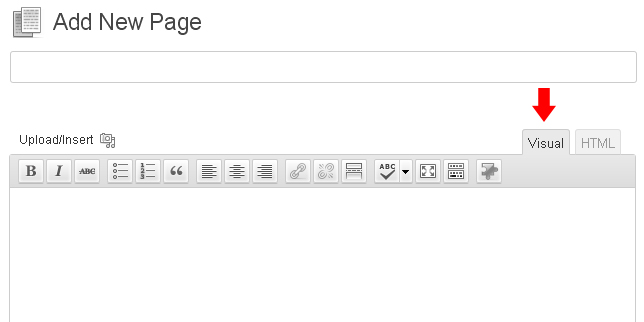
To set a template for a new page, navigate to the Dashboard, click on Pages, and then select Add New Page. Give the page a name, such as "Home," or any other desired label. Next, choose the "home-page" template from the dropdown menu of available templates.
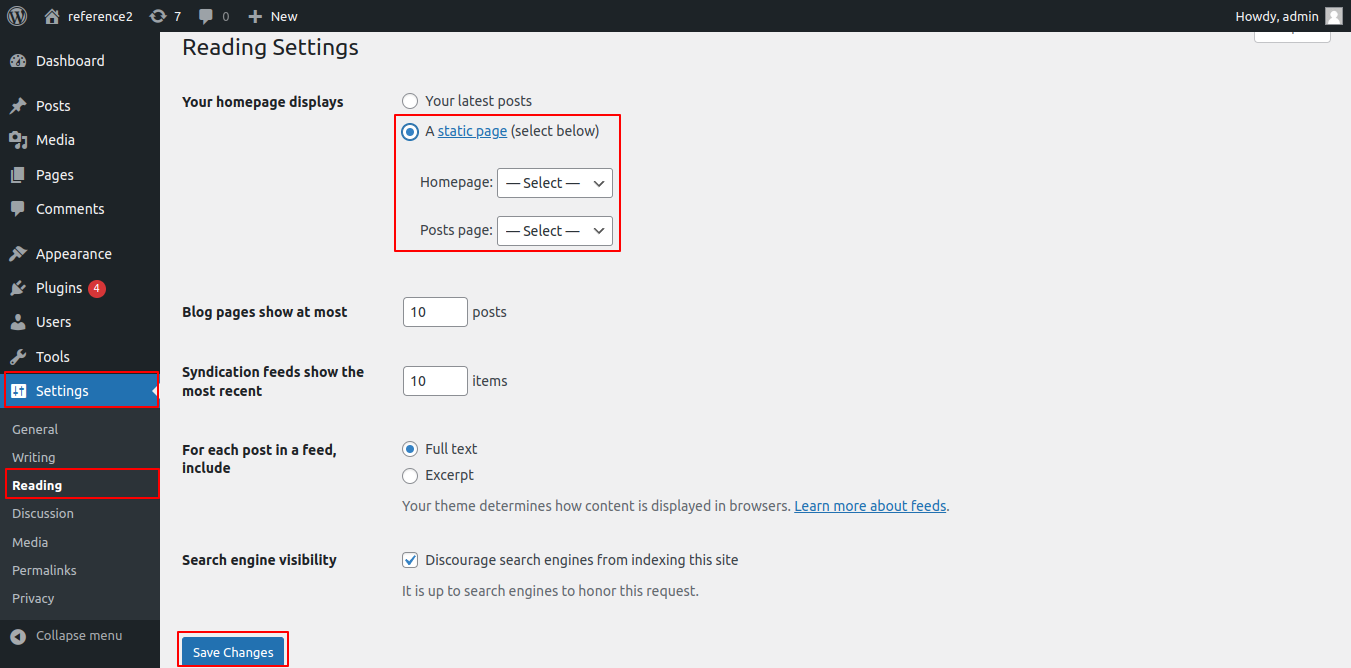
2. Set the front page: Go to Setting -> Reading --> Set the front page display static page to home
When you're finished, you can view the entire demo on the top page.
How to set up Home Page
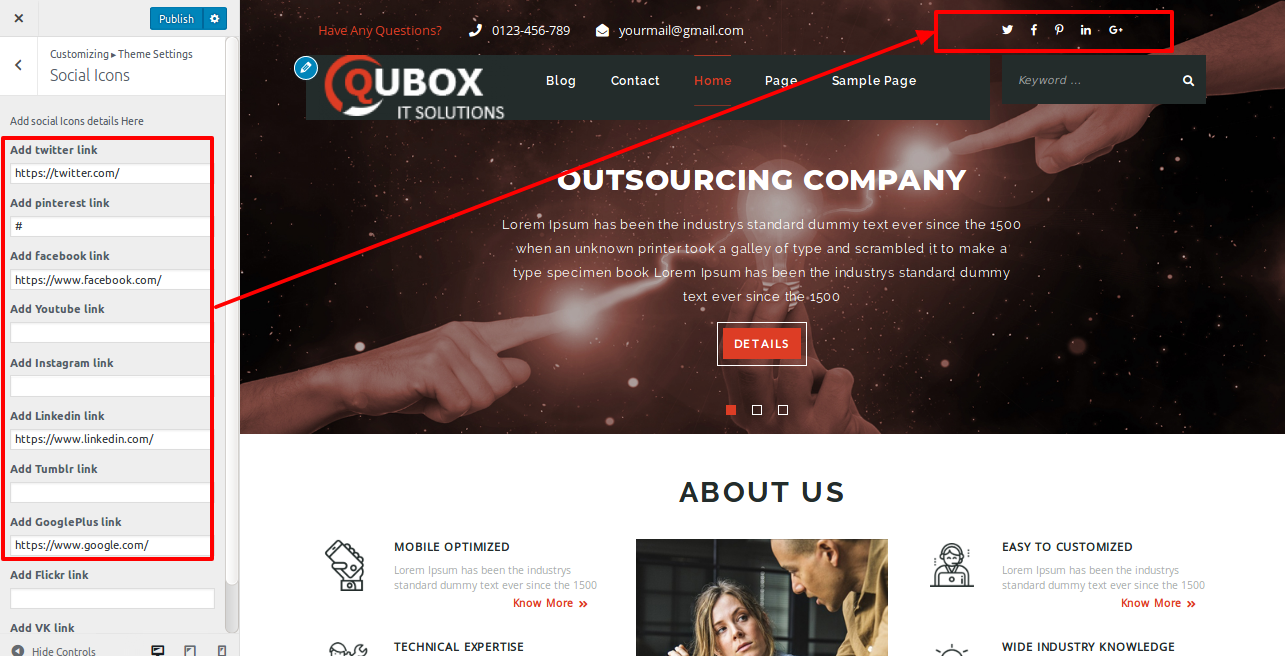
Setup Social Icon
In order to establish Social Icon Section,
Go to Appearance >> Customize >> Theme Settings >>Social Icon Section
Follow these instructions to setup Social Icon.
Add Facebook Link: The Facebook icon will appear on your site if you add a link to Facebook here.
Add twitter link : The Facebook icon will appear on your site if you add a link to Facebook here.
Add Instagram Link:Here, You could include an Instagram link to add the Instagram icon.
Add Youtube Link: You may add a link to YouTube here.
Add Pinterest link : You could include a link to Pinterest using this option.
Add Linkedin link : You can provide a link to your site on LinkedIn using this option. A Linkedin icon is added to your site when a link to it is added.
Add Tumblr link : With this option, you can include a Tumblr link.
Add GooglePlus Link: The GooglePlus icon will be added if you add a GooglePlus link here.
Add Flickr link : You could include a Flickr link using this option.
Add VK Link: Here, You could include a VK link to add the VK icon.
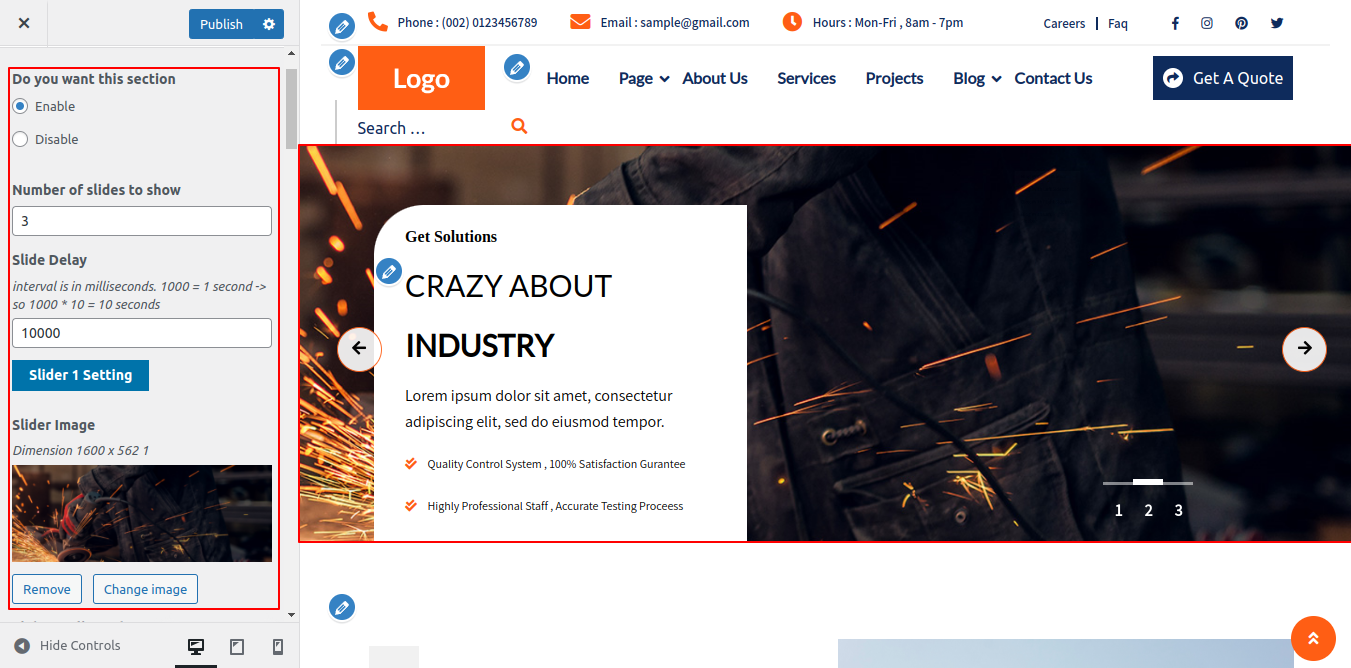
Setup Slider
Follow the below steps to setup the slider
Go to
Appearance -> Customize -> Theme Settings -> Slider Settings
Setting Options : Contains options for the option to enable or disable service display. You can enable or disable this part using this parameter. This environment is crucial. If you want this section to show on your website, leave the option enabled; if you don't, pick the disable option, and this section will no longer be visible on your website.
Number of Slider To Show: Let you to choose how many sliders to display..
Slider Image: The photos for the slider can be set here.
Slider Heading Title:
Here, you may choose whether the slider's title will appear.
Slider Text: You can choose to have the text appear on a darker image.
Slider Heading Color: Allow you to customise the slider's heading colour.
Slider Heading Fonts: With this option, you may change the font for the Slider heading.
Slider Text Color: You can choose the colour of the slider text with this option.
Slider Text Fonts: With this option, you may change the font for the Slider heading.
Button Text Fonts: With this option, you may change the font used for button text.
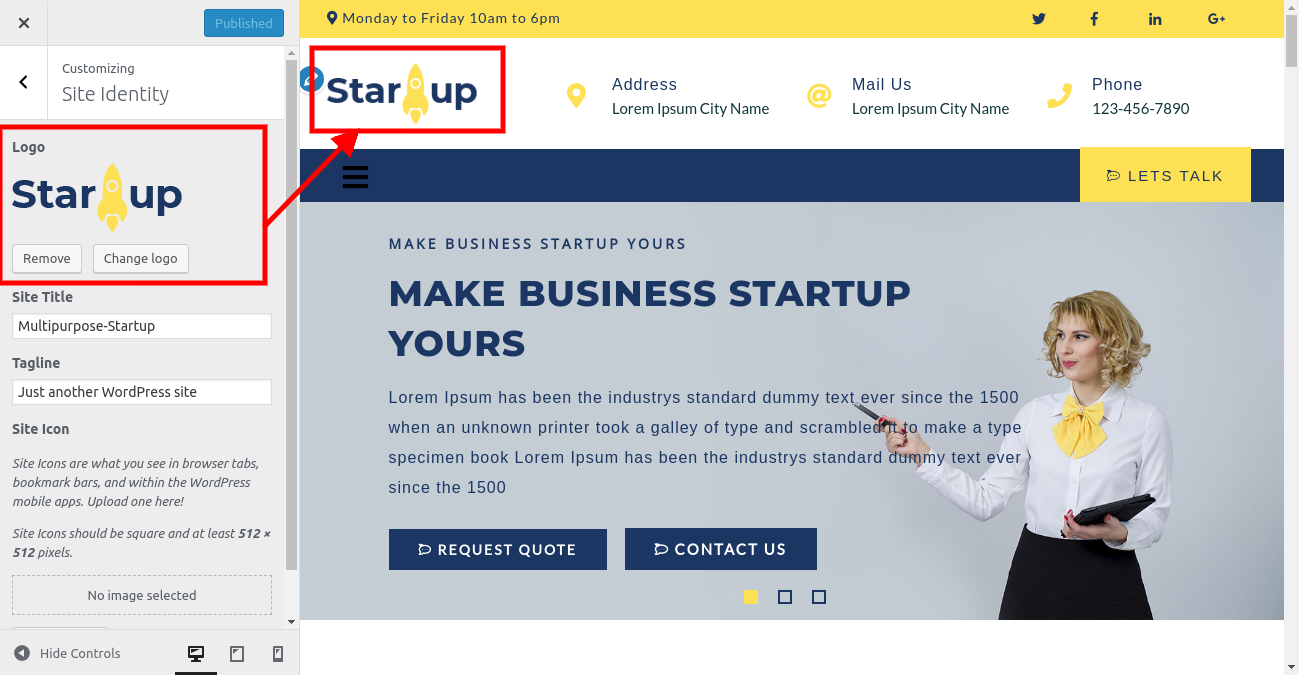
To setup the Site Icon
Go to
Appearance -> Customize -> Site Identity
Logo : You could include the Slider Icon from here
Site Title: You could include the Site Title here from this section.
Tagline: You could include the Tagline here from this section.
Site Icon: You could include the Site Icon here from this section.
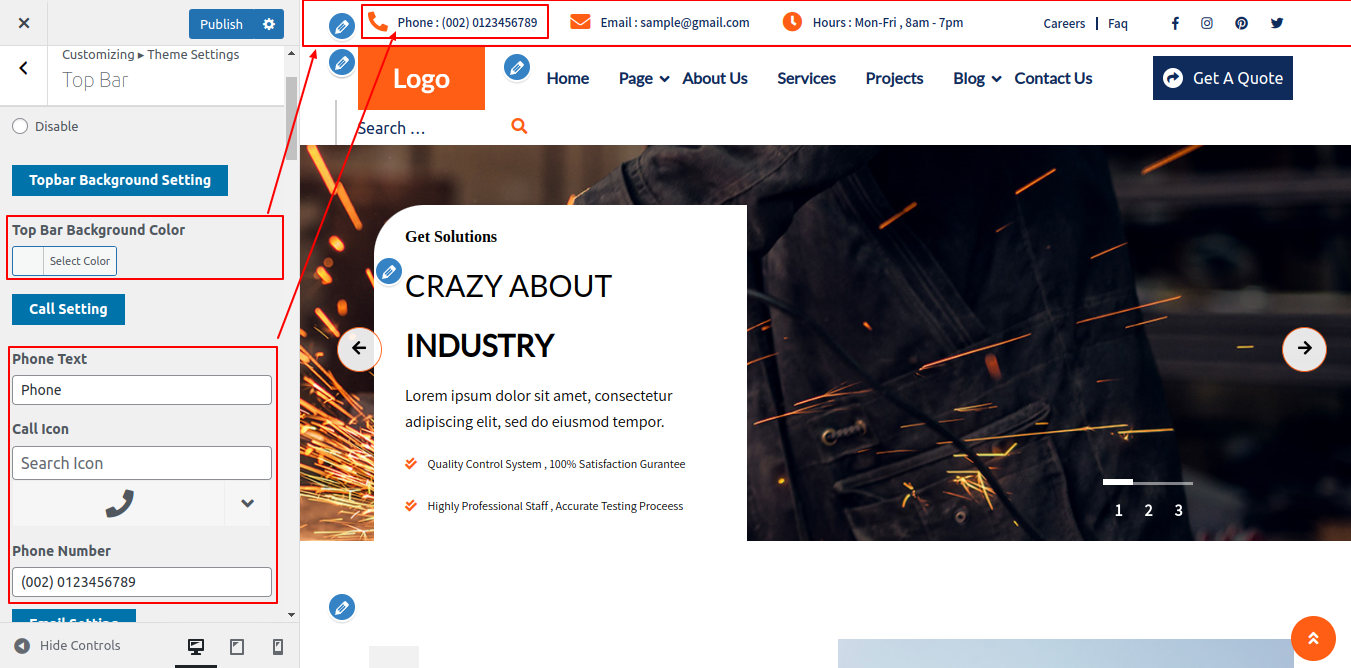
Setup Top Bar
So as to continue with top bar Section,
Go to Appearance -> Customize -> Theme Settings -> Top Bar section
Follow these instructions to setup Our top bar section
Do you want this section: Includes options to enable or disable the top bar display.
Add Background Color: You could include Background Color here and the Background Color will be displayed of your site.
Add Background image: You could include Background image here and the Background image will be displayed of your site.
Add Section Heading Color: You could include Section Heading Color here and the Section Heading Color will be displayed in top bar Section section of your site.
Add Section Heading Fonts: You could include Section Heading Fonts here and the Section Heading Fonts will be displayed of your site.
Add top bar Box Title Color: You could include Services Box Title Color here and the top bar Section Box Title Color will be displayed of your site.
Add top bar Section Box Title Fonts: You could include Cources Box Title Fonts here and the top bar Section Box Title Fonts will be displayed of your site.
Add Box Background Color: You could include Box Background Color and the Box Background Color will be displayed of your site.
Add top bar Section Title: You could include Section Title here and the top bar Section Title will be displayed of your site.
Add top bar Section Description: You could include Our top bar Description here and the Section Description will be displayed in top bar Section of your site.
Setup Who We Are Section
Go toCustomize >> Theme Settings >> Who We Are
Setting Options: Includes settings for courses display enable / disable option.
Add Background Color: You could include Background Color here and the Background Color will be displayed of your site.
Add Background image: You could include Background image here and the Background image will be displayed of your site.
Add sub title : You could include Section title here and the page will be displayed in who we are Section section of your site.
Heading Title: You could include heading title here and the Section Heading will be displayed of your site.
Add button text: You could include More text here.
Add link: You could include link here.
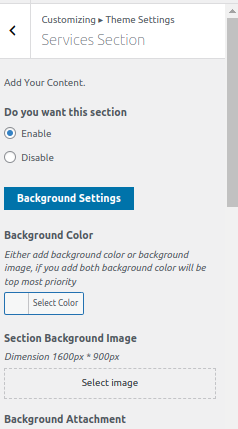
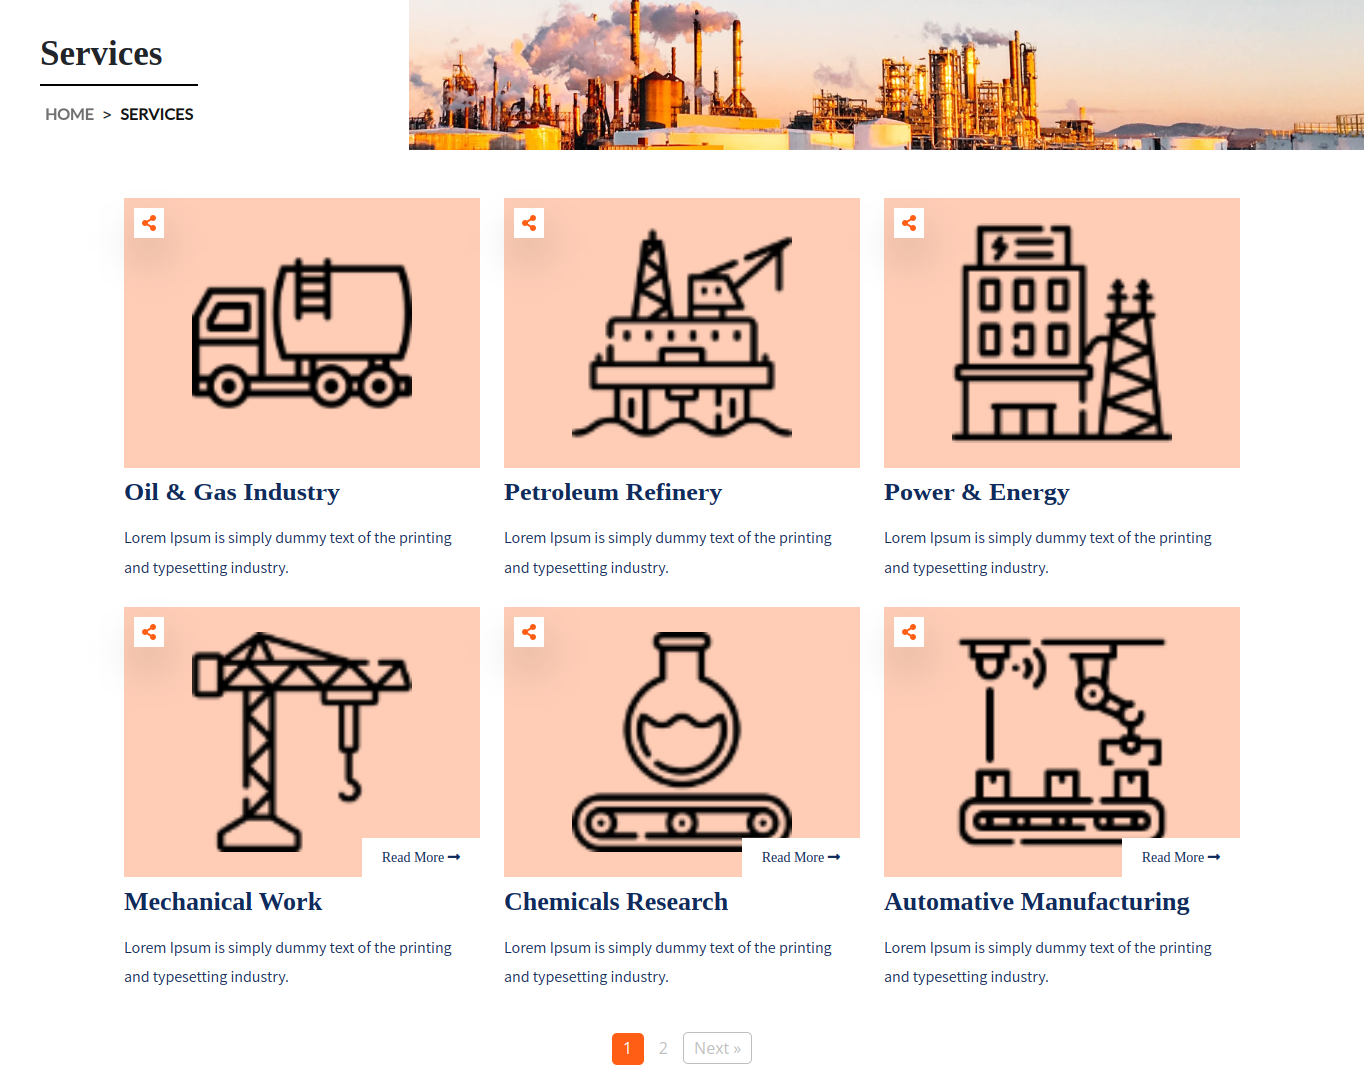
Setup Our Services
First activate "multipurpose-startup-pro-posttype" plugin. Then only you add Services
Please follow the instructions below to set up the following part.
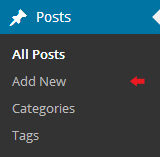
1. Go to Dashboard -> service -> Add New
2. Add the service Section, Go to
Appearance -> Customize -> Theme Settings -> Our service
3. You can also customize the colors of that section such as background color and the text color.
Follow these instructions to setup service section.
Setting Options: Includes settings for courses display enable / disable option.
Add Background Color: You could include Background Color here and the Background Color will be displayed of your site.
Add Background image: You could include Background image here and the Background image will be displayed of your site.
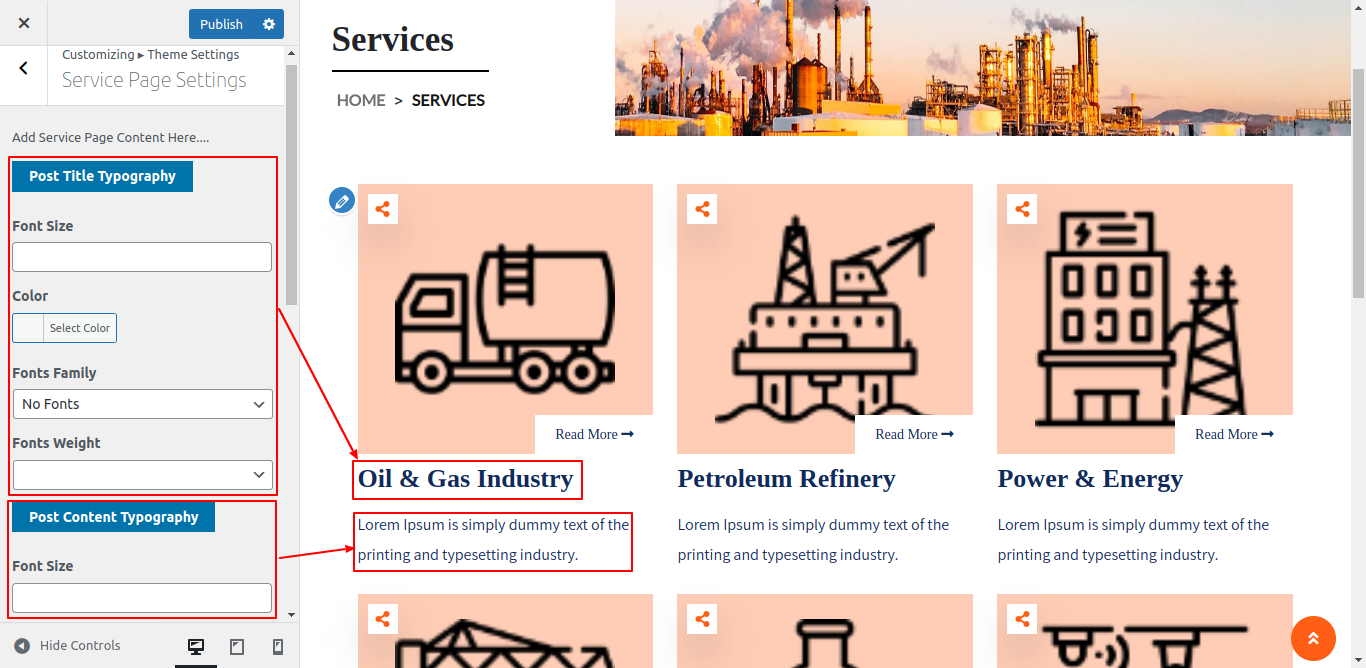
page titel: You could include Section page title here and the page will be displayed in service Section section of your site.
Sub Title: You could include Section sub title here and the Section title will be displayed of your site.
Add button text: You could include More text here.
Add link: You could include link here.
Setup Why Choose Us
In order to prepare with why choose us Section
Appearance -> Customize -> Theme Settings ->why choose us
So as to continue with why choose us Section
Setting Options: Includes settings for Service display enable / disable option.
Section Title: It allows you to customise this section's Section Title.
Section Title: In this area, you can set the Section Title.
Number of Tabs to show: Tabs can be chosen from this.
Tab Title: You can set the sections tab title with this option.
Background Color: You can change the section's background colour with this option.
Background image: You can set the section's background image with this option.
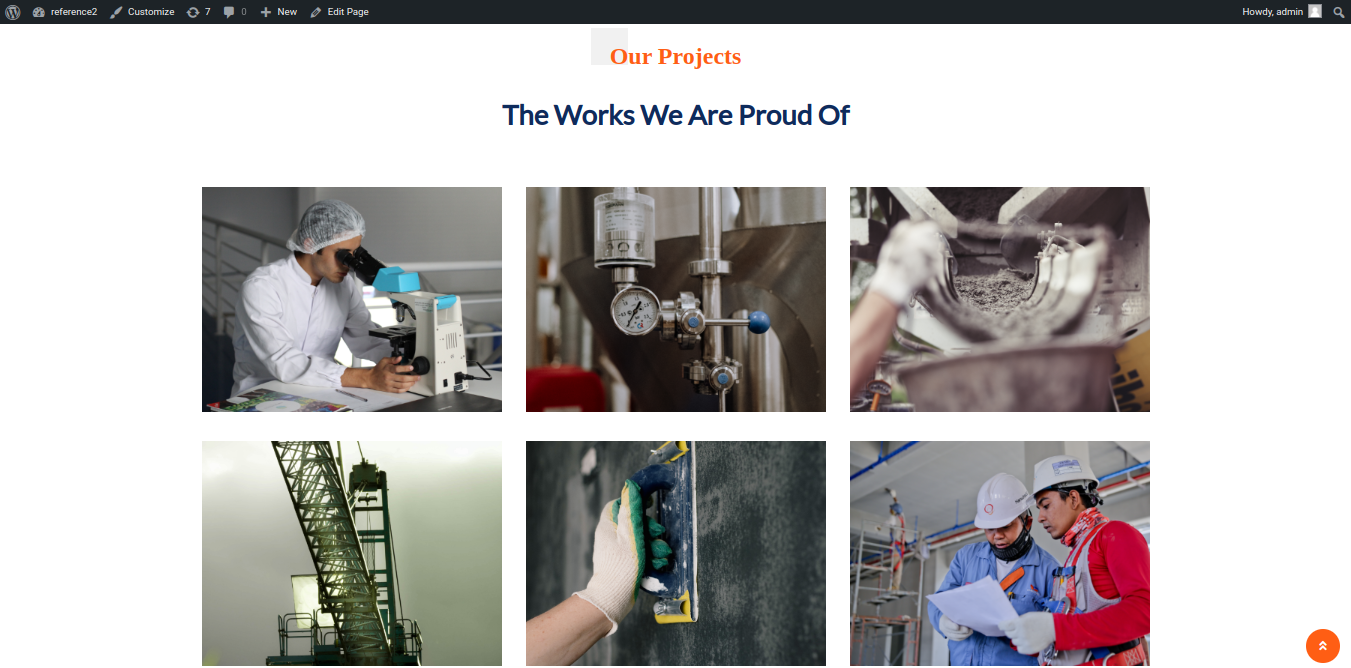
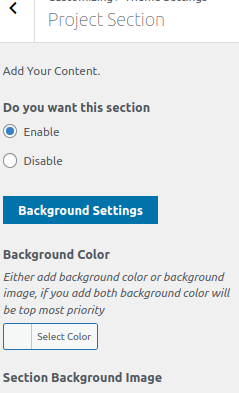
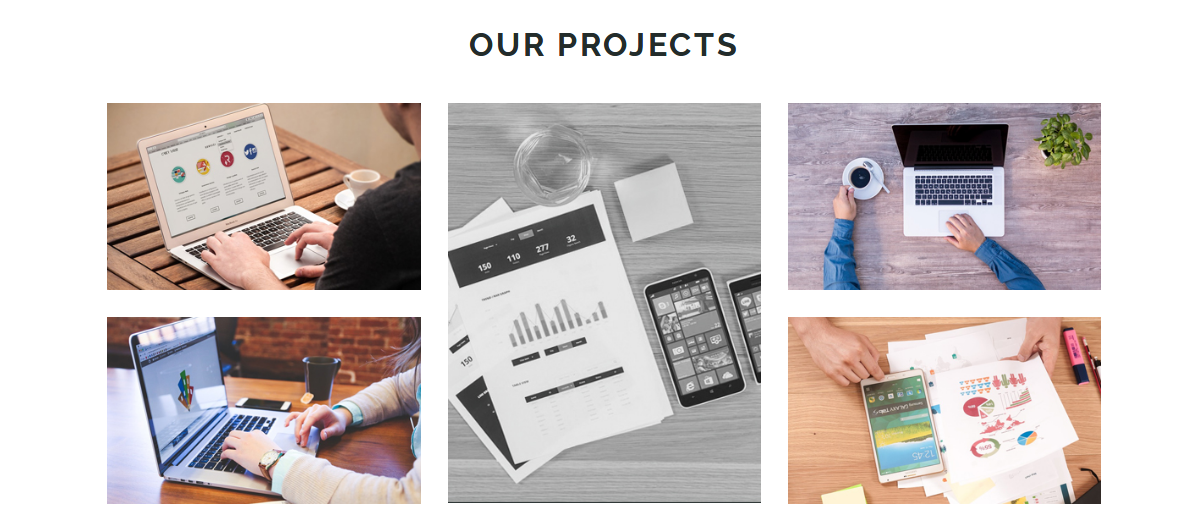
Setup Our Featured Projects
First activate "multipurpose-startup-pro-posttype" plugin. Then only you add Project
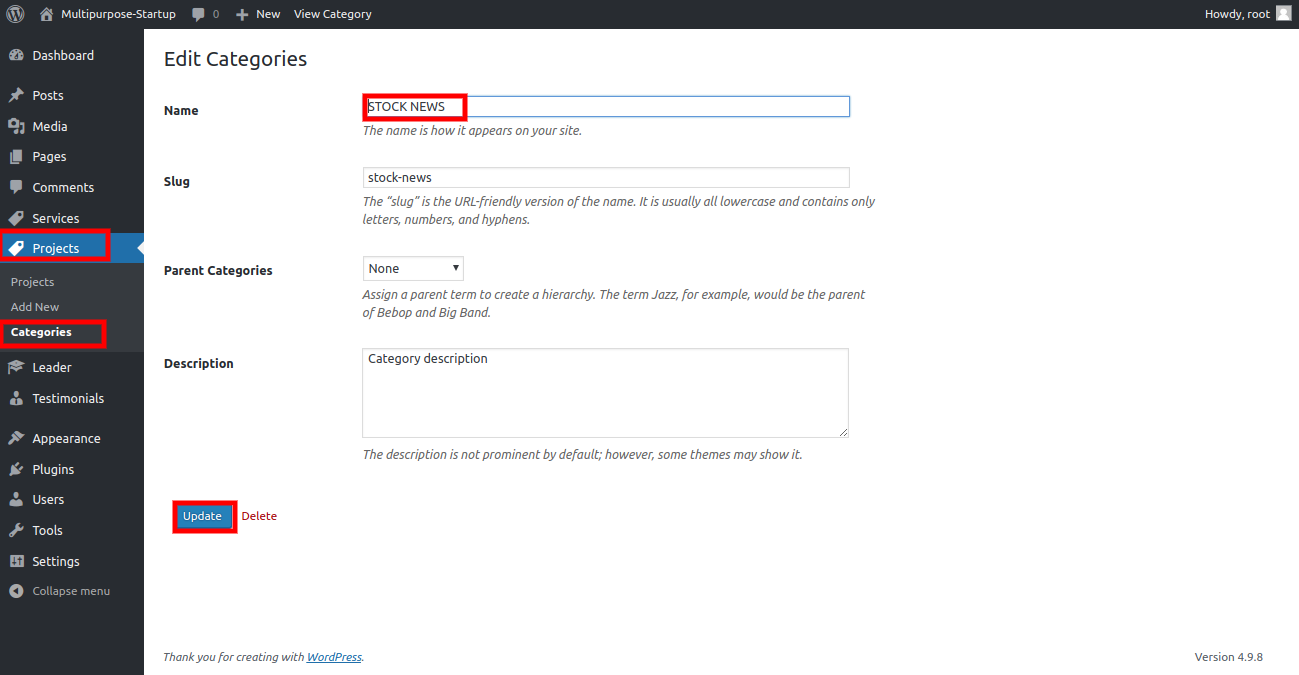
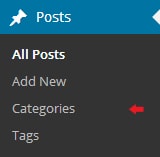
With that done, click Categories for project section.
Type in the name of your new category.
After that, click the Add New Category button.
Click the Publish button.
In order to prepare the following section go to Dashboard -> Project -> Add New
Add the project, set a respective category then Go to
Appearance -> Customize -> Theme Settings -> Our Featured Projects
So as to continue with Featured Projects
Setting Options: Includes settings for Service display enable / disable option.
Background Color: The background colour of this section can be changed using this feature.
Background Image: In this section, you have the option of setting a background image.
Section Title: You may customise the title of this section using this option. The title of the project is shown in the screenshot above; with this option, you can change it.
Setup Our Leaders
First activate "multipurpose-startup-pro-posttype" plugin. Then only you add Leaders
In order to prepare the following section go to Dashboard -> Leaders -> Add New
Add the Leader, Go to
Appearance -> Customize -> Theme Settings -> Our Leaders
Follow these instructions to Setup Our Leader.
Setting Options: Includes settings for Service display enable / disable option.
Background Color: You are able to set the background color of this section.
Background Image: You are able to set background image in this section.
small Title: This choice enables you to set small title of section.
small Title Color: This choice enables you to set small title color of section.
small Title Font: This choice enables you to set small title font of section.
Heading Title: This choice enables you to set Heading Title of section.
Heading Color: This choice enables you to set Heading Title Color of section.
Heading Title Font: This choice enables you to set Heading Sub Title Font of section.
Setup Our Video
The video's URL must first be added. Just you add Video after that
Add the Video, Go to
Appearance -> Customize -> Theme Settings -> Our Video
To display a video, add this video's Link to the video section.
You must substitute the URL for your particular video in the Video section.
Follow these instructions to Setup Our Video.
Setting Options: Includes settings for Service display enable / disable option.
Background Color: You are able to set the background color of this section.
Background Image: You are able to set background image in this section.
video Title: This choice enables you to set video title of section.
video Title Color: This choice enables you to set video title color of section.
video Title Font: This choice enables you to set video title font of section.
video Sub Title: This choice enables you to set video Sub Title of section.
video Sub Title Color: This choice enables you to set video Sub Title Color of section.
video Sub Title Font: This choice enables you to set video Sub Title Font of section.
video Url: You can set the section's video url using this option.
Setup Our Process
So as to continue with Process section,
Go to Appearance -> Customize -> Theme Settings -> Process Section
So as to continue with Our Process section
Setting Options: Includes settings for Service display enable / disable option.
Background Color: You are able to set the background color of this section.
Background Image: You are able to set the background image for this section.
Process Image: Here, you can set the Process image for this section.
Number: You can enter here the number of whichever Process you want to show.
Process Title: You can enter here the Process Title about record.
Process Text: You can enter here the Process Text about Process.
Setup Our Journey
So as to continue with Our Journey,
Go to Appearance -> Customize -> Theme Settings -> Our Journey
Do you want this section: You have the option to completely enable or disable this section in this section. If you decide that you do not want this area on your website, simply select the deactivate option, and the section will be removed. And if you want this lovely area to show up on your website, just enable it, and it will.
Background Color: Here, you can set the background color for this section.
Background Image: Here, you can set the background image for this section.
Section Title: Here, you can set the Section Title of this section here.
Section Description: This choice enables you to add the Section Description for this section.
Setup Where Can We Help you
So as to continue with Where Can We Help you,
Go to Appearance -> Customize -> Theme Settings ->Where Can We Help you
Follow these instructions to setup Where Can We Help you.
Do you want this section: You have the option to completely "enable" or "disable" this section in this section. If you decide that you do not want this area on your website, simply select the deactivate option, and the section will be removed. And if you want this lovely area to show up on your website, just enable it, and it will.
Section Title Color: Here, you can set the text color of title for this section.
Section Title Fonts: Here, you can set the font family of title for this section.
Background Color: Here, you can set the background color of this section.
As you can see in screenshot, the background color of this section is white. You can set it to any color as you want.
Background Image: You can choose this location to choose the background image for this section.
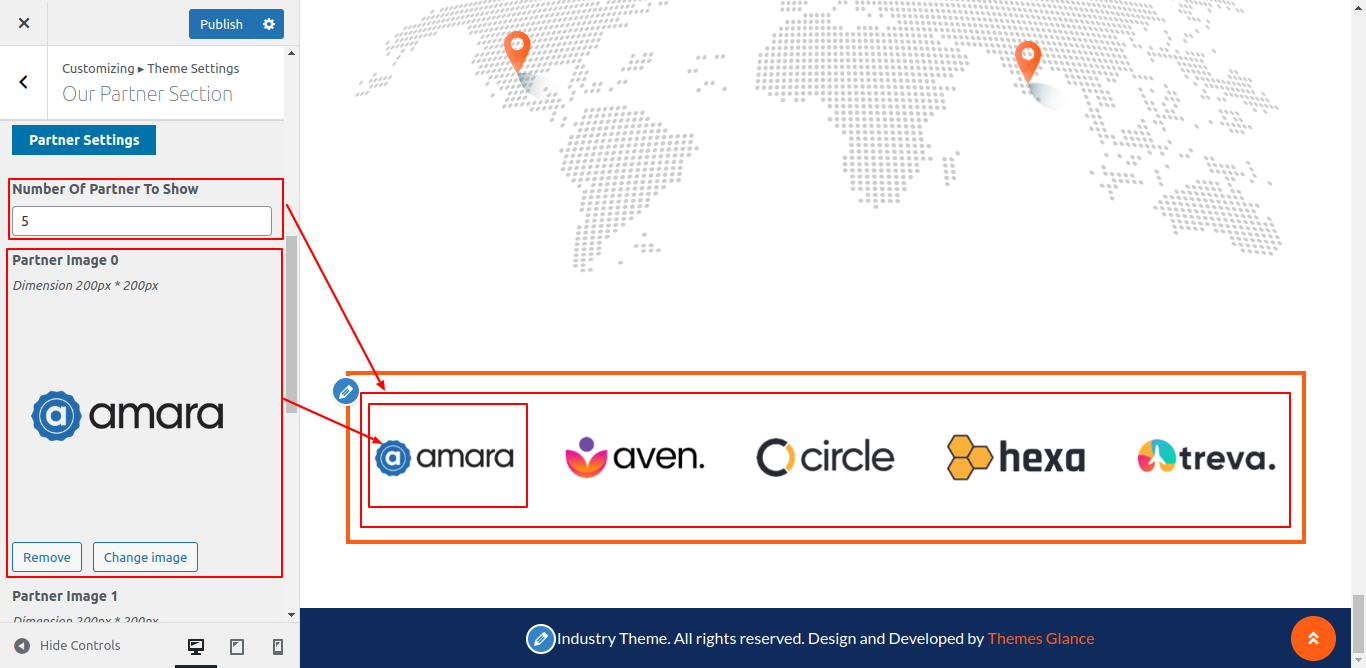
Setup Our Partners
So as to continue with Our Partners,
Go to Appearance -> Customize -> Theme Settings -> Our Partners
Follow these instructions to setup Our Partners.
Do you want this section: You have the option to completely "enable" or "disable" this section in this section. If you decide that you do not want this area on your website, simply select the deactivate option, and the section will be removed. And if you want this lovely area to show up on your website, just enable it, and it will.
Section Title Color: Here, you can set the text color of title for this section.
Section Title Fonts: Here, you can set the font family of title for this section.
Background Color: Here, you can set the background color of this section.
As you can see in screenshot, the background color of this section is white. You can set it to any color as you want.
Background Image: If you want to set the background image for this section, you can set it here.
Number of Partners to show: You can enter here the number of partners you want to show in this section.
partner Image: Here, you can set the sponsor image for each partner you want to show in this section.
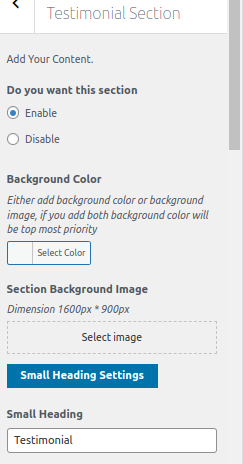
Setup WHAT CLIENTS SAYS
The "multipurpose-startup-pro-posttype" plugin must first be activated. only you add clients after that
Go to dashboard -> Testimonials -> Add New
Go to Appearance -> Customize -> Theme Settings -> Our Partners Section
Setup Recent Post
So as to continue with Post,
Go to dashboard -> Post -> Add New
Setup section From Recent Post Section
Do you want this section: You have the option to completely "enable" or "disable" this section in this section. If you decide that you do not want this area on your website, simply select the deactivate option, and the section will be removed. And if you want this lovely area to show up on your website, just enable it, and it will.
Add content here: Here, You could include the content of Recent Post.
Post Heading Color: Here, you can set the Post Heading Color of Recent Post
Post Heading Fonts: Here, you can set the Post Heading Fonts of Recent Post.
Post Content Color: Here, you can set the Post Content Color of Recent Post.
Post Content Fonts: Here, you can set the Post Content Fonts of Recent Post.
Background Color: Here, you can set the Background Color of Recent Post if you want.
Background image: Here, you can set the Background Image of Recent Post if you want.
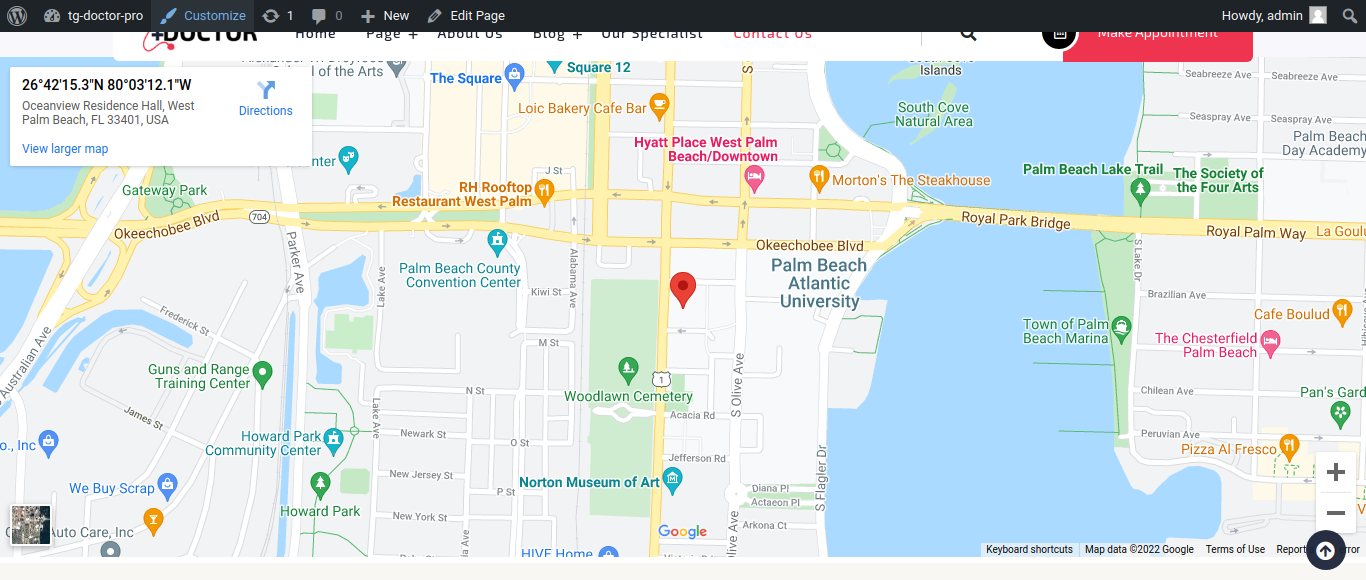
Setup Google Map Section
So as to continue with Map,
Go to Appearance >> Customize >> Theme Settings >>google map
Setup Google Map Section
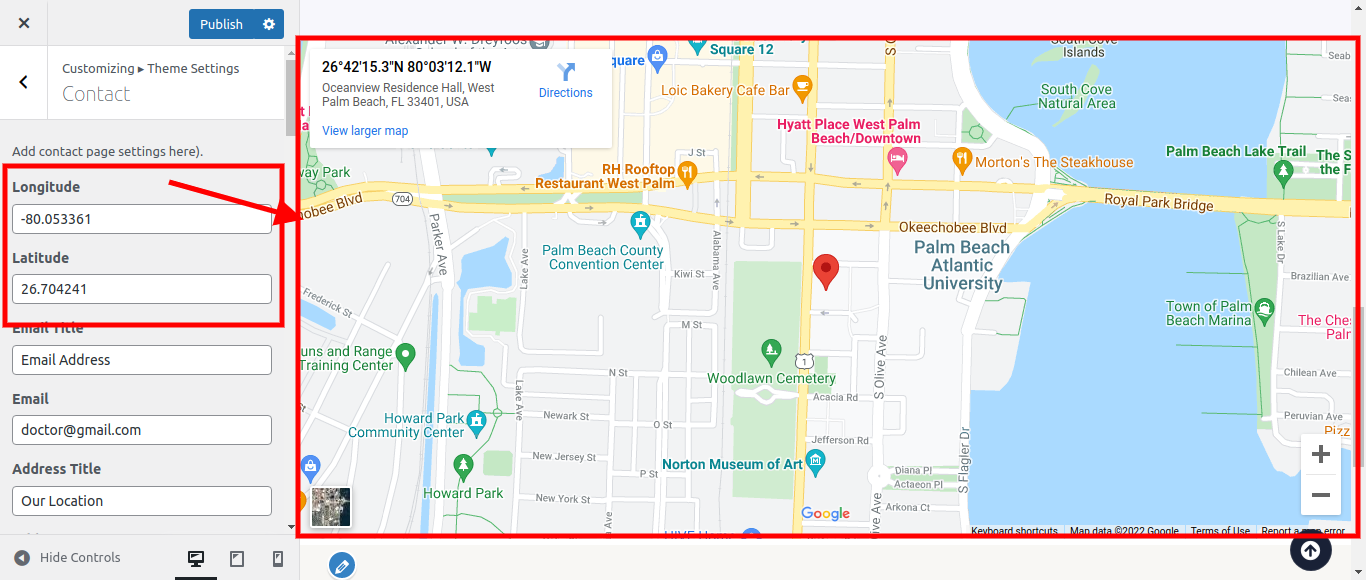
Do you want this section: You can completely enable or disable this feature using this section. If you decide you do not want this area on your website, simply select the deactivate option, and the section will be removed. And if you want this fantastic area to display on your website, just enable it, and it will.
Map Latitude: Here, you might put the map's latitude in
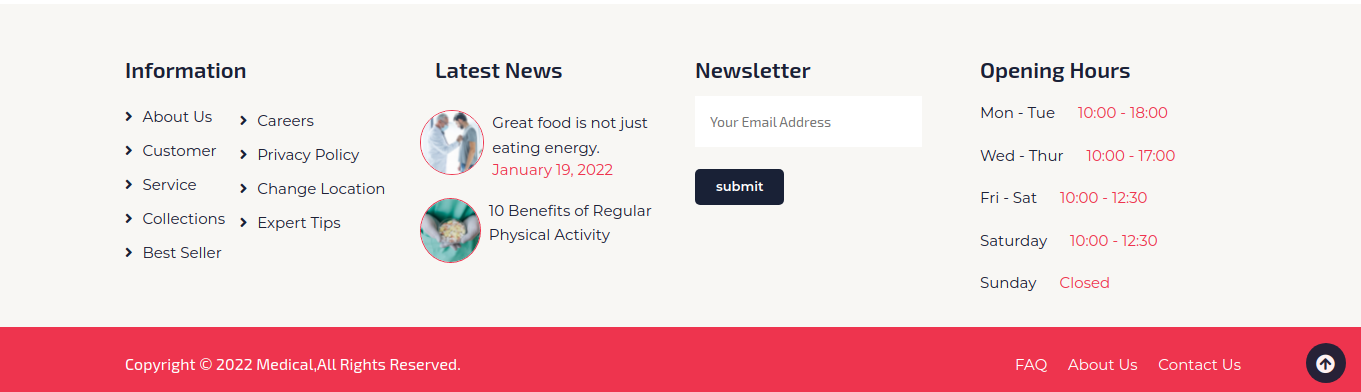
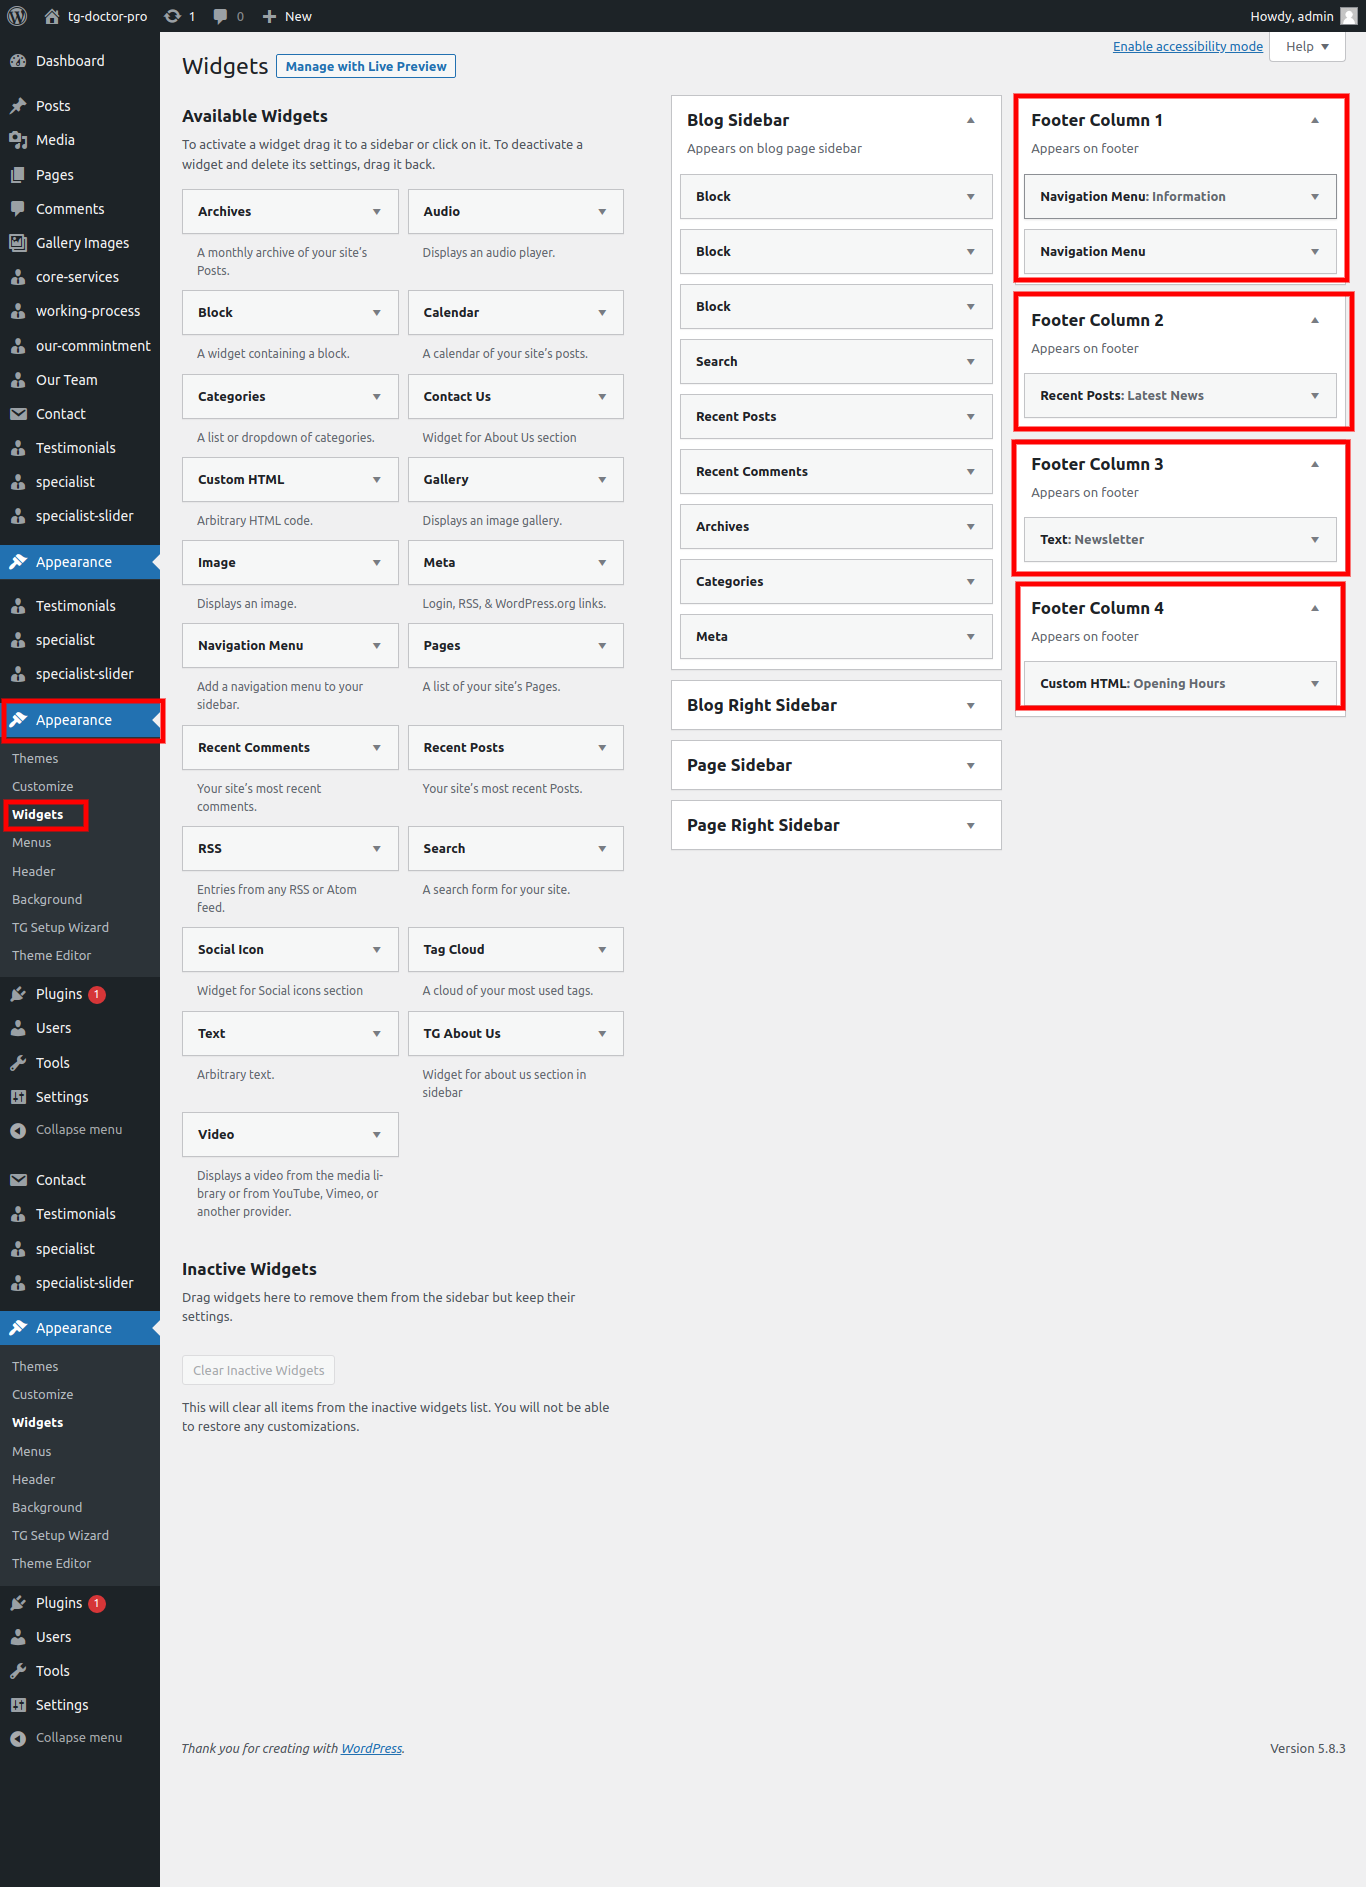
Setup Footer Section
So as to continue with Footer,
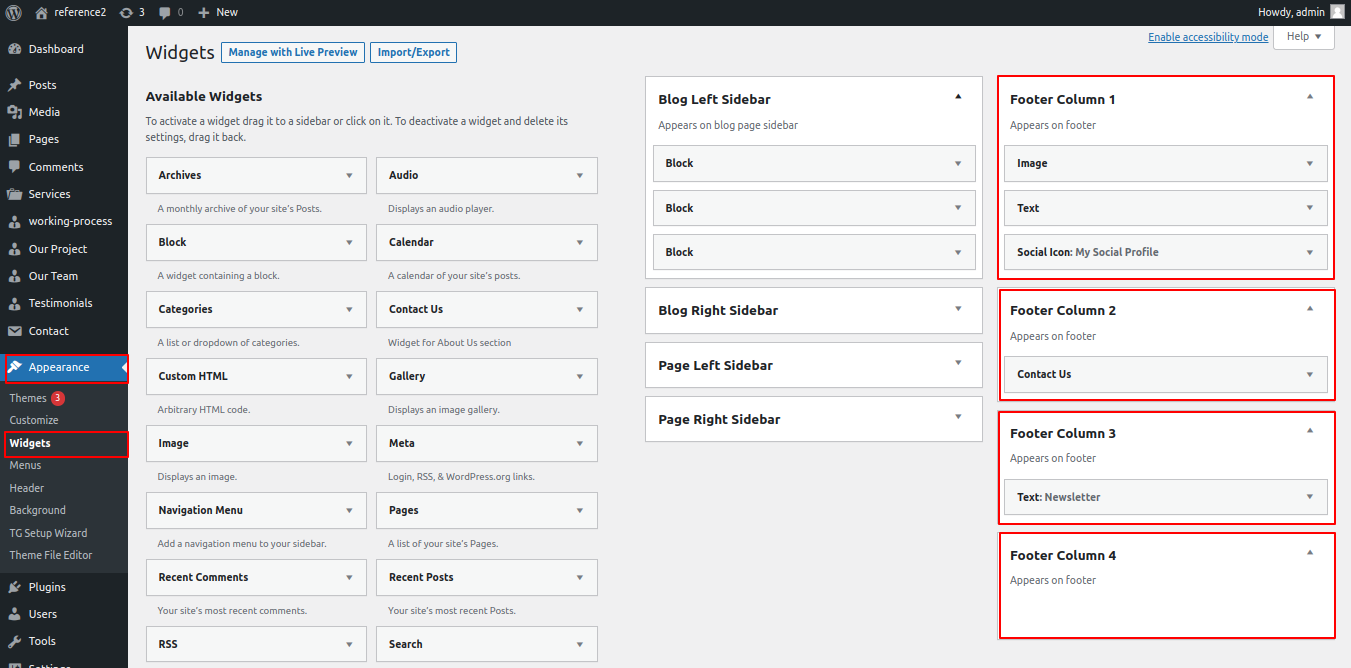
Go to dashboard -> Widgets
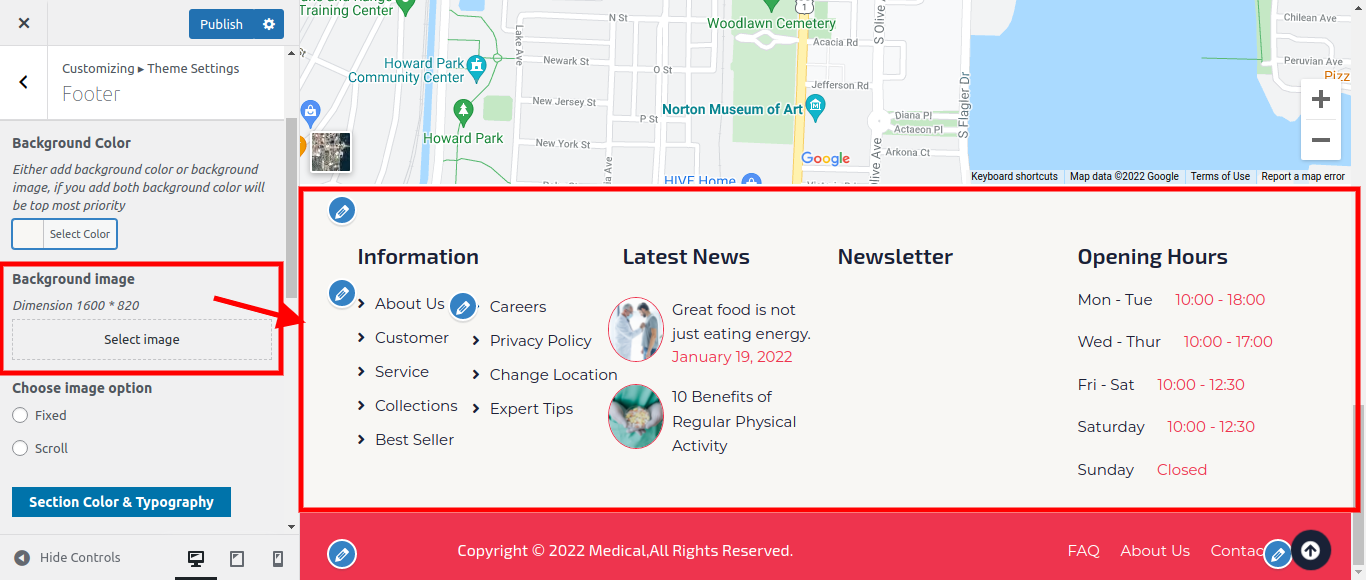
Go to Appearance >> Customize >> Theme Settings >>Footer Section
Follow these instructions to setup Footer Section.
Do you want this section: You have the option to completely "enable" or "disable" this section in this section. If you decide that you do not want this area on your website, simply select the deactivate option, and the section will be removed. And if you want this lovely area to show up on your website, just enable it, and it will.
Footer Heading Color: Here, you can set the Footer Heading Color of footer
Footer Heading Fonts: Here, you can set the Footer Heading Fonts of footer.
Footer Content Color: Here, you can set the Footer Content Color of footer.
Footer Content Fonts: Here, you can set the Footer Content Fonts of footer.
Background Color: Here, you can set the Background Color of footer if you want.
Background image: Here, you can set the Background Image of footer if you want.
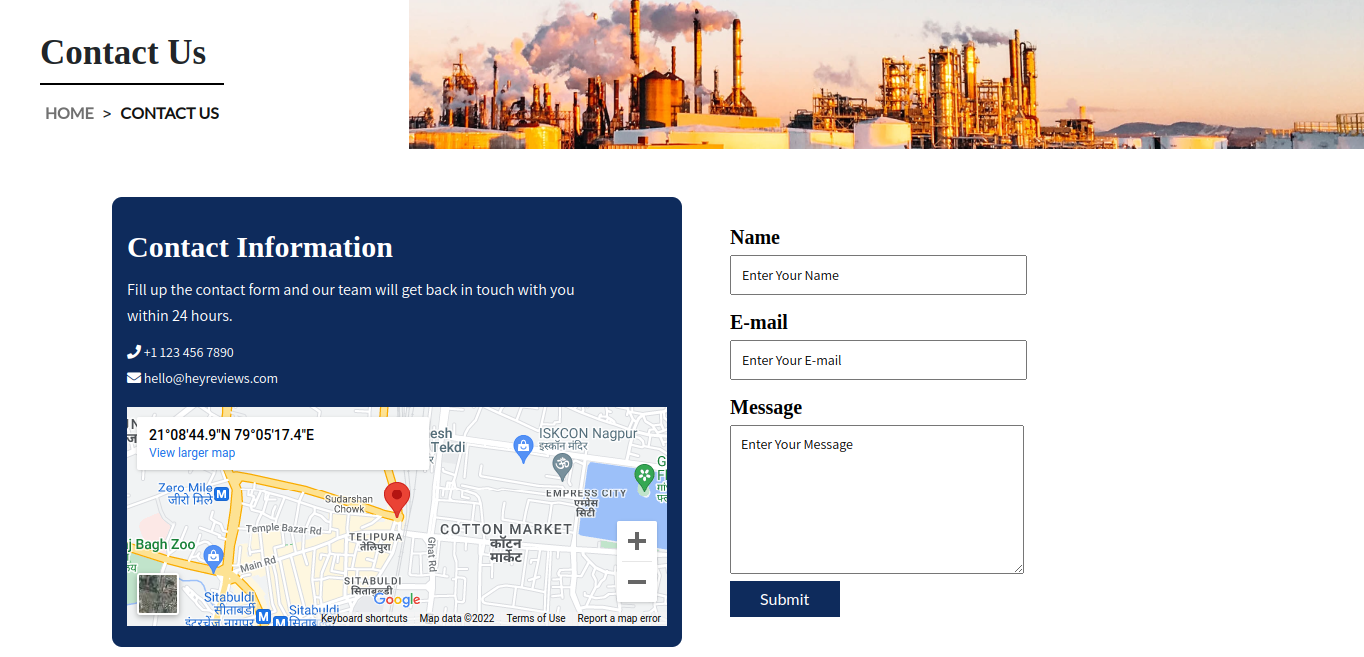
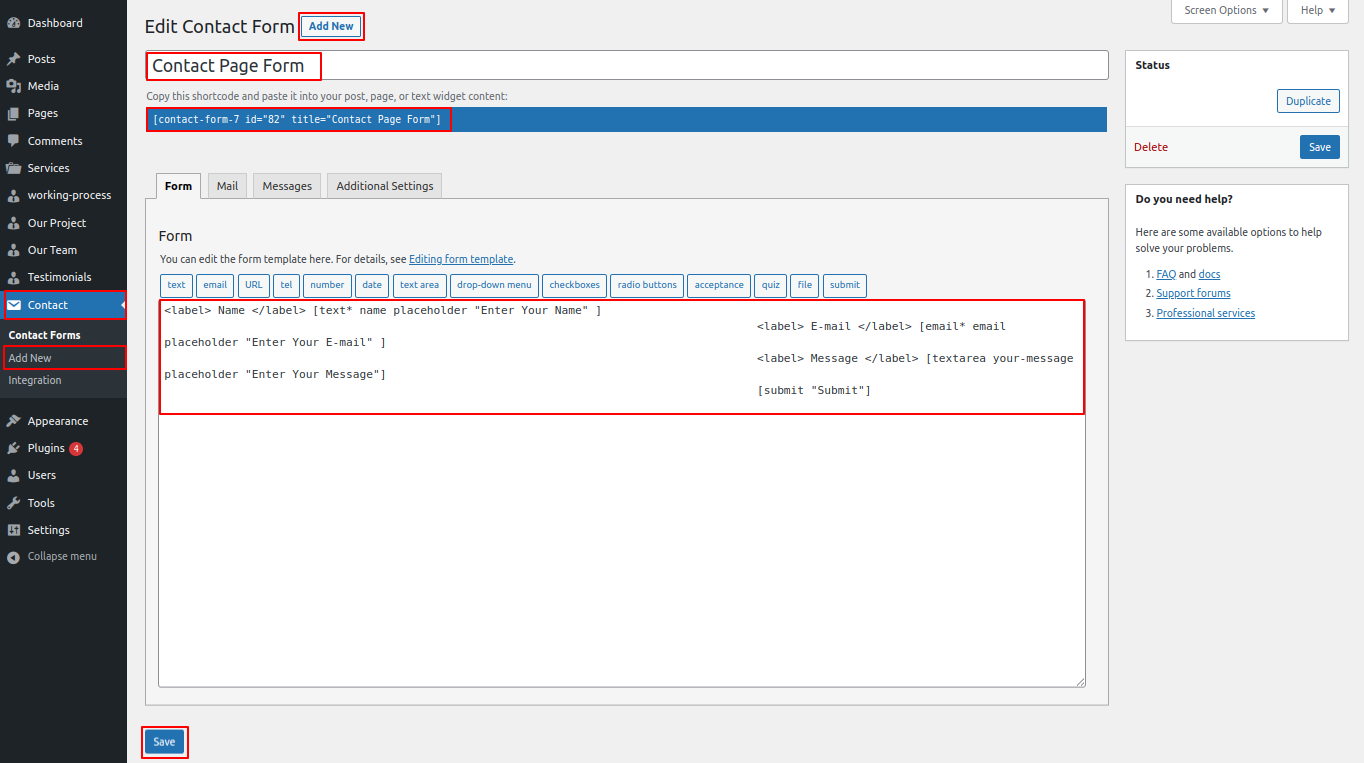
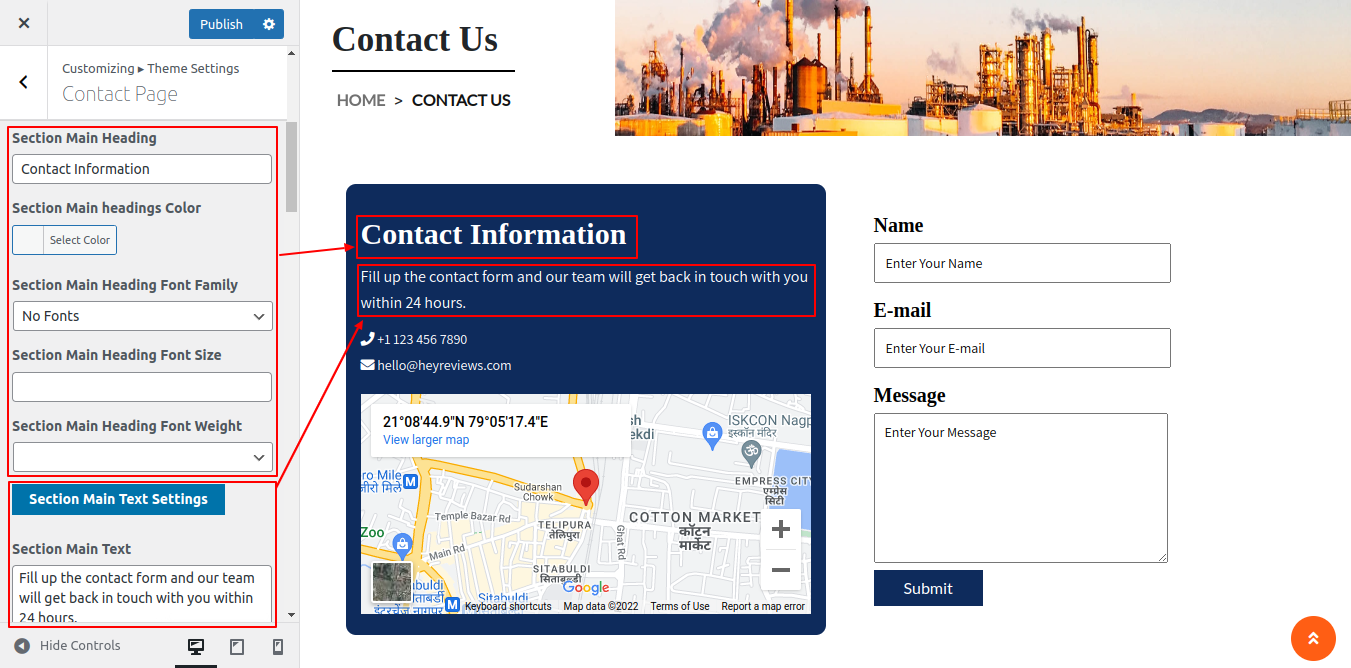
Setup Contact Section
So as to continue with Contact,
Go to dashboard -> Contact
Go to Appearance >> Customize >> Theme Settings >>Contact Section
Follow these instructions to setup Contact Section.
Contact Heading Color: Here, you can set the Contact Heading Color of footer
Contact Heading Fonts: Here, you can set the Contact Heading Fonts of footer.
Contact Content Color: Here, you can set the Contact Content Color of footer.
Contact Content Fonts: Here, you can set the Contact Content Fonts of footer.
Background Color: Here, you can set the Background Color of Contact if you want.
Background image: Here, you can set the Background Image of Contact if you want.
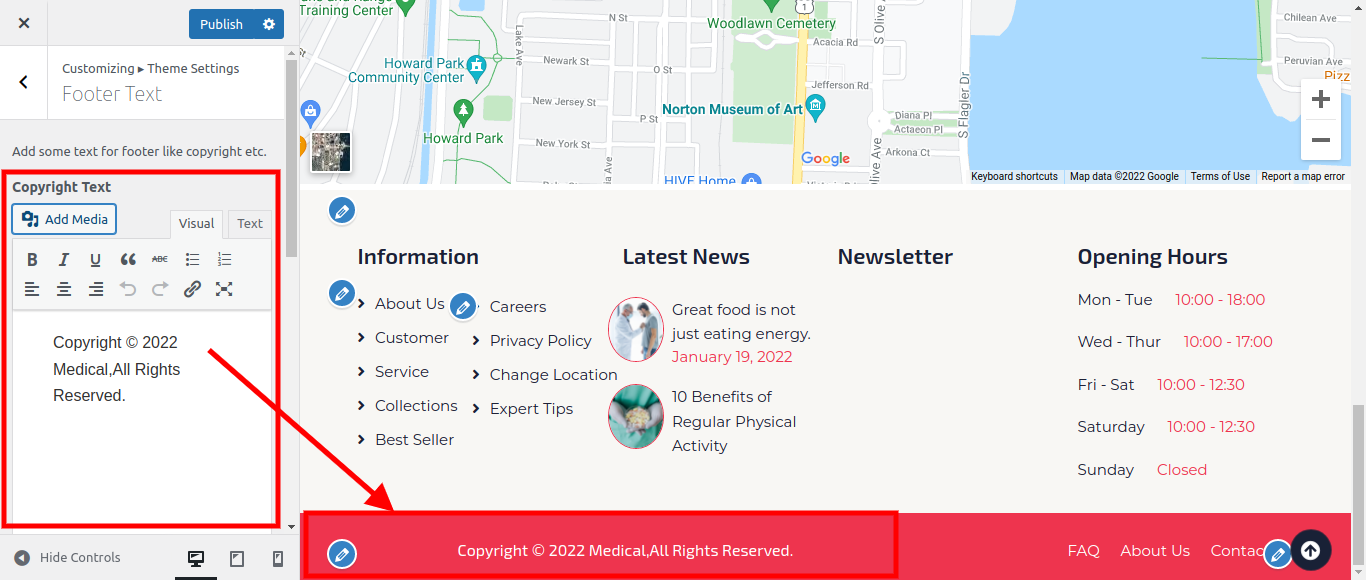
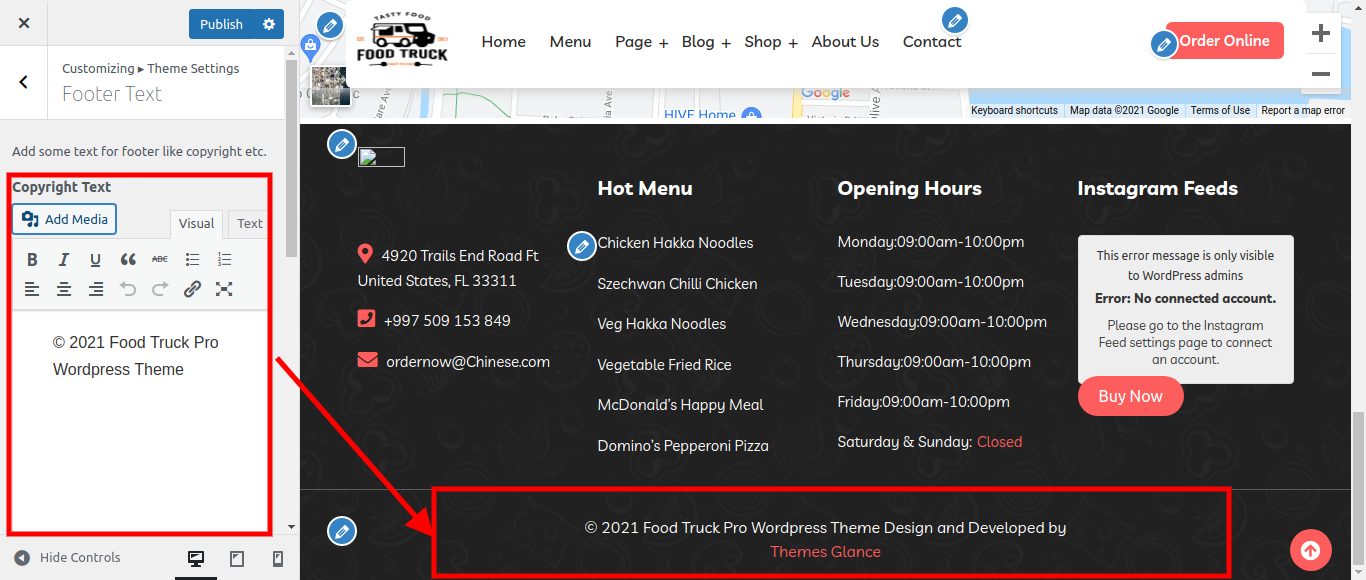
Setup Footer Text
So as to continue with Footer Text,
Go to Appearance >> Customize >> Theme Settings >>Footer Text
Follow these instructions to setup Footer Text Section.
Content Color: Here, you can change the footer's content colour.
Content Fonts: You may customise the footer's content fonts here.
Plugins
With plugins, you can increase and expand the functionality of WordPress.
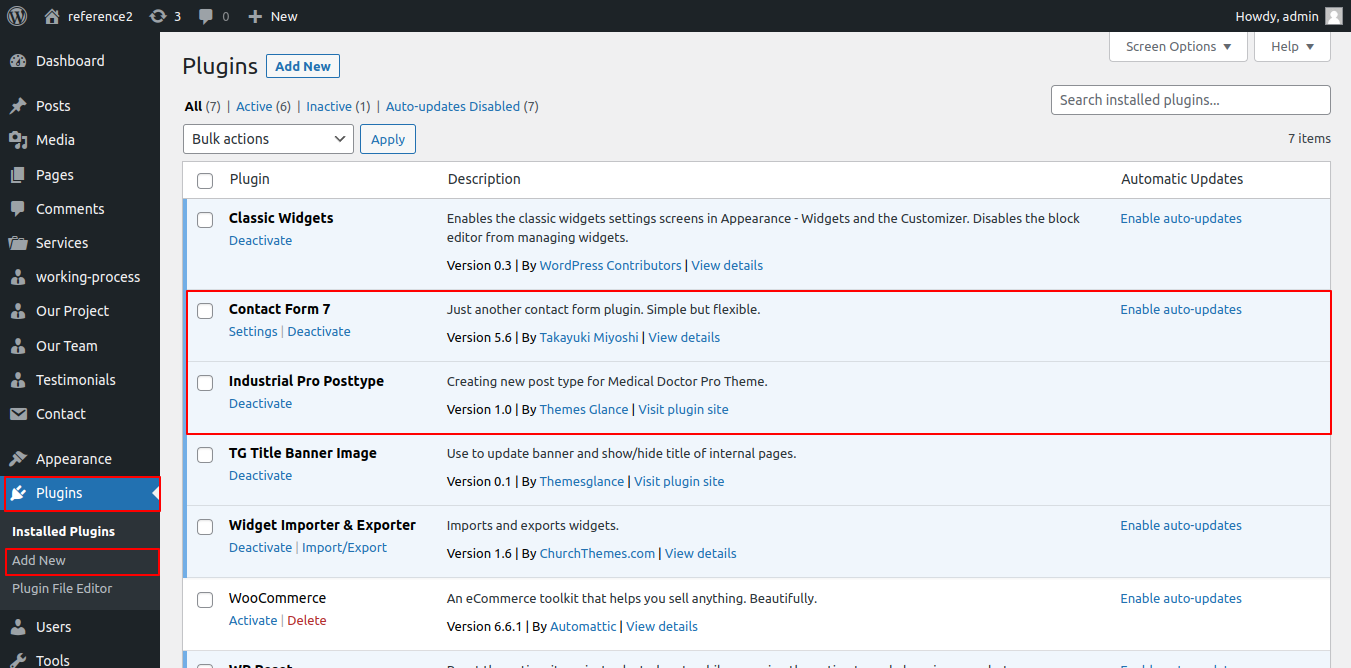
How to activate plugins
If you want these features in your theme, you must activate the plugin. In order to activate the plugin in your theme, follow these instructions.
Go to Plugins >> Installed Plugins >>multipurpose-startup-pro-posttype>>Activate
When a plugin is activated, your admin navigation will now include four additional options: Services, Projects, Leader, Testimonials, and Contact. Because the plugin is active, you may see these five options in the image's admin navigation.
Once you enable the plugin, these five sections are instantly added to your website. This is a screenshot of the same.
You can see that some sections have been added, but their contents are missing. Use these guidelines when adding content to these areas.
First activate "multipurpose-startup-pro-posttype" plugin. Then only you add Services
To add Services., Go to Services. >> Add new
The Services Meta option, as you can see in the screenshot, allows you to add the section's URL and logo, which are automatically posted to Our Services. based on the Our Services pictures you upload.
With the option to "Allow Comment," you can also add comments.
Now, as seen in the image above, you might include the title of Our Services and a description.
This is how, you can set up Our Project.
The "multipurpose-startup-pro-posttype" plugin must first be activated. Then, you only add Project.
To add Project, Go to Project >> Add new
This is how, you can set up OUR FEATURED PROJECTS.
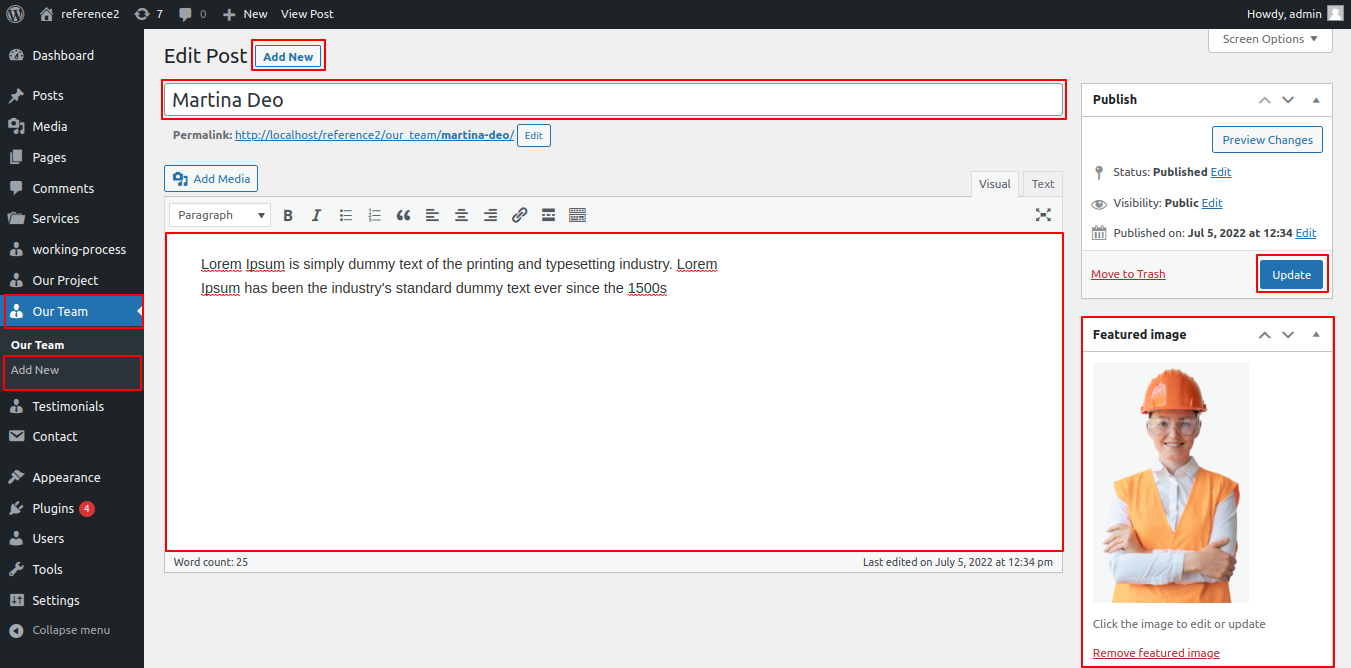
First activate "multipurpose-startup-pro-posttype" plugin. Then only you add Leader
To add Leader, Go to Leader >> Add new
You can add leader images to this part using the Add Media option, which is visible in the screenshot. These images are automatically submitted to the Leader Section.
You could now add your name and the leader here.
The term "designation of leader" could be used here.
Designation: Here, you can enter the name of the designated leader.
After adding Leader, you see the same on your website. Here are some screenshots.
This is how, you can set up Leader.
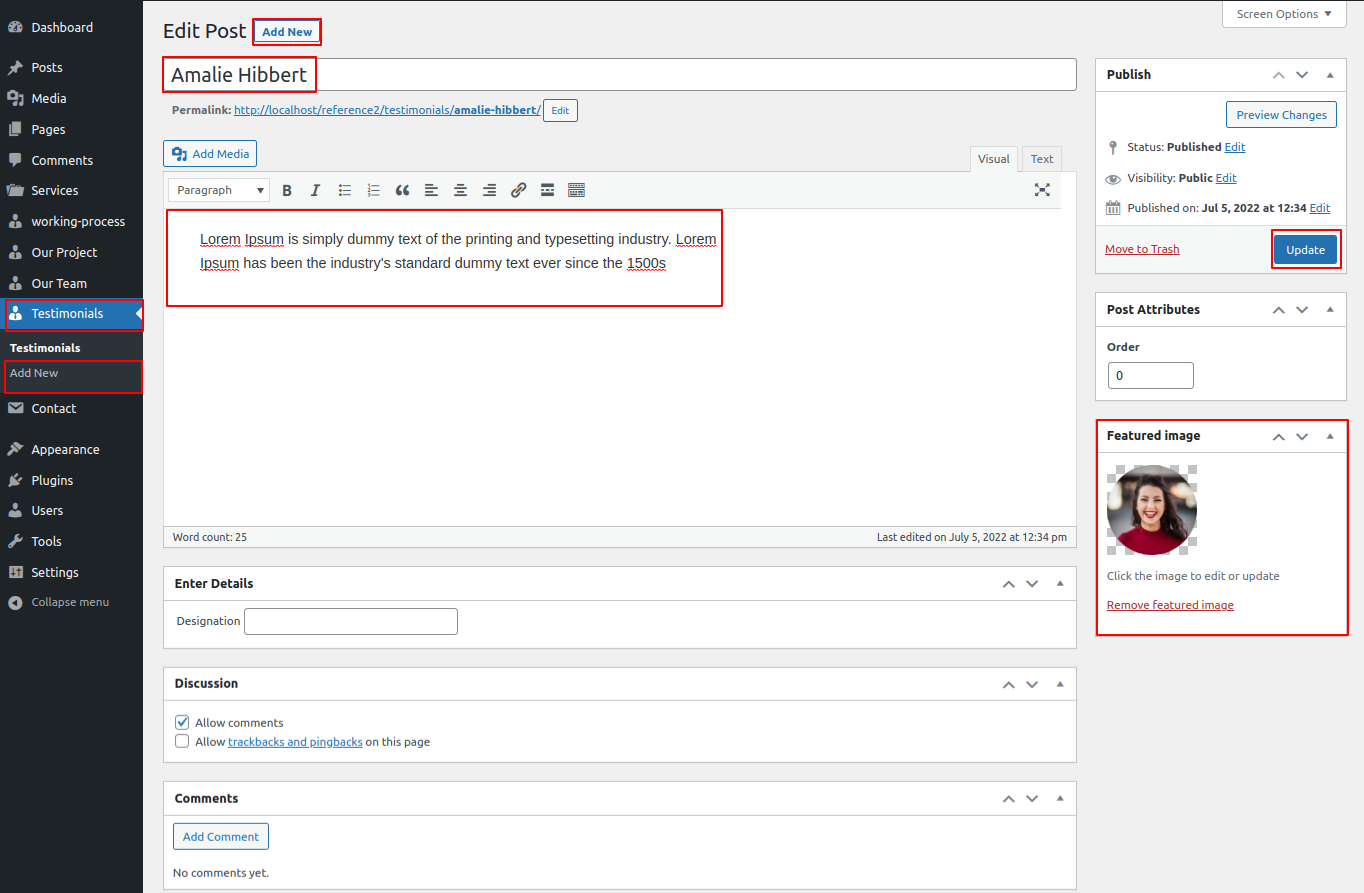
The "multipurpose-startup-pro-posttype" plugin must first be activated. Only you add Testimonial after that.
To add Testimonials, Go to Testimonials >> Add new
The Add Media option, as you can see in the screenshot, allows you to add testimonies photographs to this part, which are automatically uploaded to the testimonies section.
Now, You could include name of the Person and testimonial here.
You could include Designation of person here
Designation:Here, you can enter the testimonial person's designation.
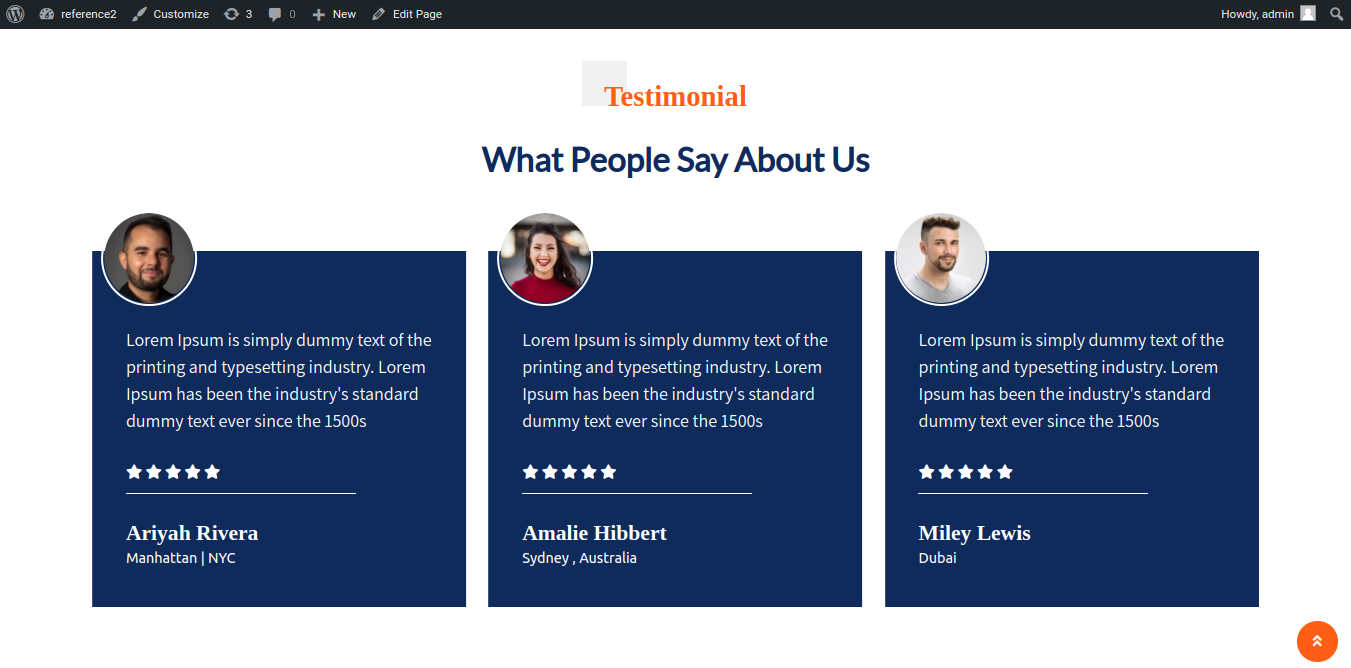
Your website now displays the same after adding testimonials. Take a look at these screenshots.
This is how, you can set up testimonials.
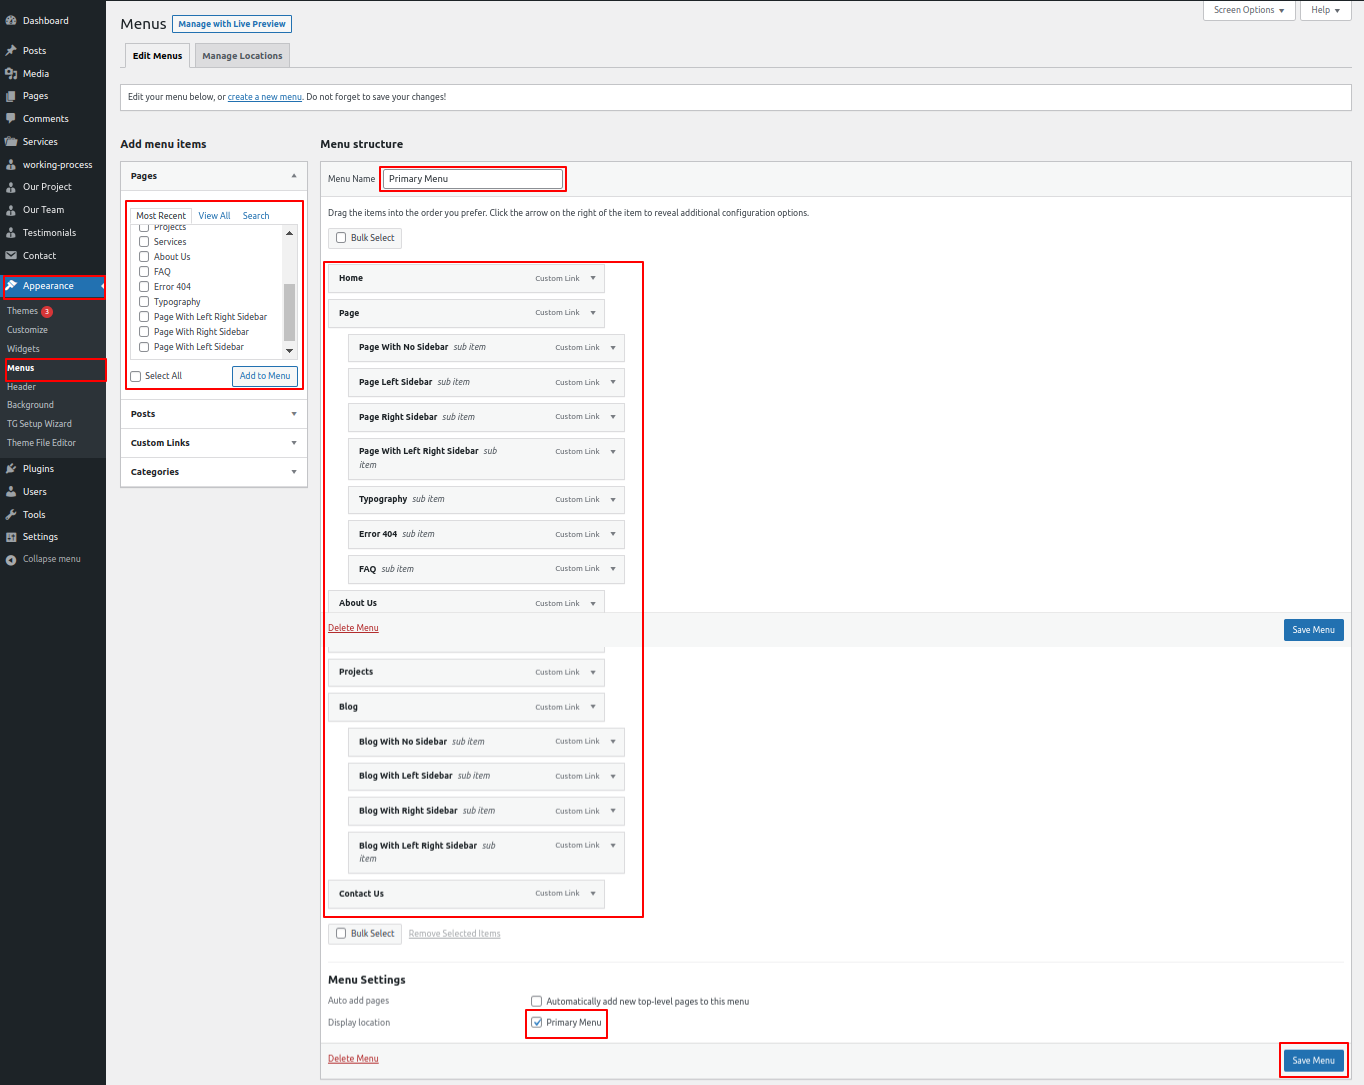
Setup Navigation
First of all create pages from go to Pages >> Add new page.
Go to Appearance >> Menu
To create a new menu link, click.
Give your menu a name in Menu name, then click the Save Menu button.
After creating a menu. Pages must be added by checking the appropriate boxes. You can drag and drop the menu list into place after adding it.
Select menu theme location from the below checkboxes
For a better understanding, see this screenshot.
Page Templates and sidebars
Page Templates
Default Template (the default page template with a right sidebar position)
Page (Left Sidebar) (a page templates with left sidebar position)
Page (Right Sidebar) (a page template with right sidebar position)
Blog (Full Width) (a blog templates with one column without sidebar)
Blog (Left Sidebar) (a blog templates with left sidebar position)
Blog (Right Sidebar) (a blog template with right sidebar position)
Contact (the default Contact template with no sidebar position)
Home Page (the default home page template with right sidebar position)
A shortcode is an effective tool for creating content. http://codex.wordpress.org/Shortcode. Using shortcodes is simple. Make sure that Visual editing mode is selected first.
Check out the Themes' list of available shortcodes: