The index page with the most recent post will be visible when you access your site after activating the theme. You must now configure the home page design such that it displays the entire demo area on your front page.
Setup Home Page
Set up your home page by following these instructions.
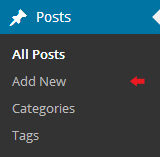
1. Create Page to set template : Go to Dashboard Pages Add New Page.
Select the template.
2. Set the front page: Go to Setting Reading Set the home page as the front page display static page..
When you're finished, you can view the entire demo on the top page.
Setup Topbar Section
To proceed with the "Topbar" section,
Follow the procedures listed below to set up the header.
Go to Appearance Customize Theme Setting Topbar ..
You can set up the top bar section in this manner.
Setup Header
Follow the procedures listed below to set up the header.
Site Identity
The actions listed below should be followed to proceed with Site Identity.
Go to Appearance Customize Site Identity .
Go to Appearance Customize Theme Setting Header..
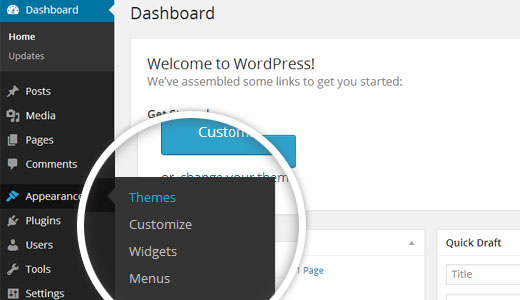
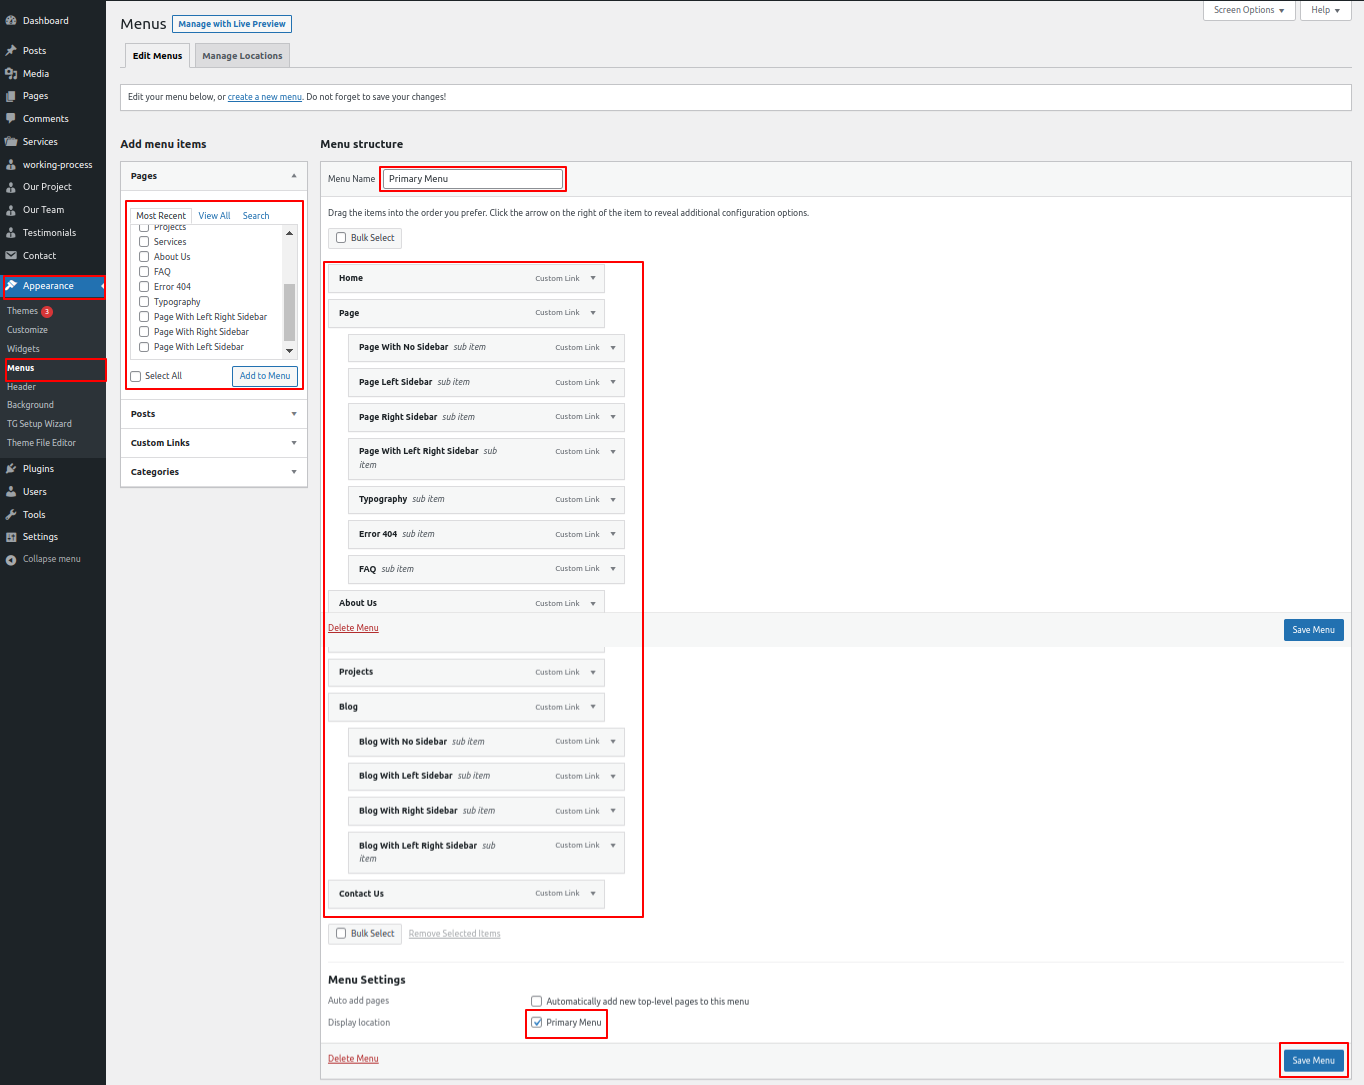
Setup Menus
Follow the procedures listed below to set up the menus.
Go to Dashboard Pages add new page .
For menu you need to add pages from Pages >> Add new and then add them to the Appearance >> Menus
If you wish to add more pages, follow the same procedure again..
You can include the menu section in this fashion.
You can put up the final header in this fashion.
Sticky Header on/off:
The header navigation appears at the top of the page when you click a button and scroll the page.
It will initially seem like this.
Setup What We Do Section
To proceed with the "What We Do" section,
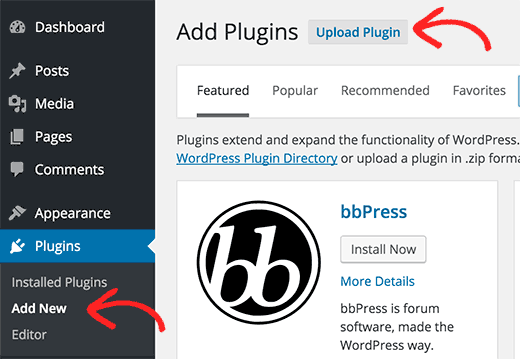
Installing and turning on the Alt ayurveda Pro Posttype Plugin is the first step.
Go to Dashboard Services add new .
Go to Appearance Customize Theme Settings What We Do
You can include the slider part in this fashion.
Setup Our Products Section
You must first upload and activate the Woocommerce plugin before you can set up the Our Products section.
You must first create a category for the product.
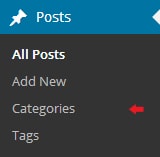
Go to Dashboard Product Categories Add New Categories
While adding new products, we must choose categories.
Go to Dashboard Product Add New
Go to Appearance Customize Theme Settings Our Products.
You can put up the Our Products section in this fashion.
Setup Our Projects Section
To proceed with the "Our Projects" section,
Go to Dashboard Projects Add New
Go to Appearance Customize Theme Settings Our Projects
It will initially seem like this.
Setup Our Benifits Section
Observe these procedures to set up Our Benefits.
We must first develop Product categories before we can add new products.
Go to Appearance Customize Theme Settings Our Benifits
You can set up Our Benefits Section in this manner.
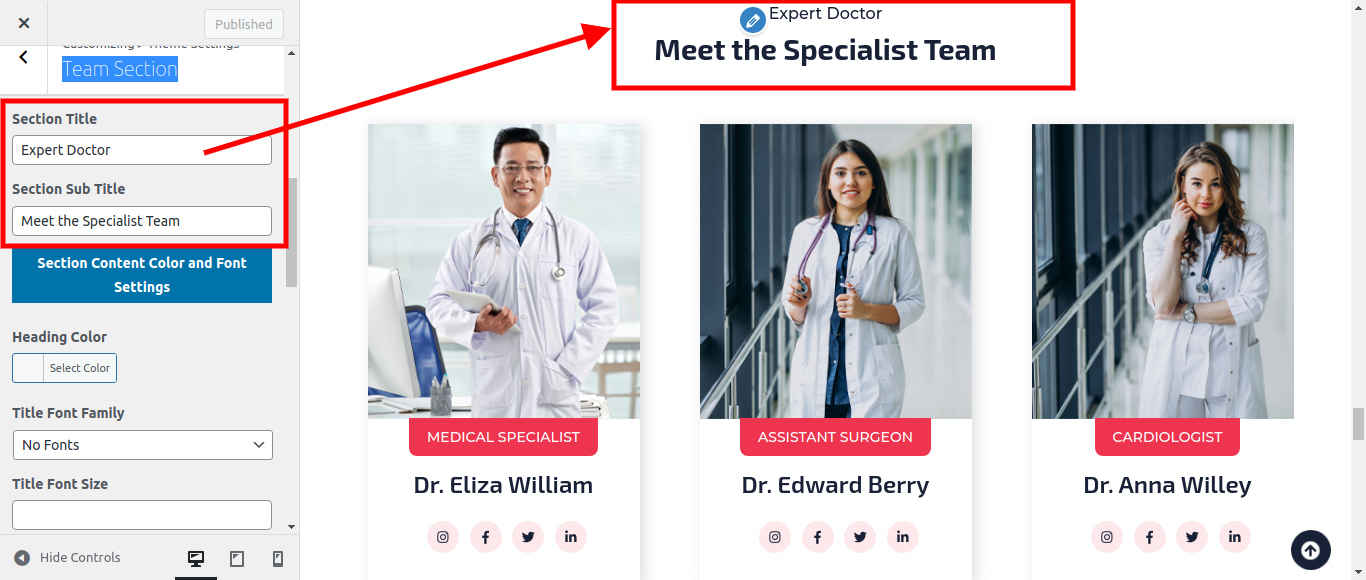
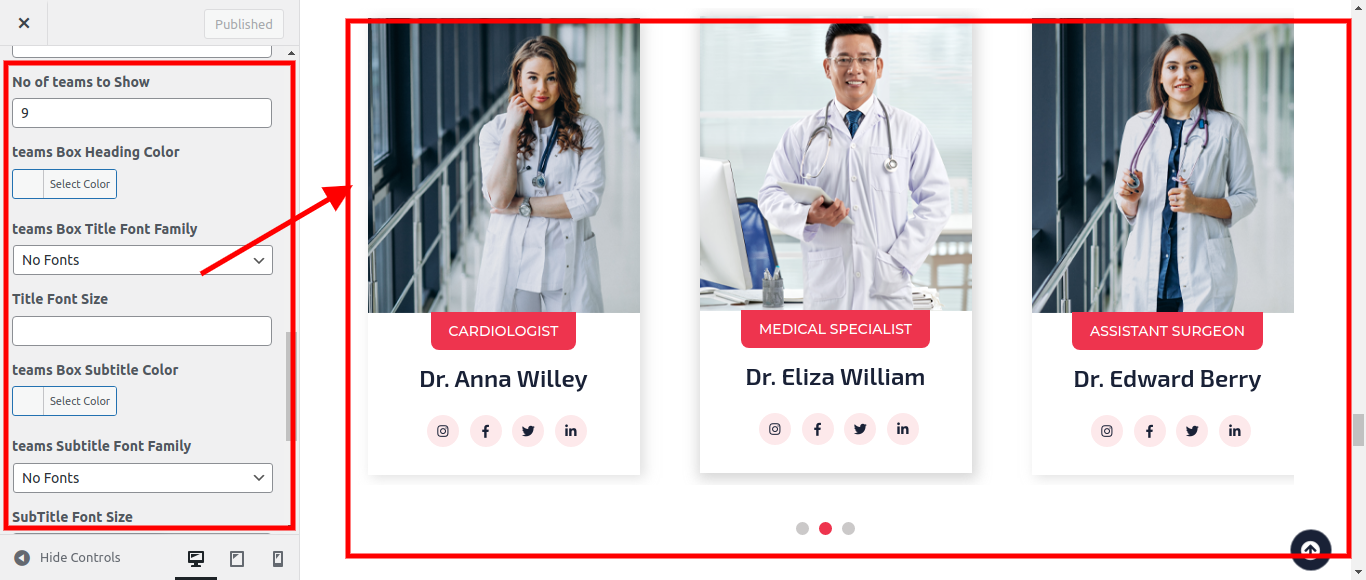
Setup Our Team Section
Follow these procedures to get the Our Team section.
The first step is to install and activate the Alt ayurveda Pro Posttype Plugin. Your dashboard displayed Team post after enabling the plugin.
Go to Dashboard Team Add New
Go to Appearance Customize Theme Settings Our Team.
You can configure the Our Team section in this way.
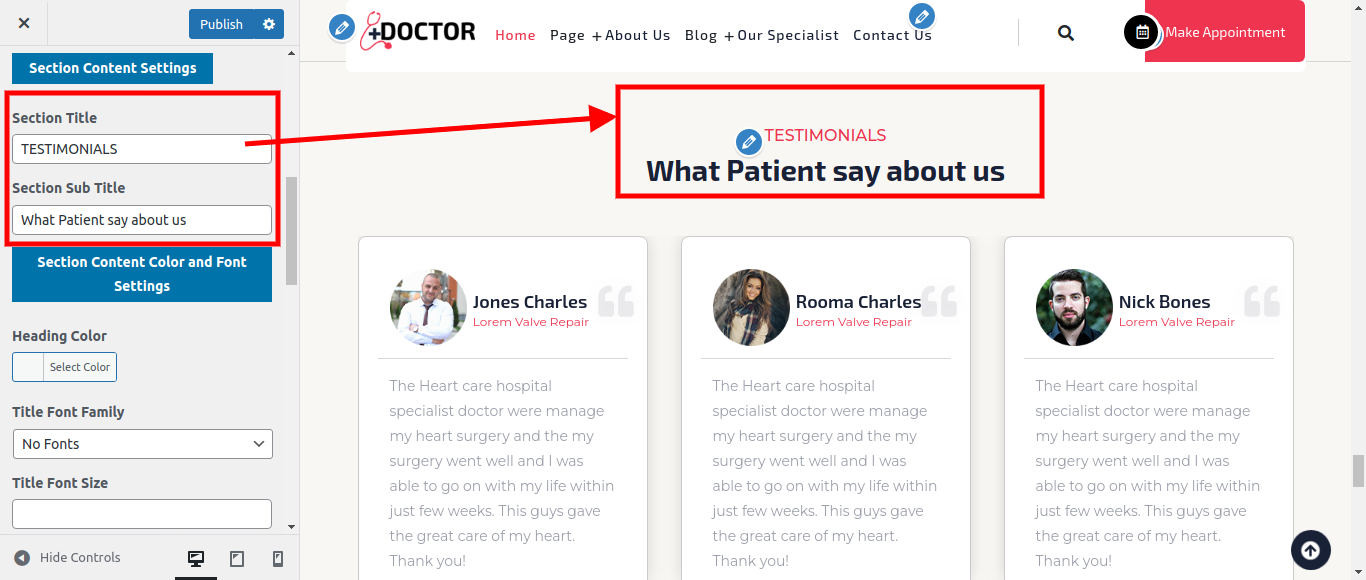
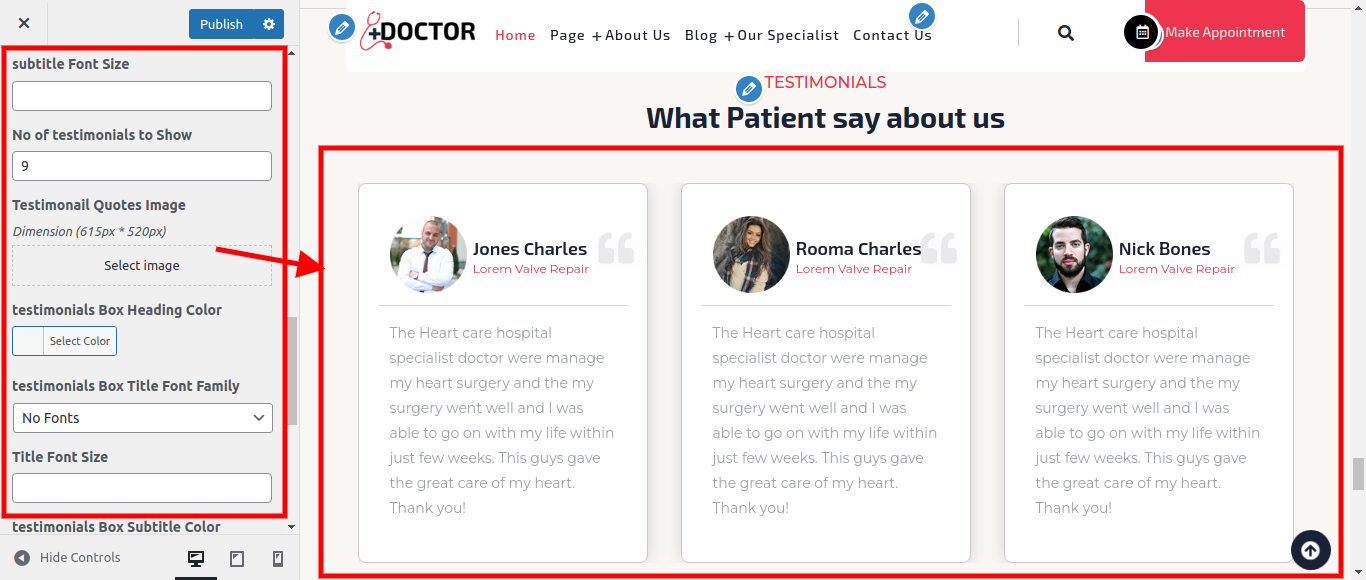
Setup Testimonial Section
The first step is to install and activate the Alt ayurveda Pro Posttype Plugin. Testimonial posts were visible on your dashboard when the plugin was activated.
We must first develop Product categories before we can add new products.
Go to Dashboard Testimonial Add New
Go to Appearance Customize Theme Settings Testimonial.
It will initially seem like this.
Setup Contact Section
You must upload and activate the Contact Form 7 plugin in order to set it up.
To proceed with this, please contact Section
Go to Dashboard Contact Add New
Go to Dashboard Pages Contact
Go to Appearance Customize Theme Settings Contact
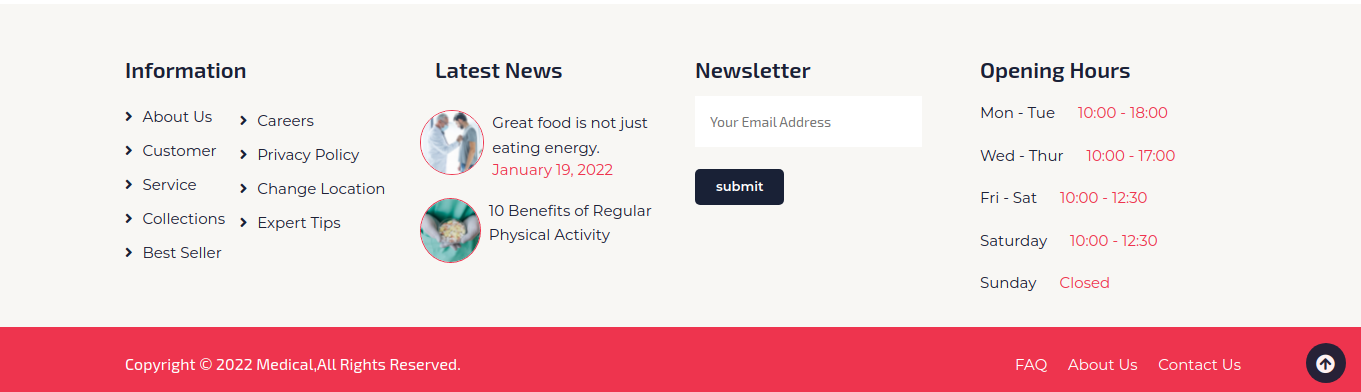
You can configure the Final Widgets section in this manner.