Setup Pets Collection Section
To proceed with the Pets Collection,
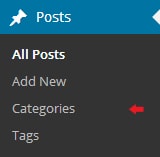
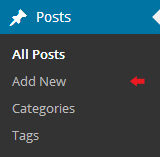
We must first add the categories before we can create the Pets Collection Section. To add new categories.
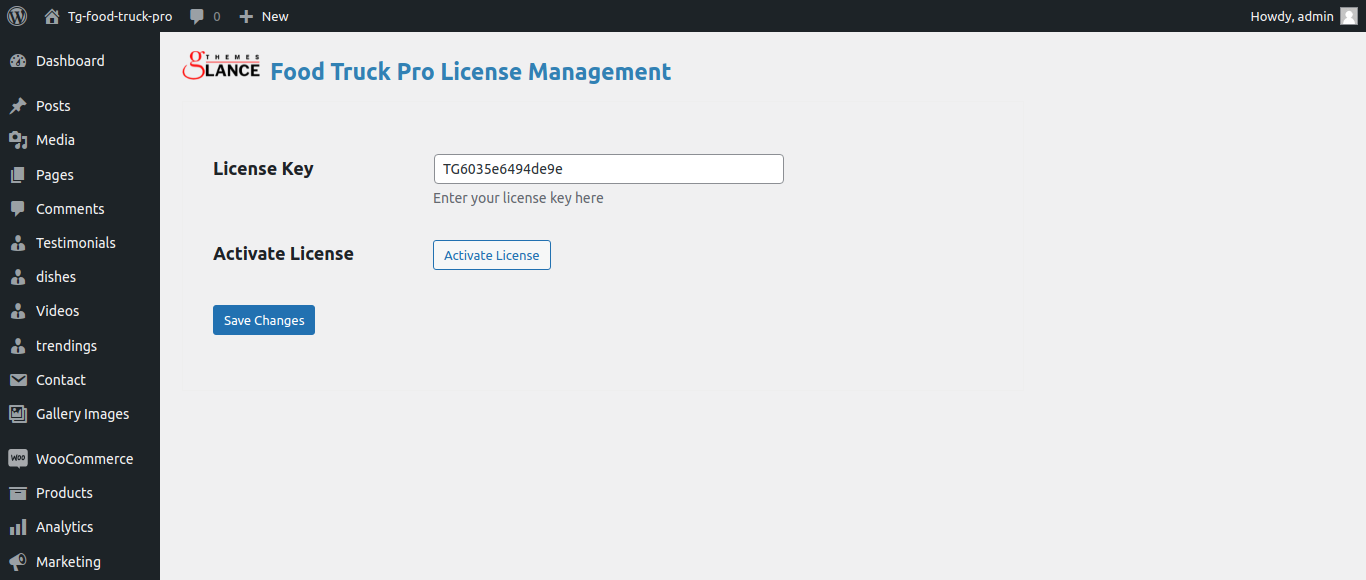
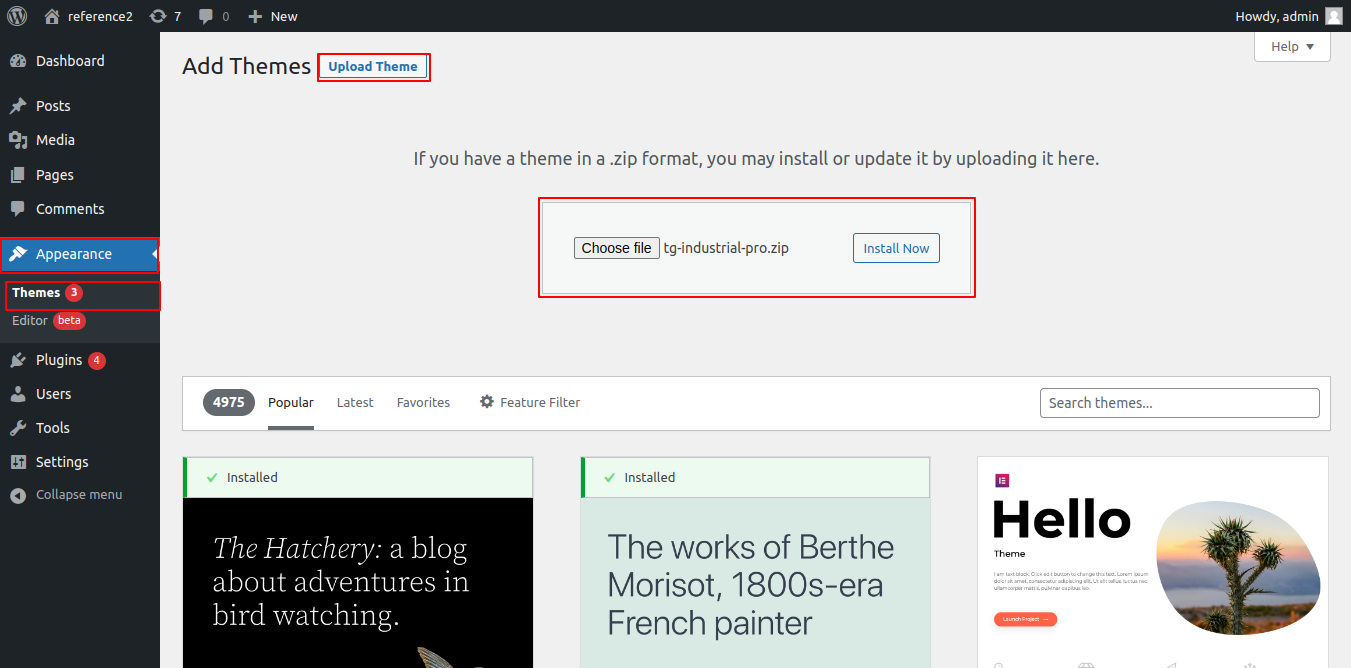
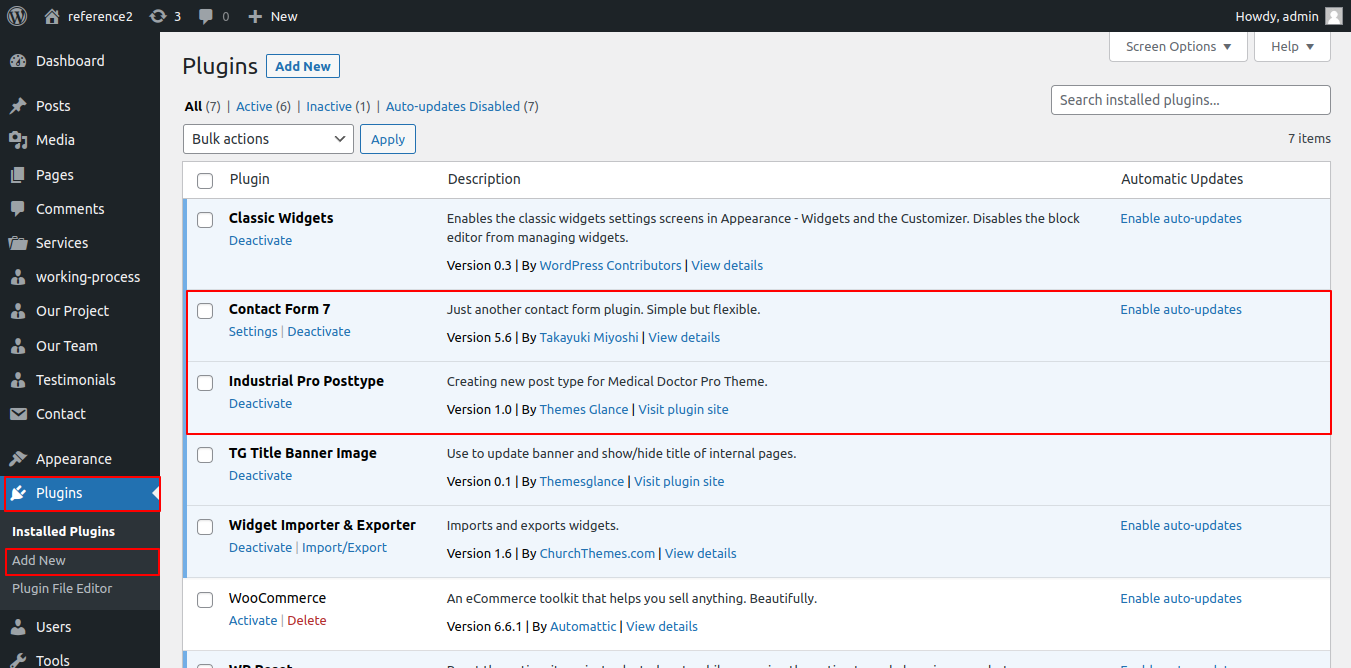
To get started, you must first install the "Woocommerce" plugin.
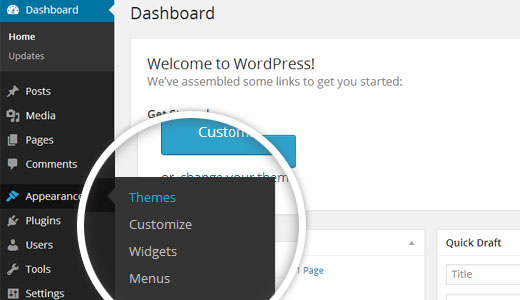
Go to Dashboard >> products >> Categories >> Add new category


To proceed with the Pets Collection,
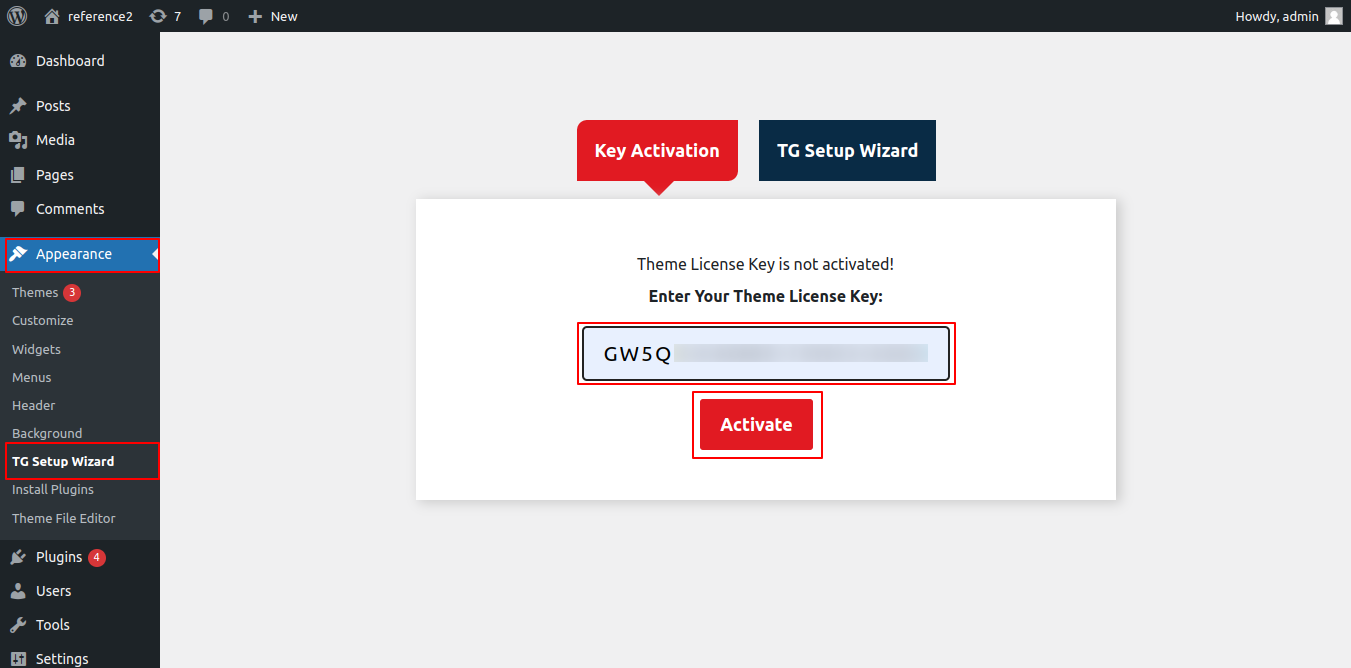
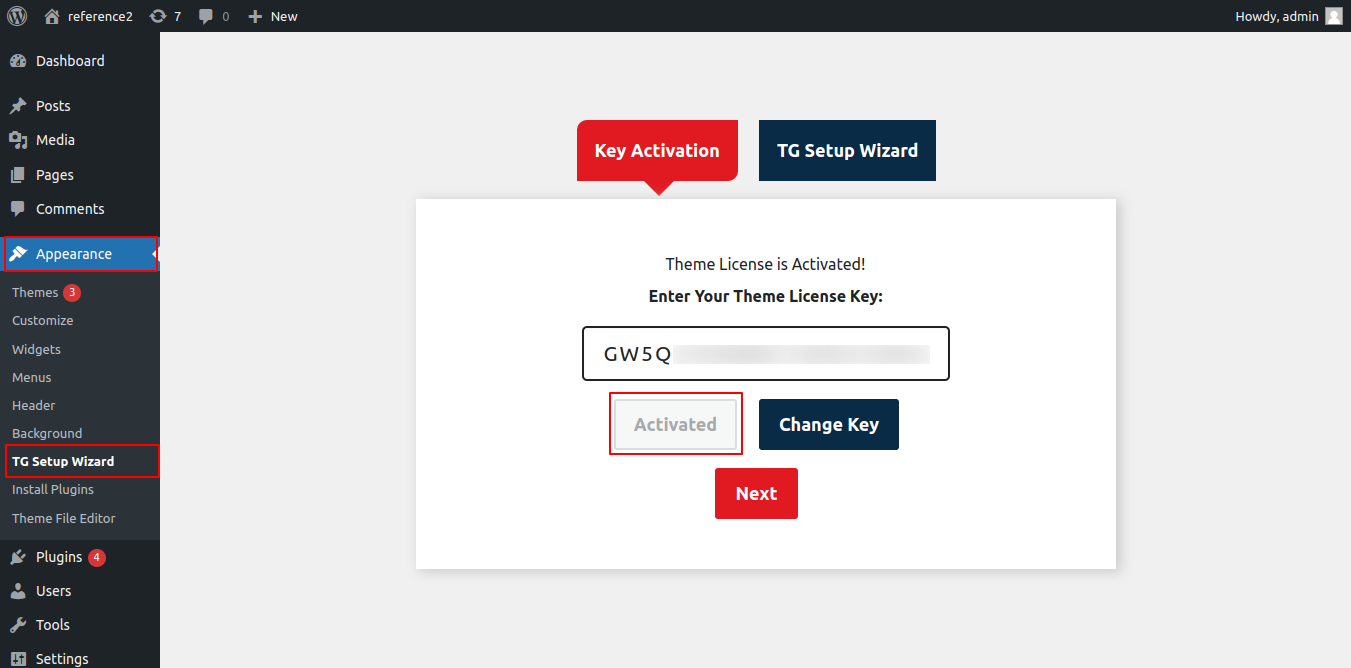
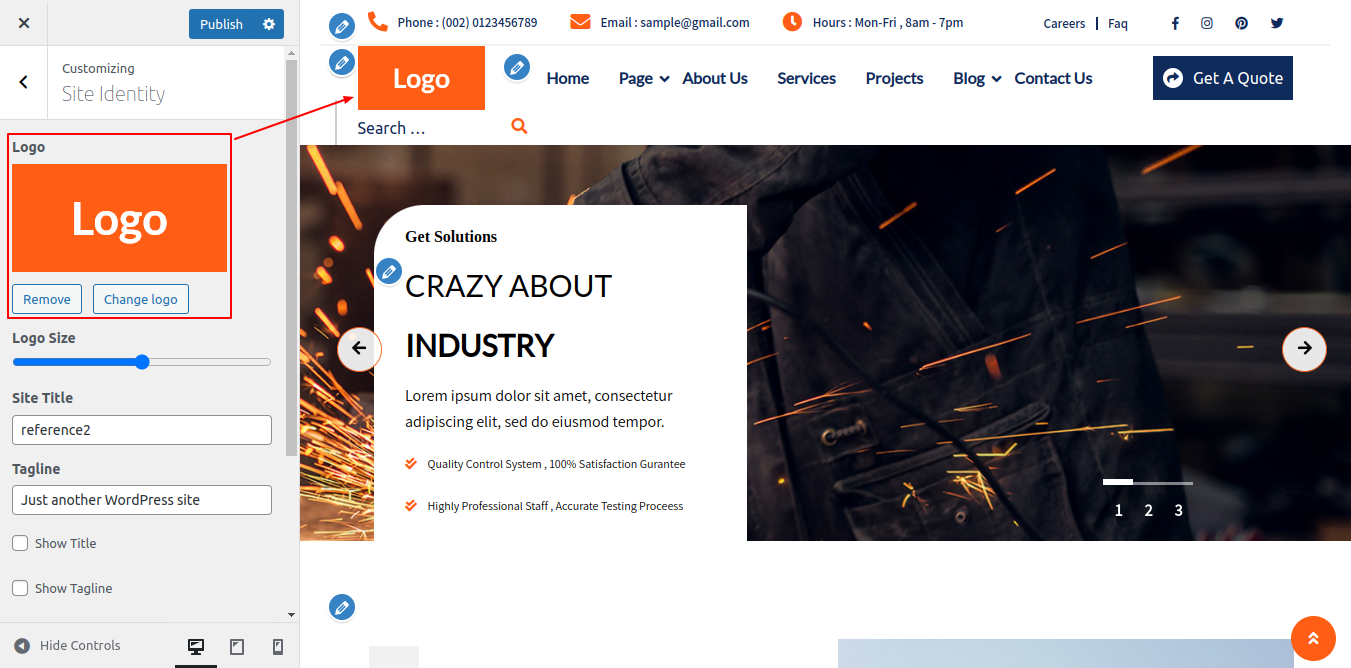
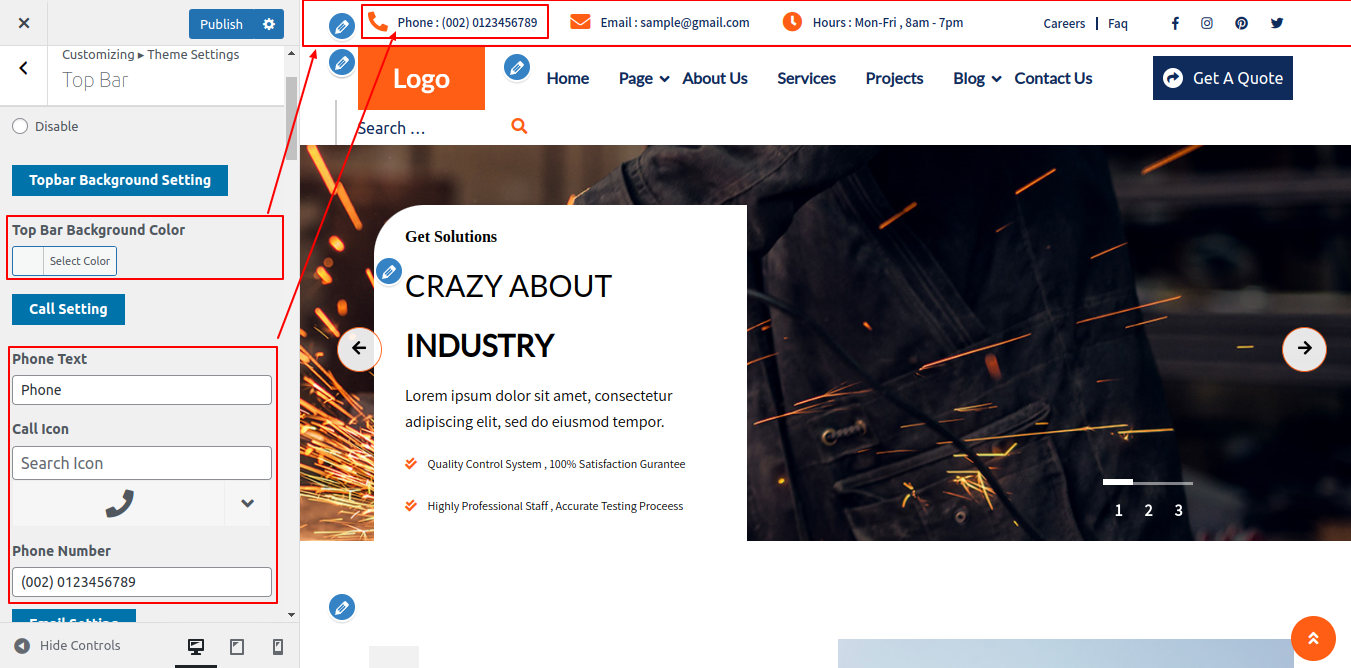
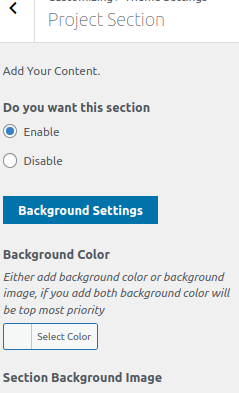
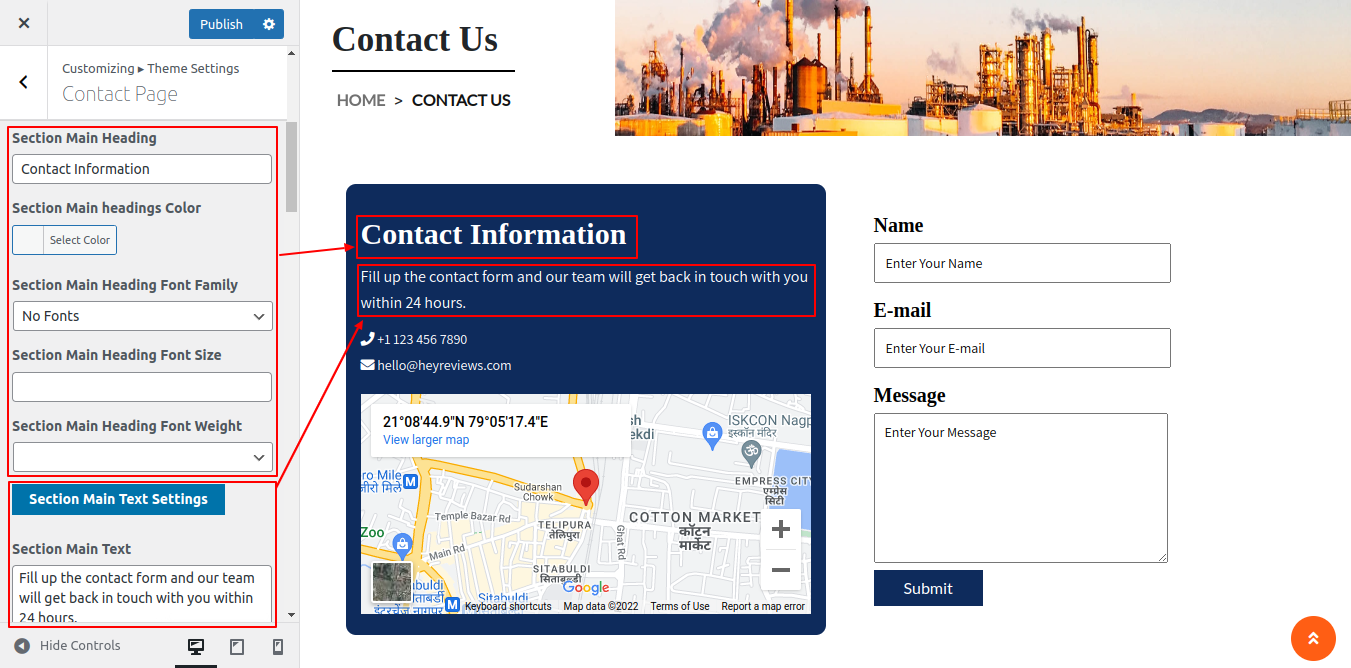
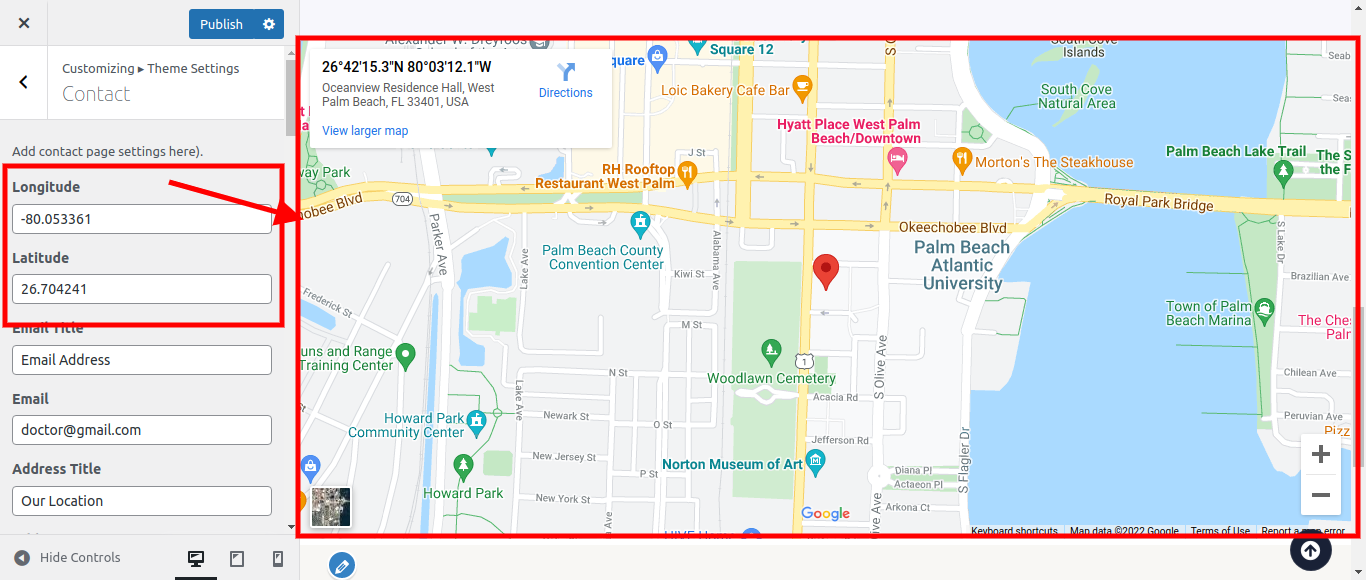
Go to Appearance >> Customize >> Theme Settings >> Pets Collection
To set up the Pets Collection area, follow these steps.
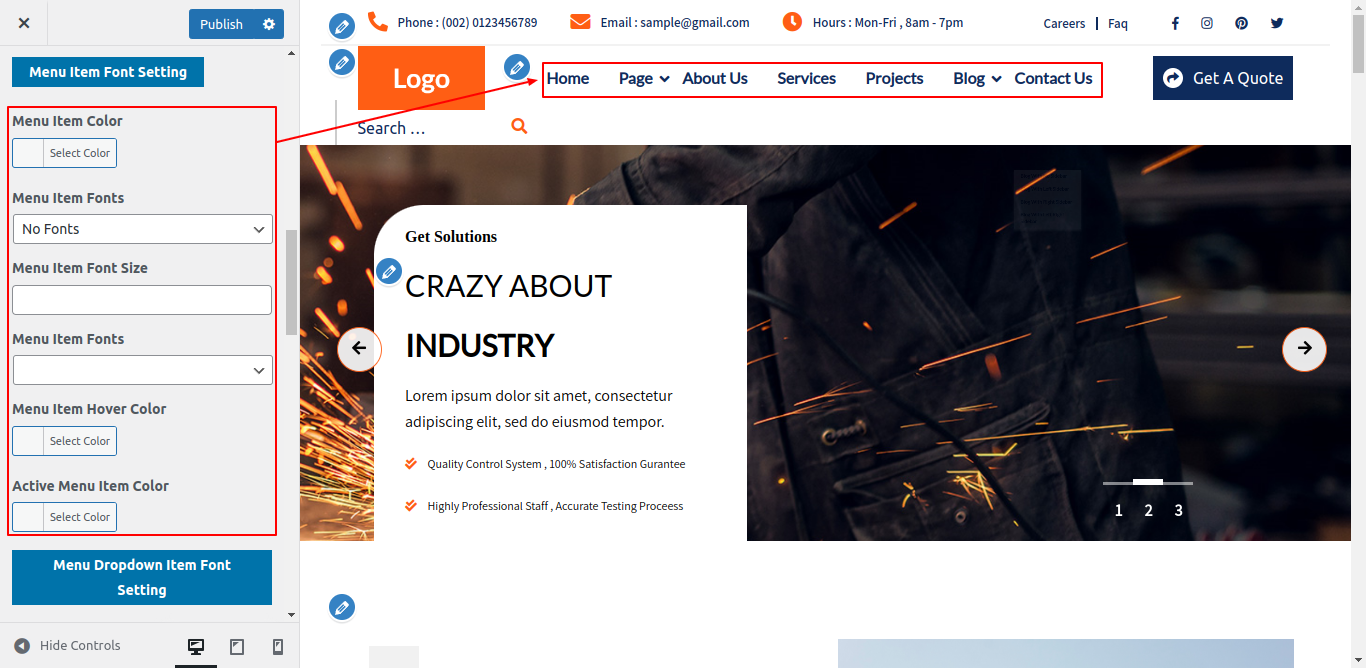
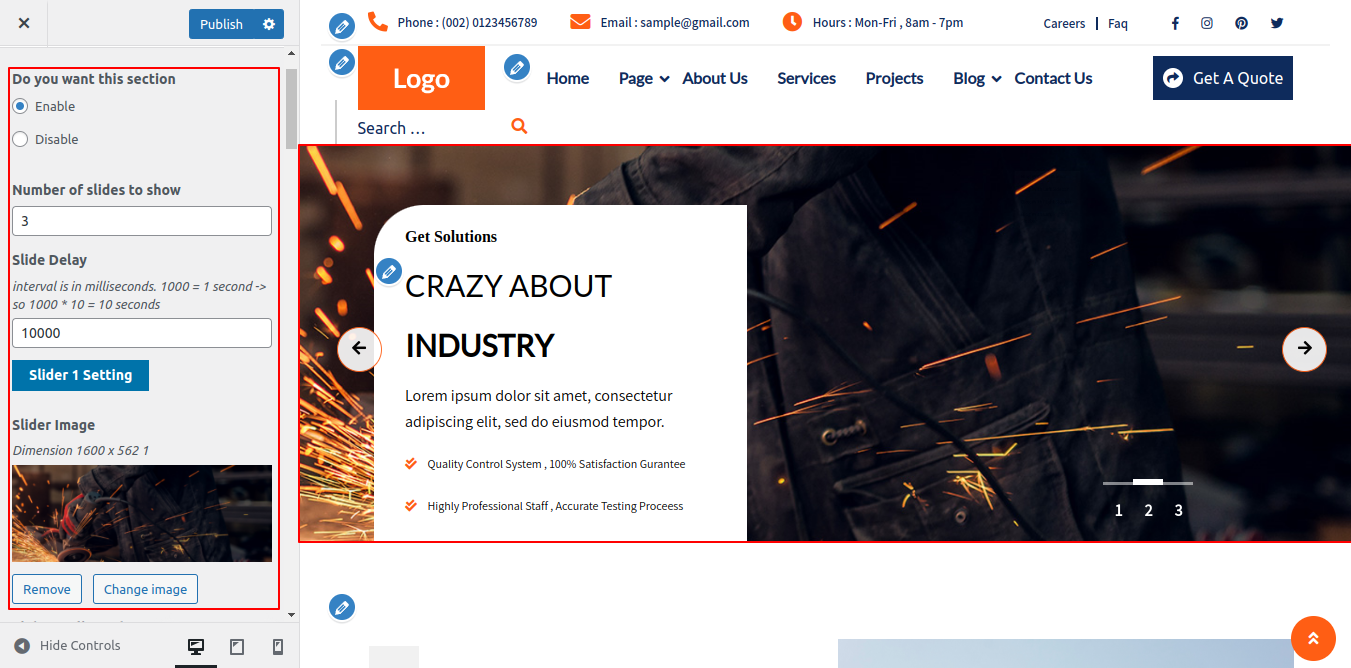
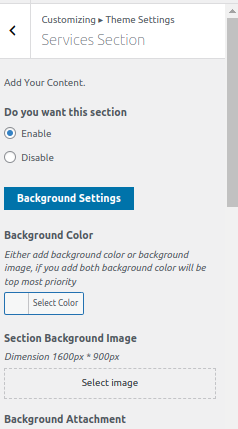
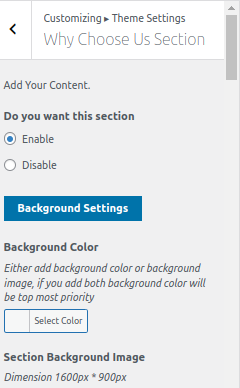
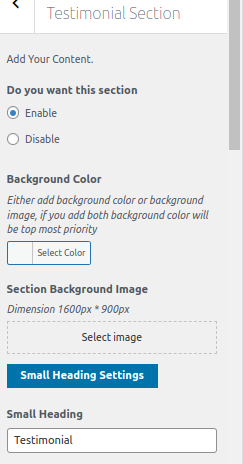
- Do you want this section:Includes options for enabling and disabling the Pets Collection Ssection display.
-
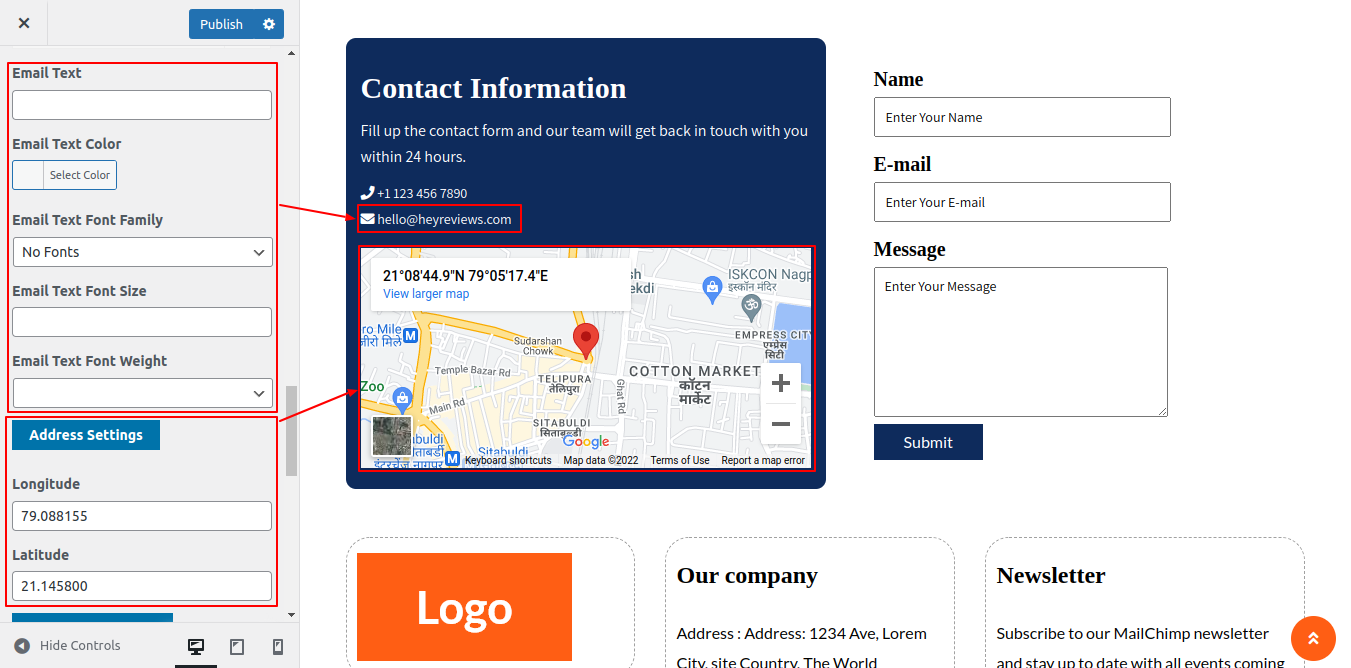
Add Background Color: You can enter a background colour here, and it will be shown on your site.
-
Add Background image:You can add a background image here, and it will be shown on your site.
-
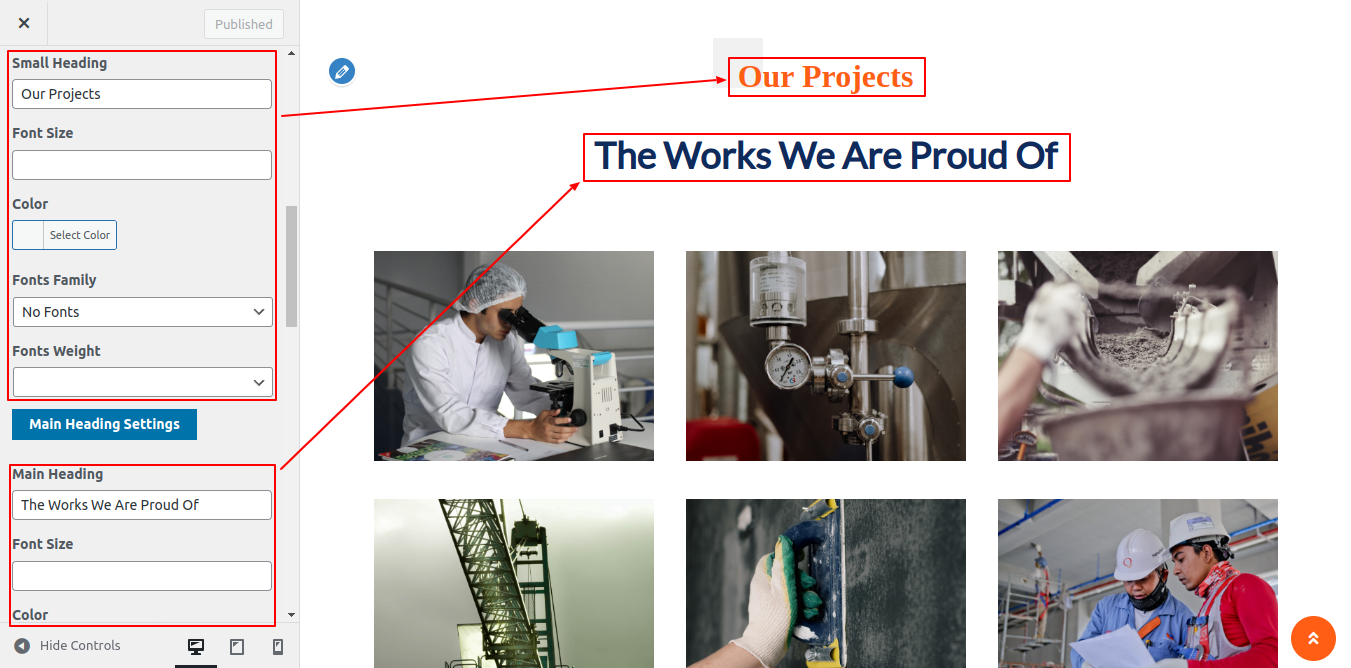
Add Main Heading: You can add Main
Heading will be displayed in About Ssection of your site.
-
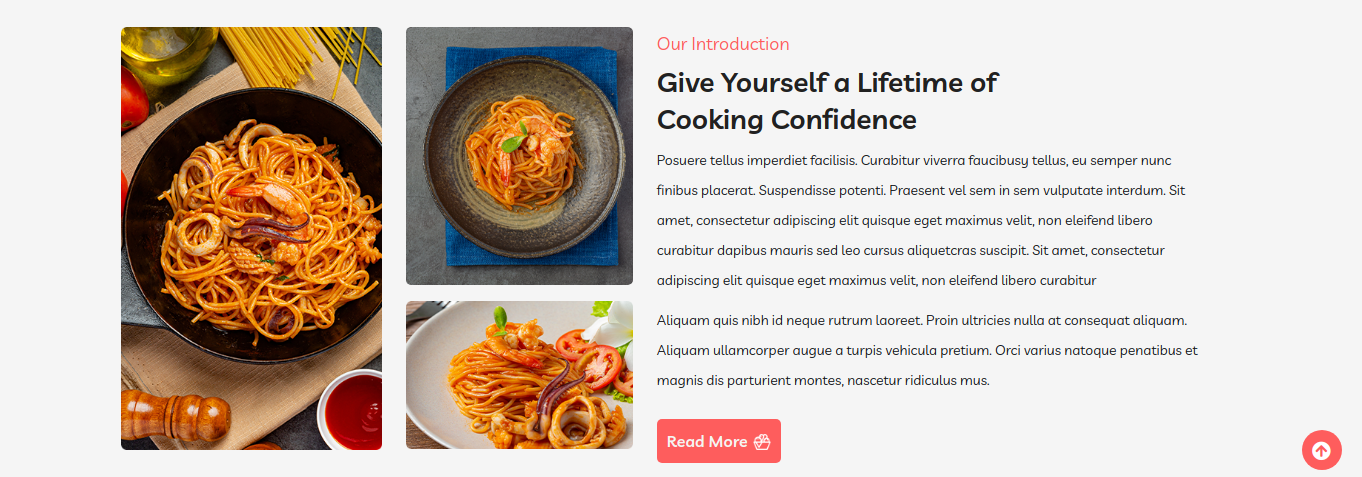
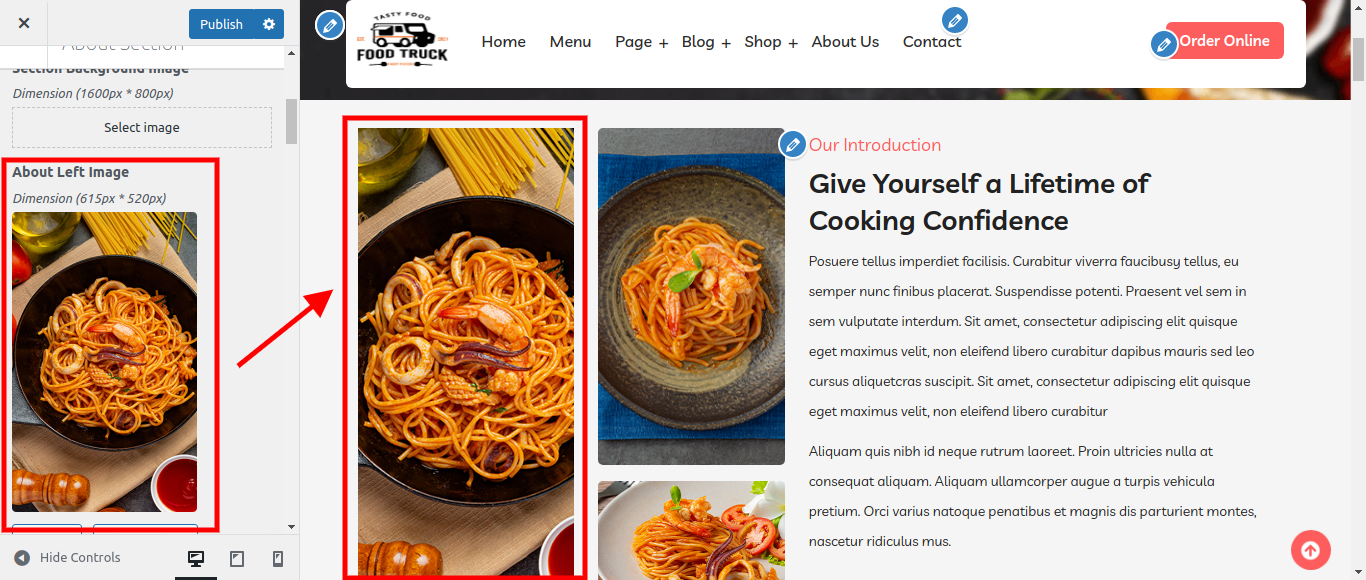
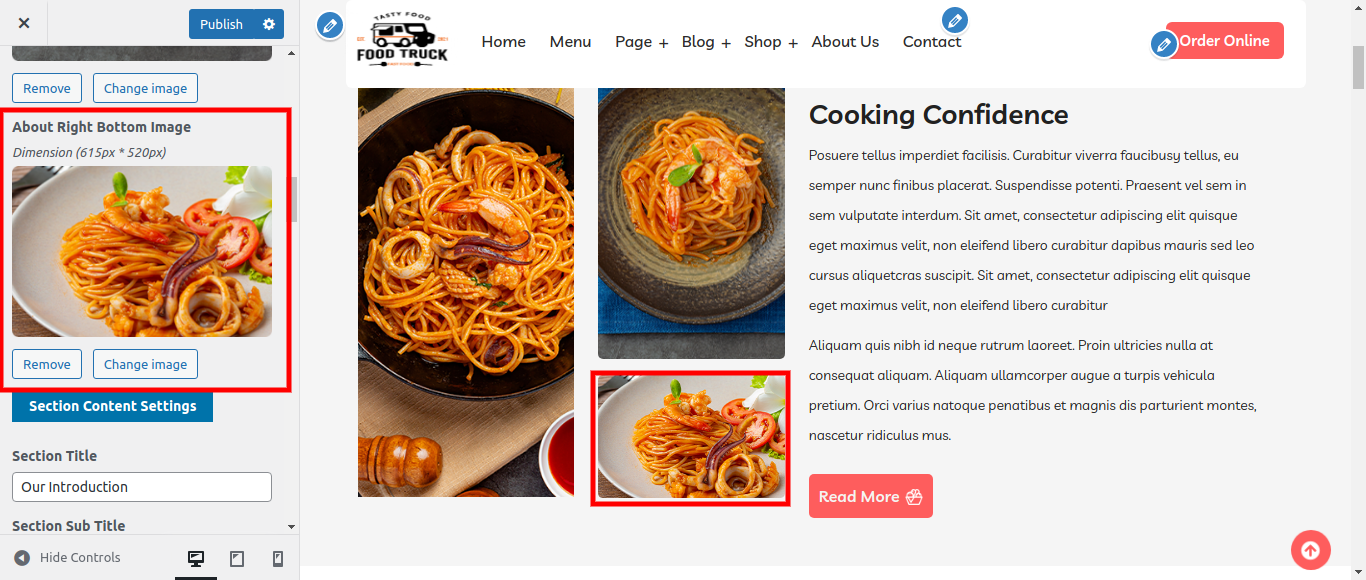
Add Pets Collection Image: You can upload the Pets Collection Details Image here, and the About Us Image from your site will be displayed.
-
Add Pets Collection Details Title:You can enter the About Us Details Title here, and the Pets Collection Details Title will appear on your website.